shocker998md
Member
- Joined
- Jan 8, 2009
Can't feel any of those spots with my finger nail. Measured 3.786 down low and 3.795 up top. Keep honing or clean it and try it?
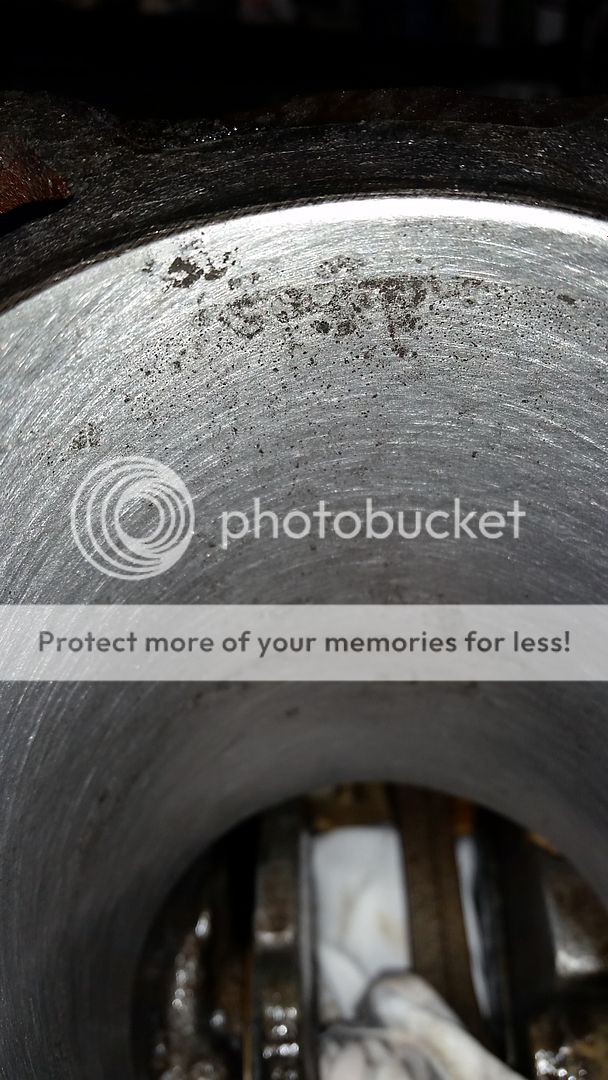


I think for a daily cruiser you will be fine. Just make sure the new rings are properly gapped and it will be fine. I think compression will be ok and oil consumption minimal. I've. Seen worse and it ran fine.


Installed the comp 980 springs and checked the installed height. Everything but one checked out right around 1.71 but I had one that was 1.65 so I put a small shim under the spring and got it up to 1.73. .