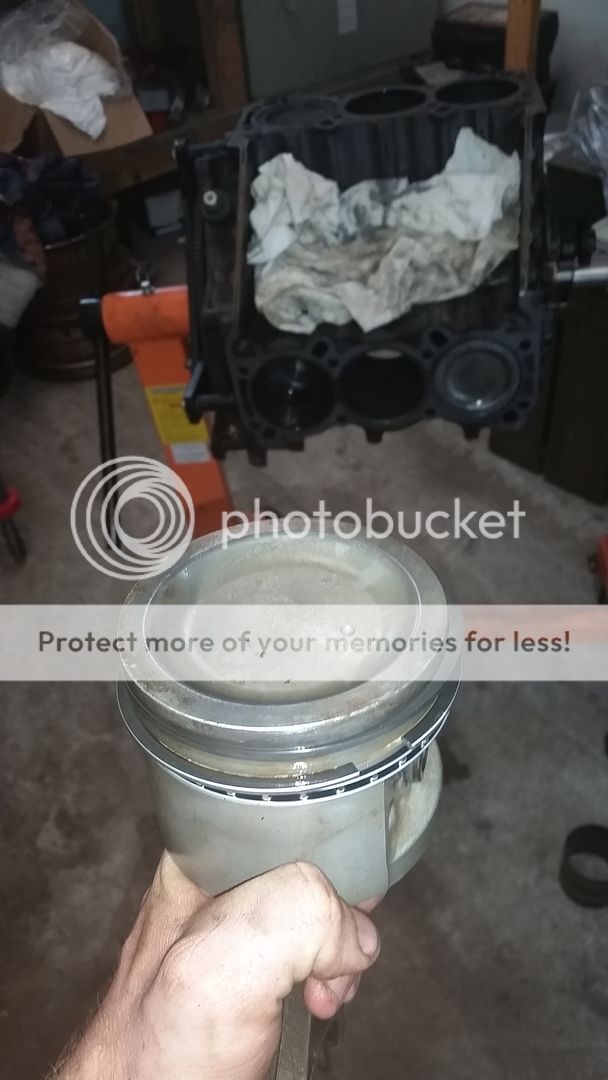
Look what I found in my engine

Will do,

Need some input on gapping rings and my bearing position question. I'm about to go into the garage and work on that spring.
 
the rings should have come with a recommended gap number based on intended usage ..take that times bore diameter and thats the gap you want to file ,
heres a chart from manley .. see blown gas dimensions
 

Attachments

  • piston-rings installation and gap.pdf
    52.5 KB · Views: 92
The tangs on the rod and cap both go to the outside of the engine. Hopefully, you know which cap goes on which rod because they are matched to the rod when it is machined. If you did not mark them, put the caps on and check to see that they line up perfectly in the bore. I would check the ring gap at the top of the ring travel and then at the bottom of the ring travel.
 
Ok so both tab, cap and rod side with go towards the headers if that makes sense?

I know everything aside that that was kept in order.

That one valve spring is fixed. I don't know what I was looking out. Set it back up, tapped it with a dead blow and measured at 1.72
 
Ok so both tab, cap and rod side with go towards the headers if that makes sense?

Correct, the tangs go toward the headers. The best way to keep the rod caps in order is to mark them by cylinder with an engraving tool. I used number stamps forever until it was said that stamps deform the metal.
 
Ok so ive got the bearing deal figured out. Hopefully today at lunch I can read all the piston ring info. These are sealed power rings incase that helps with any more info.
 
So I gapped my top rings to .020 and the second ring .022

Just installed the pistons, dot facing foward, bearing tabs towards the header.

Got to cut the grass before it rains and then I'll be torqing the bottom end and checking crank shaft end play.

Now I spun the engine over and it's definitely alot tougher but I'm assuming that's just due to new rings on two pistons.

Heads are all finished, I've just got assembly left.
 
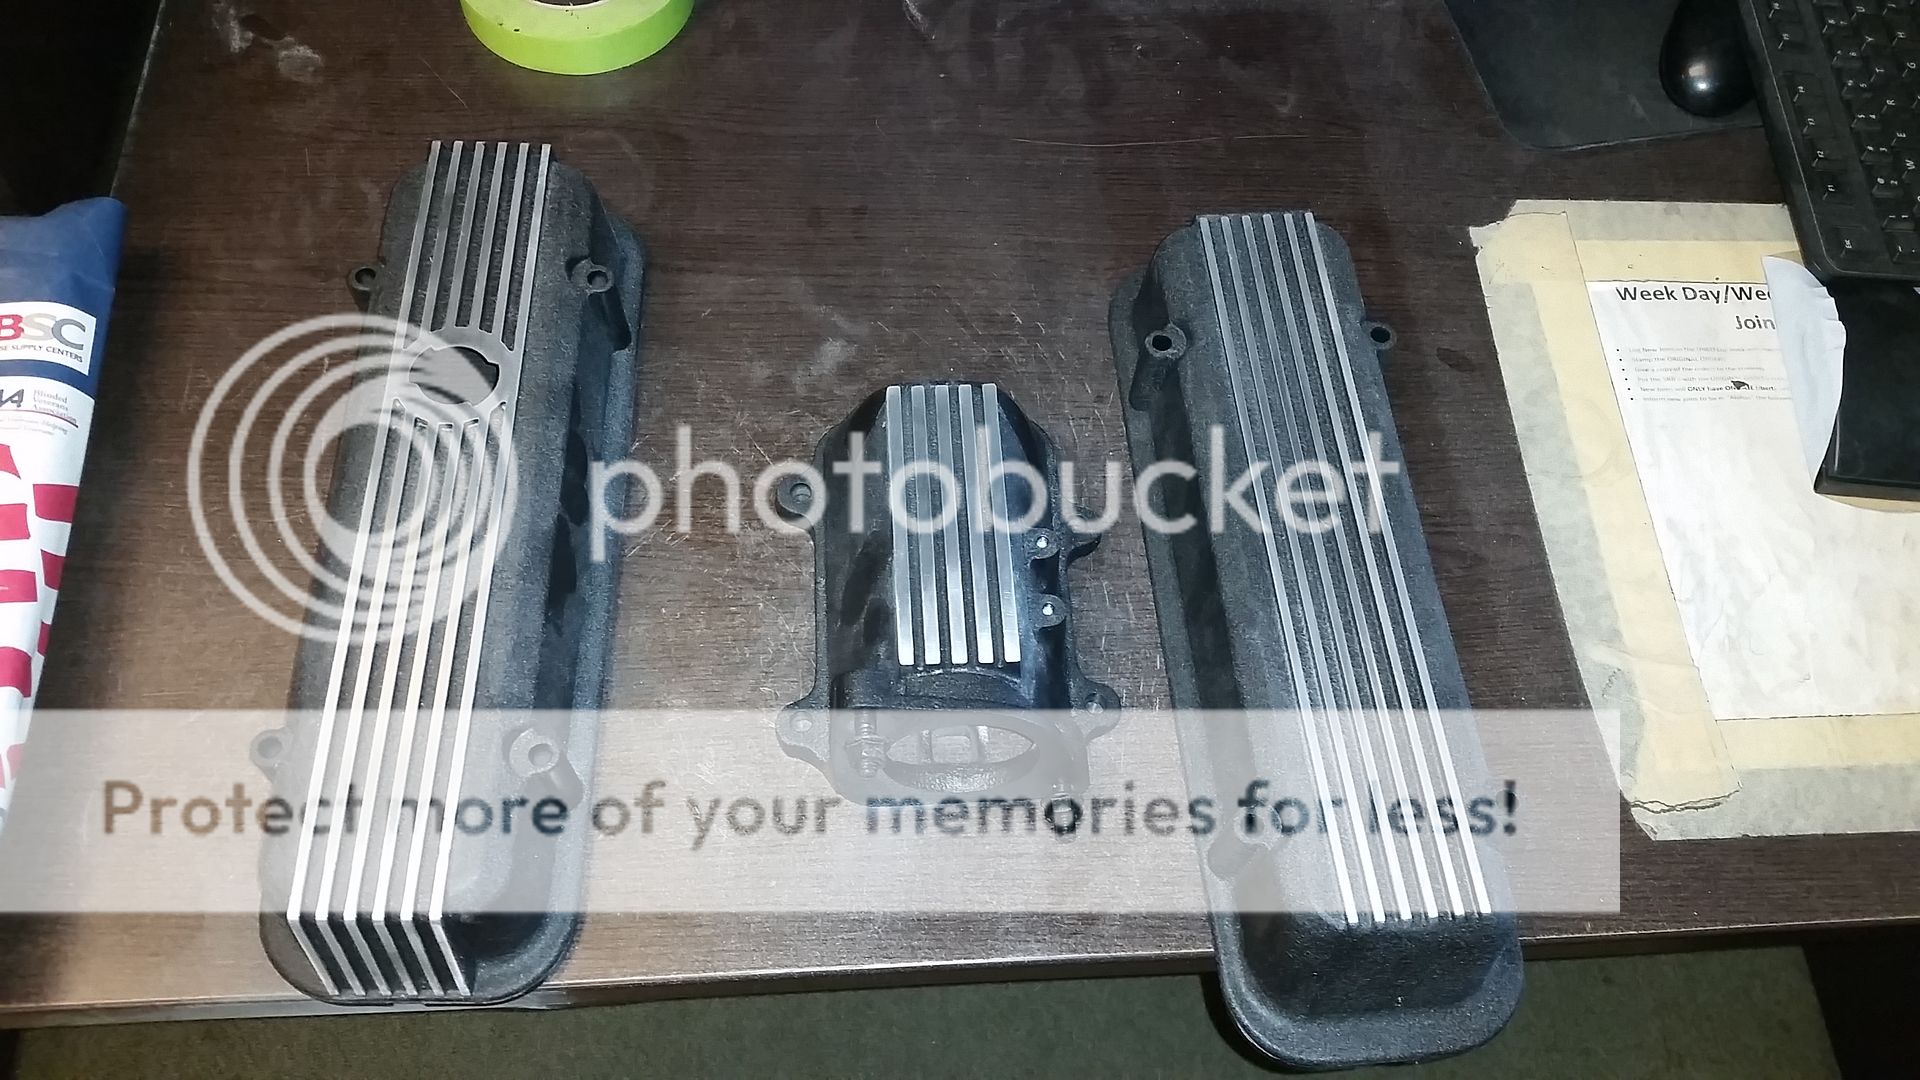
And I finished these up. Little a head of myself but wanted to get them done with.

Vht wrinkle paint and then block sanded the fins 80 grit, 180, then 240.

 
Sealed power I'm 99% sure there moly.

Just factory bore ones I found on rock auto. Installed with 30 weight in the bores and on the pistons. Lubed up the bearings with it aswell.
 
The reason I asked is because if they are plasma moly, the shiny ring is usually the top ring with the moly coating sprayed on. The top ring should have a bevel on the top toward the inside of the ring and if there are dots on the rings, they go up. I can't tell by looking at the photo if the top ring is beveled on the piston side. 5/64 rings may be made different than the 1/16 Sealed Power rings I am used to.
 
I followed the directions. Top ring had a dot and that faces up. Second ring has the bevel and that faces up. Staggered all ring gaps and it seemed good to go in my book. It's just really tight compared to spinning it over with the two pistons removed.

I torqued the thrust bearing cap, did finish the rest though. Hopefully I'll have some end play numbers and a torqued bottom end tomorrow.
 
Sounds like you got it right. I have used Sealed Power rings that came with no directions, and no way to identify which ring is which except by past experience. I hope it runs well.
 
Well Ill be digging back into it. I'm a rookie and didn't gap the oil rings. I did the top and 2nd ring and I swear everything I read last week didn't say anything about the oil rings. Ill be popping the pistons back out tonight, check out the oil ring gap and try and shoot for .024 to .028 and re assemble. I bet it will turn over fine after this.
 
You need a minimum of .015 on the oil rings. There is no spec for maximum gap that I have ever seen. The only thing that would make the engine bind is if the ring lands were not clean and the rings are not able to compress all the way.
 
Last edited:
So I popped those two pistons back out to check ring gap. They all gap at .020 so there good. But my engine will still sping over nice but then hit a rough spot. So now I'm going to pull each piston, clean them and gap and install all new rings. Ill hit each cylinder with the bottle brush, clean the snot out of everything and then assemble with 30 weight oil and call it a day. Im thinking theres another cylinder with some crap in the rings or something. Stay posted and ill put up disassembly pics and all that jazz. Rock auto should have my new rings in the next week for the other 4 pistons.

The heads are all done, just need to clean the lifters and pushrods, and then go to town putting it together and checking the crank end play.
 
Make SURE you put the original lifter in the original hole, or you will be doing this all over again, soon. If I am saving the can and lifters I use an egg carton to keep them in the right orientation. (Mark an arrow for forward)
 
Yup I've got them in a 2x4 that I drilled holes in and labeled them.


So I pulled number 6 piston and went to spin it over and it went Smooth as glass. The bore looks ok but there's some discoloration were the rings have sat in the bore. So I'm going to clean everything up with the bottle brush, clean the snot out of everything and then re assemble.
 
Top