My Hot Air Build Thread...Paint and Performance.

Wahoo

Well-Known Member
Joined
Apr 2, 2011
Hi everyone, my name is John, I live in Buffalo NY and I'm planning to paint my '85 T-type.
I purchased this car last year in august, I went through some of the basics of converting it to 86/87 ECM. The used ECM I bought from here worked in the sellers car but gave me high BLMs, it had an old hyper tech chip. The seller sent me a known good stock '87 chip it the car runs pretty decent right now, although I haven't gotten to really enjoy the car, due to winter and moving.

I plan to first do a compression test and get an oil pressure gauge on the car to make sure the engine is fairly ok. It has around 98k Miles on the car, it was a salvage car from like '94. When I bought it the title had '94 on it as that is when he bought it, so its been on the road for a long time, even up until I bought it.

So plans with the car performance wise, if the engine checks out ok, I'll at least run E-85 this year and up the boost as much as it will handle safely. I plan to do the dynamic EFI ECM so I can basically have the car tune its self.

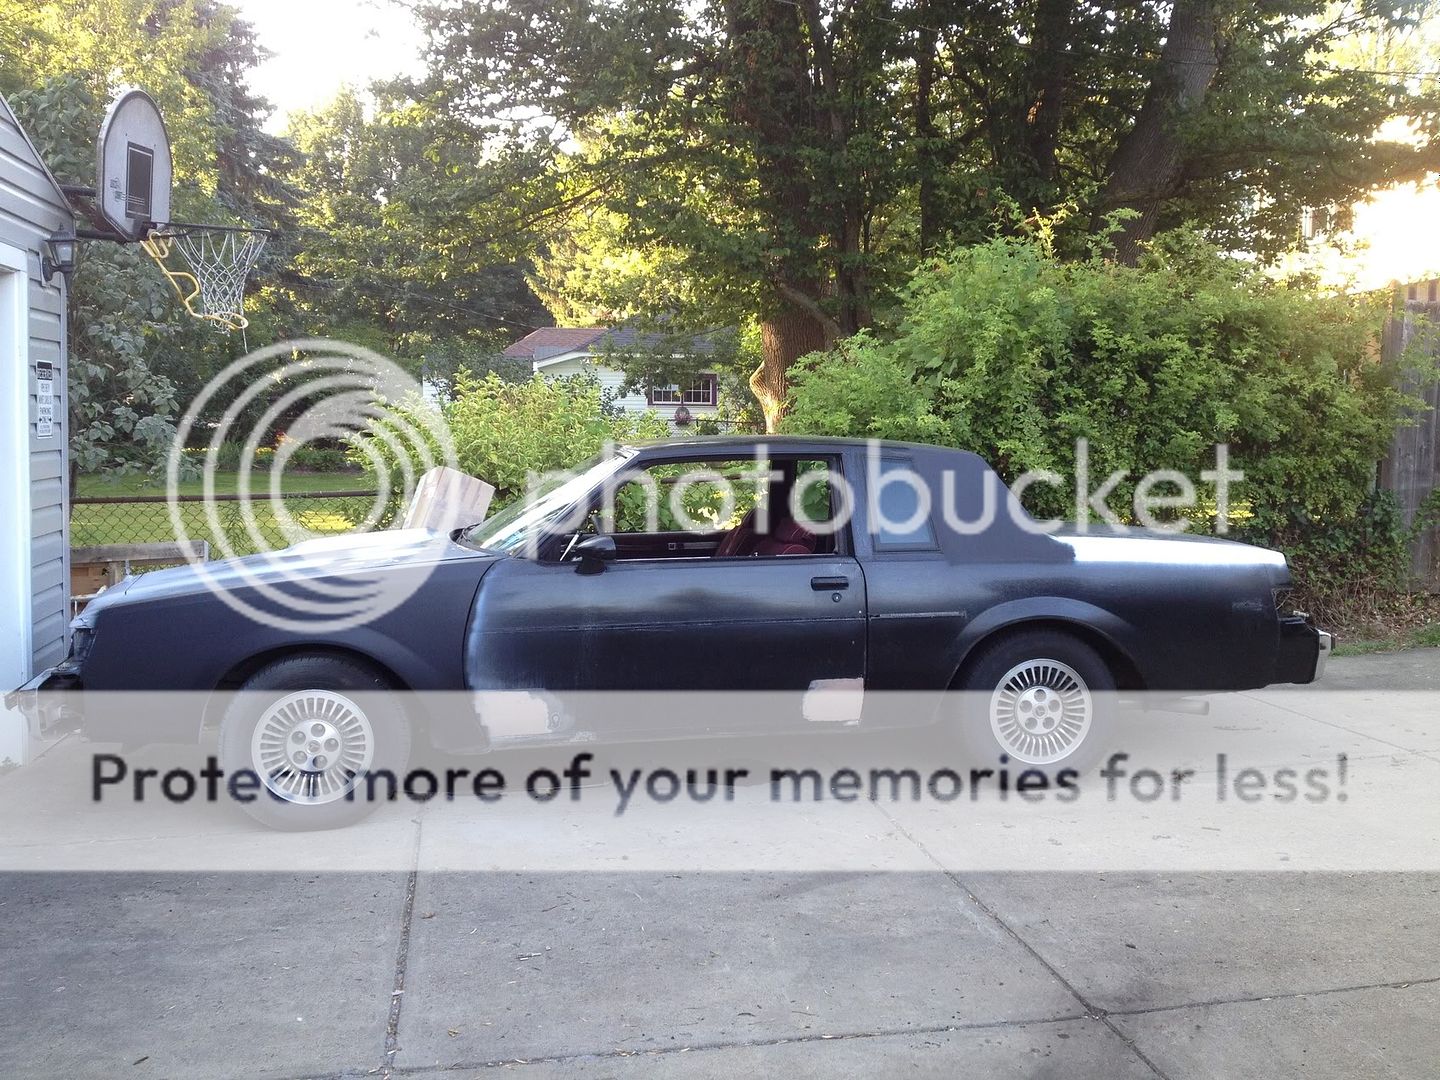
Body wise, Its pretty darn rust free, the guy I bought it from he was planning to work on the car in sections and paint it himself. So he put a lot of puddy on the doors, and primed some areas. I will have to probably remove most of what he did so I can make sure its done correctly. I've never painted before so it will be a learning experience, I hope it goes well :)

Car is originally black so it will remain. Chrome bumpers are in good shape, the front isnt as good as the back but I don't think I will paint them black, I want to keep them chrome but everything else will be black. I was even thinking of painting the plastic headlight and tailight trim pieces black same as the car, I don't know if this has ever been done before.

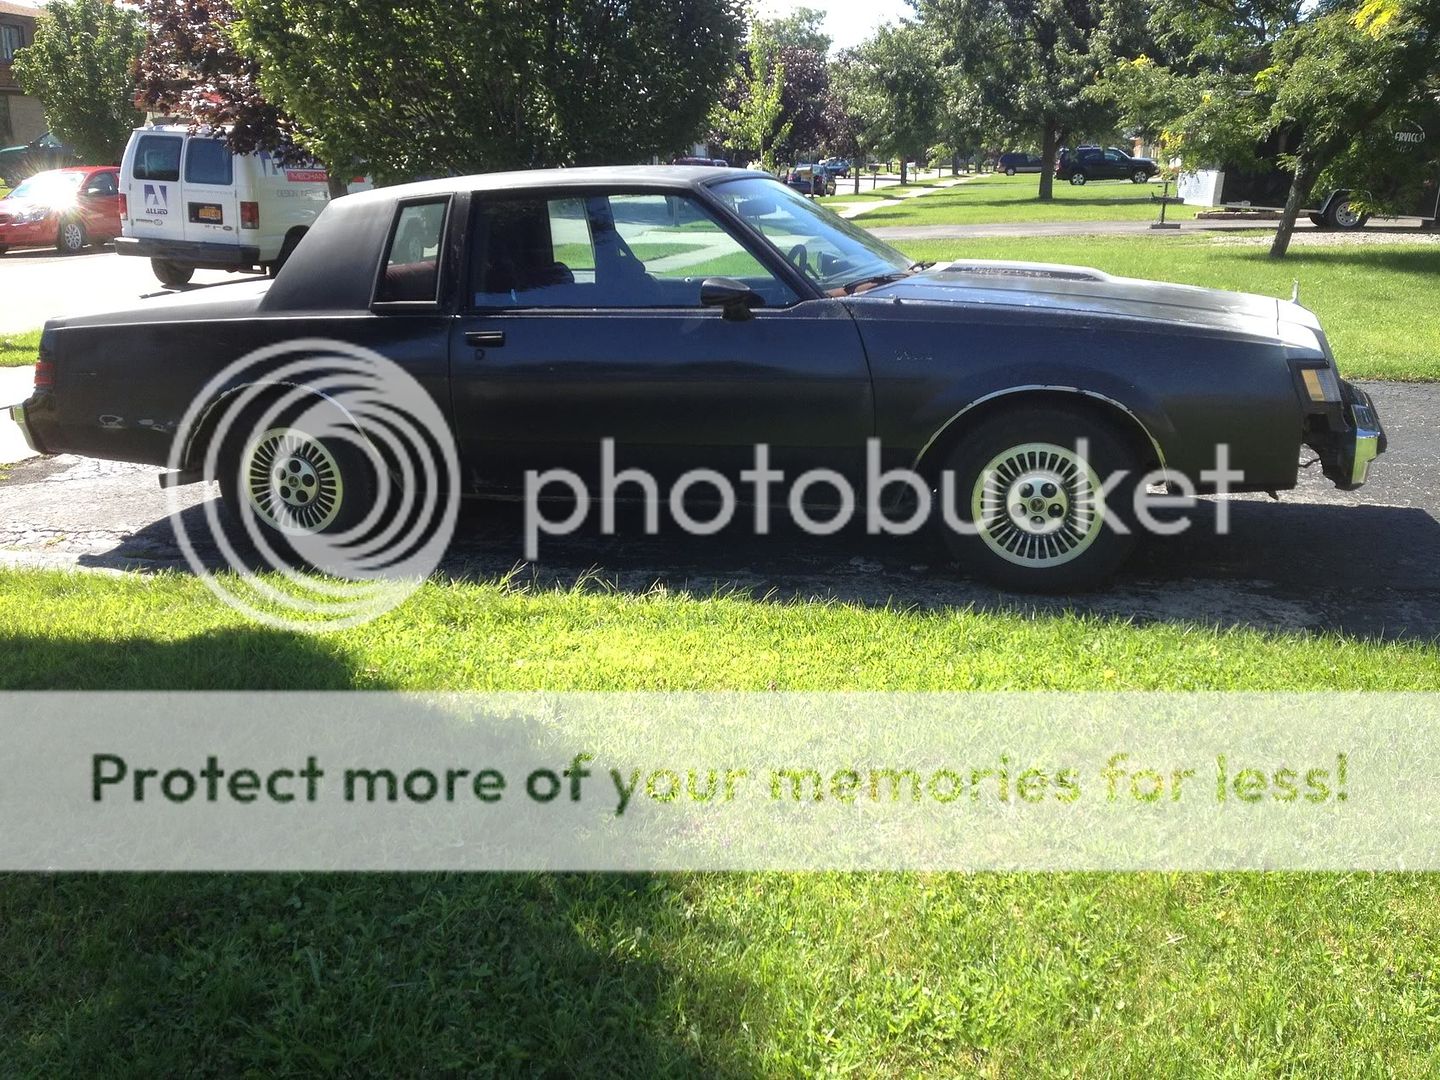
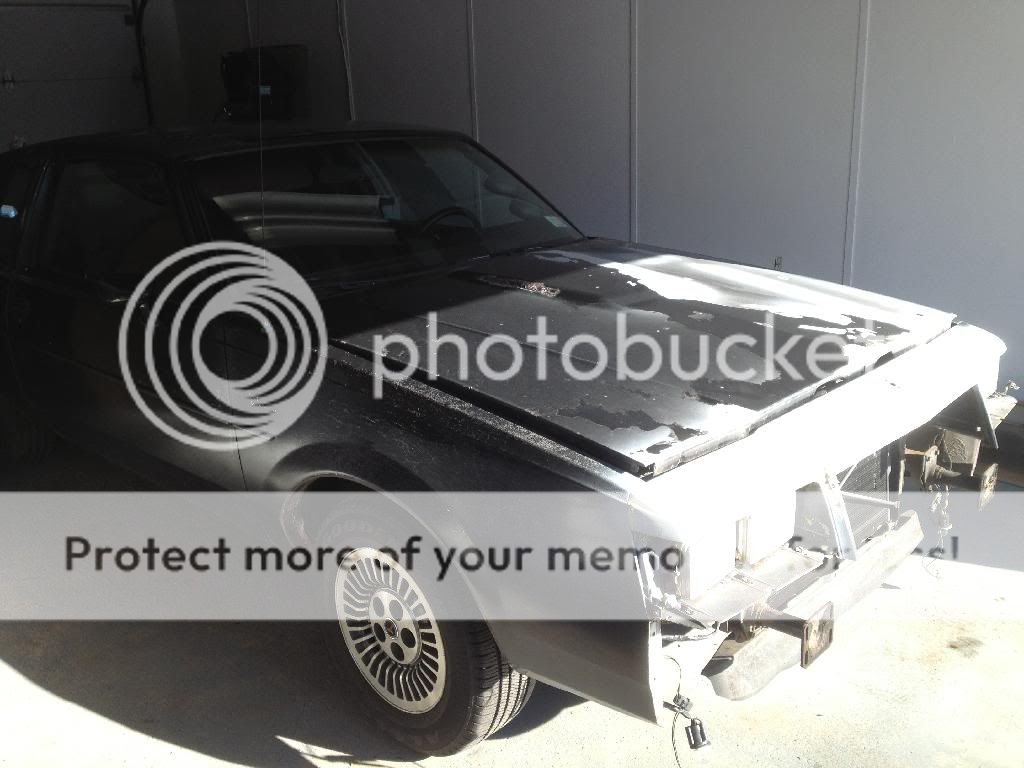
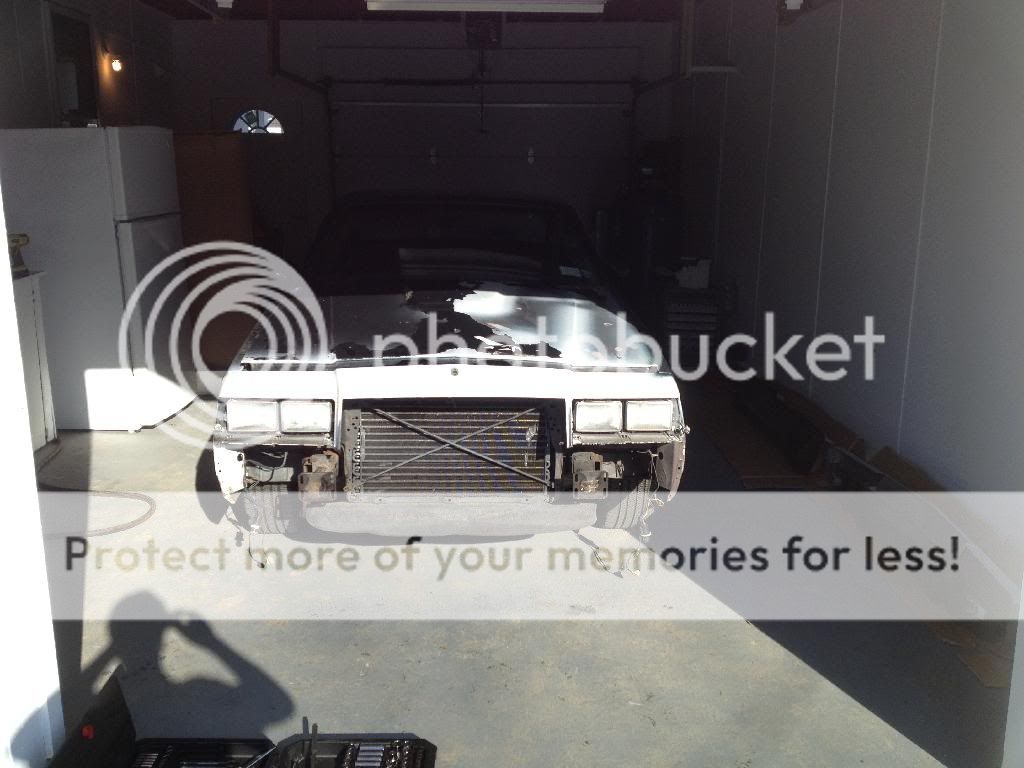
Enough Talking... heres the pictures. From when I got the car til now... All I did today was remove the bumpers and fillers lol, also grill.


Nice start.. I am subscribed. I am headed in the same direction here in Alabama... I need to get started before the Alabama Heatwave starts :(
 
many tips to be honest, too many to list. Contact me when you have questions, chances are I have lived the issue.
 
many tips to be honest, too many to list. Contact me when you have questions, chances are I have lived the issue.

Body work is all new to me. What's the best practice for sanding near body lines? Would I be using a sanding block? Or use my hands?

I still need to buy the tool to remove the windshield trims and figure out how to remove the drip rails/channels at the top of the roof for the door windows.
 
If body work is new, like you are completely green like I was take your time and DO NOT skimp on cheap materials. For example... you can buy 3M 3x5 spreaders for $1 ea or you can buy Harbor Freights version 6 for $2. You will notice a difference in the way you are able to spread. I always used Evercoat extreme filler, it will not shrink. Cheaper Evercoat fillers will shrink over time. DO not get in a rush. I found that I started multiple projects at the same time and "worked my way around." I may do engine work one day, body filler one day, sanding body filler one day, some interior dash wiring one day, welding metal one day....just so I didnt get burnt out on the same daunting task over and over. Using this method also allows ample time for materials that need cure times to cure. There is nothing wrong with leaving filler to cure for a few days before applying another layer. Make the layers light and even as possible. Buy some Evercoat 416 or 417, they are top coat polyester glazes that cover the more coarse filler. They make sanding easier. The grain perse is very fine. I loved working with it. It also self levels. Dont use your hand to do any sanding if possible. I used the Durablock sanding kit that comes with all the basic blocks needed to get the job done from filler, to prime and finish clear coat. If you do not use a block when sanding the clear coat you will have urethane wave in your paint, it will not be even. Removing the drip rails is easy. You will need to remove the A pillar molding which is attached with a handful of screws, and the A pillar molding is held in with the weatherstripping channel. You will see once you expose the weather strip channel where all your questions get answered. Same for the B pillar, remove weather stripping, channel, Bpillar molding, etc.
 
If body work is new, like you are completely green like I was take your time and DO NOT skimp on cheap materials. For example... you can buy 3M 3x5 spreaders for $1 ea or you can buy Harbor Freights version 6 for $2. You will notice a difference in the way you are able to spread. I always used Evercoat extreme filler, it will not shrink. Cheaper Evercoat fillers will shrink over time. DO not get in a rush. I found that I started multiple projects at the same time and "worked my way around." I may do engine work one day, body filler one day, sanding body filler one day, some interior dash wiring one day, welding metal one day....just so I didnt get burnt out on the same daunting task over and over. Using this method also allows ample time for materials that need cure times to cure. There is nothing wrong with leaving filler to cure for a few days before applying another layer. Make the layers light and even as possible. Buy some Evercoat 416 or 417, they are top coat polyester glazes that cover the more coarse filler. They make sanding easier. The grain perse is very fine. I loved working with it. It also self levels. Dont use your hand to do any sanding if possible. I used the Durablock sanding kit that comes with all the basic blocks needed to get the job done from filler, to prime and finish clear coat. If you do not use a block when sanding the clear coat you will have urethane wave in your paint, it will not be even. Removing the drip rails is easy. You will need to remove the A pillar molding which is attached with a handful of screws, and the A pillar molding is held in with the weatherstripping channel. You will see once you expose the weather strip channel where all your questions get answered. Same for the B pillar, remove weather stripping, channel, Bpillar molding, etc.
Is the b pillar moulding in between the door windows and the body area that has the small side windows? It's like a vertical moulding with one screw at the bottom of it?

I was attempting to remove that trim after I removed the one screw and it seemed like it was glued in place so I was afraid I was gonna bend it. Do I need to remove it with a heat gun?

I still need to buy the tool to remove the windsheild mouldings and then I need to pull the headlights out.

Wash and start sanding off the clear.
 
Make sure when you sand the clear off that you throw some lacquer thinner on the substrate to see what type of paint lies underneath. Or look on your cowl tag. I think you are OK and you should be dealing with a base coat clear coat. If lacquer you will need to epoxy prime or remove everything to bare metal. Both my restorations went to bare metal. As for the B pillar that is the one. Keep in mind you must remove the weatherstrip and the channel. There are scores that hold it in which hold the molding on. And...There are 2 more screws that hold the molding on under the weatherstrip retainer. Then there is foam tape under the molding. You should be able to lift off at this point
 
UPDATE: Removed the windsheild mouldings and the rear window mouldings. I Bought the tool from advanced auto that apparently is good for 10 different things including window cranks. Got them off in like 7minutes only broke one clip but I might buy all new ones to be safe.
Also removed the passenger weather stripping, and the rain drip channels, and the the front and rear weather strip channels since they covered the rain channels... alot of double sided tape? Where do I buy this or is it something people don't do once they reinstall everything?
 
Make sure when you sand the clear off that you throw some lacquer thinner on the substrate to see what type of paint lies underneath. Or look on your cowl tag. I think you are OK and you should be dealing with a base coat clear coat. If lacquer you will need to epoxy prime or remove everything to bare metal. Both my restorations went to bare metal. As for the B pillar that is the one. Keep in mind you must remove the weatherstrip and the channel. There are scores that hold it in which hold the molding on. And...There are 2 more screws that hold the molding on under the weatherstrip retainer. Then there is foam tape under the molding. You should be able to lift off at this point

What do you mean by substrate?

whats the cheapest method of painting this car black and making look pretty good and last for awhile?

I was planning on base coat clear coat.
 
Well, the best way may not be your best way. For example if cost is not an issue I'd strip to bare metal, but that is me, if you look at my thread notice my work is like a mirror and glass. I truly believe if you want that appearance you need to make all the prep work . The painting is the easiest part. I would shoot the entire car if not stripping it in a high build primer once you find out that your substrate (the base of your surface) is not lacquer. The block and block and block till you get the smoothest appearance possible, no waves etc.
 
Well, the best way may not be your best way. For example if cost is not an issue I'd strip to bare metal, but that is me, if you look at my thread notice my work is like a mirror and glass. I truly believe if you want that appearance you need to make all the prep work . The painting is the easiest part. I would shoot the entire car if not stripping it in a high build primer once you find out that your substrate (the base of your surface) is not lacquer. The block and block and block till you get the smoothest appearance possible, no waves etc.

When I pulled off the mouldings and channels I noticed a flat red looking paint? Maybe its the factory primer? Does that sound right?

I'm about to buy the durablock sanding kit, but I found a couple kits to choose from, some come with sandpaper and even primer, any thoughts if this is something I should consider?

http://www.eastwood.com/surfacer-block-sanding-kit.html

http://www.amazon.com/Autobody-Dura...=1396919428&sr=1-2&keywords=sanding+block+kit
 
Also my Hand DA or palm sander or orbital whatever its called, has the hook and loop backing plate? Should I get a different backing plate so I can use the stick on sandpaper?
 
The one with the sandpaper for 124 I would buy. It comes with guide coat not primer. As for the red take a pic
 
Also my Hand DA or palm sander or orbital whatever its called, has the hook and loop backing plate? Should I get a different backing plate so I can use the stick on sandpaper?
Yes, get psa the hook and loop only comes 50 per box and is more expensive
 
The one with the sandpaper for 124 I would buy. It comes with guide coat not primer. As for the red take a pic


Heres that red I found under the window trim. I still need to switch to a PSA backing pad so I can use stick on sandpaper on the hand sander, then I can see if its anywhere else.

I was told by a local member of our state car forum and he said his GN had some type of dealer applied paint sealer which gave him lots of issues with fish eyeing, and said I should use a fish eye eliminator? Anyone heard of this on these cars?
 
Last edited:
that car has been sprayed a couple times which is not abnormal. Fisheye eliminator is a bandaid, and some paint mfg highly discourage it.
 
Top