Is there an easy way to run wire from MAP to PL?

Brandon#

Member
Joined
Oct 12, 2014
I am installing my 3 bar MAP sensor, and leaving the 2 bar intact. I'd like to run the signal wire into the passenger side near the ECM, but it is being a PITA. I've tried my normal coat hanger trick pushing the wire through the factory loom, but no luck.

Does anyone have a trick or tip for running a wire into the passenger floor board area? There's not much room to work under the hood in that area because of the a/c.

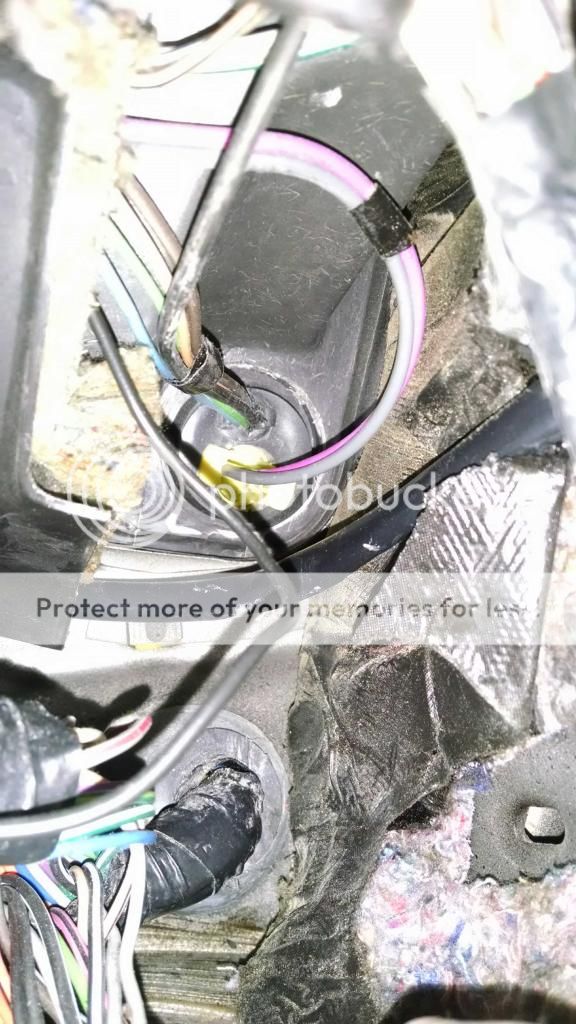
This is where I was trying to go through

 
Maybe I'm lazy but I just ran it to the driver side, through the grommet all my other stuff goes through, and back to the passenger side. My I/O board is on the backside of my glovebox so when you drop the glovebox down you have full access. Running the wire across behind the radio / hvac controls is easy. Don't even need to use anything other than the wire. Drop the glovebox down and you can reach more than halfway
 
I purchased the plug and play extender wire from the tps to the map sensor.Their id's the single green wire Erich is long enough to hide along the way to the speed sensor plug in firewall and run.very easy and a great look also.plus your using the5v from the tps which is the way to go.the 5v signal from the original place is always off a few hundreths of avolt.
 
easier ...
open glove box and on the dash harness connector above the ecm grab the green wire , thats the map signal from the factory connector under the hood
seeing as you are keeping the 2 bar that wire would be the 2 bar signal
you can run the 3 bar signal to the hobbs connector. its there for digital dash but not on the analog dash harness but the hobbs wires run into the car on the engine harness side of the dash connection , those could be used

clear dash connector.jpg
 
Last edited:
heres the connector pinout ,
the wires you would re-purpose are the boost light wires that are on the engine side of the connector
 

Attachments

  • c434conn[1].jpg
    c434conn[1].jpg
    91.8 KB · Views: 154
I was thinking the 3 bar output matched the 2 bar, it just want farther. I haven't verified that 100% though. My Razor's kit is still in the box. Pretty sure Julio would know the answer.
 
maps are based on 5v(approx input) at full pressure 0 at lowest ,
2 and 3 bar arent even close
1 bar is 14.5 psi so heres an approximate output...
2bar ... 0 at -15psi , ~2.5v at 0 psi , 5v at 15psi
3 bar is 0 at -15 psi , 1.6 at 0psi , 3.3 at 15psi 5v at 30 psi

if you just swap a 3 bar the in dash led gauge wont light the first led until about 6- 7psi and max will be at 30psi
 
Damn. I got my factory gauge recalibrated by Caspers last christmas and still haven't put it back in. I was hoping to just put the 3bar in place of the 2 and it work.
 
relax earl
its not a problem anymore ..you can leave the 2 bar alone and your gauge will be fine .
razor kits now come with a plug and play harness that attaches between tps and it connects to the new 3 bar and has an output wire , run that output along with the pump wiring and low fuel wire through the speedometer grommet and connect to map signal to the PAC ..done
just need to mount the 3 bar somewhere and tee off the vaccum source for both maps to work
 
Yea. I just left my Hobbs switch hooked up for the digital dash and used the t harness pacecarta mentioned. Secured my 3-bar to the inner fender liner via 3m double sided adhesive tape. Tapped into the vacuum line that was feeding the Hobbs switch
 
Thanks for all of the help! Lots of great ideas in this thread.

I just finished installing the 3 bar. I used a piece of flat metal and mounted it right next to the 2 bar sensor. I'll post a pic tomorrow.
 
I don't bother looking at the dash guage.
 
15psi isnt ludicrous , with alky hook the 3bar to it and then when its full then you'll be moving
 
Top