Extreme budget GN build thread

Thanks again for all the compliments.

I coated the garage floor with U Coat It. It has held up pretty well considering all the abuse it takes. I drag stuff around, weld on it, etc. The clear coat scratches somewhat easy and grease / dirt gets caught in there. Once I get the other car running I will pull them all out and clean up the floor with a solvent. It should look almost new at that point. Absolutely no peeling / chipping though. It's all in the prep work. My other garage has the cheap Rustoleum coating and it has zero issues after 9 years.
 
BuickMike awesome build thread. The car looks great.

I have been researching front suspension and brakes forever it seems like and here you figured it out a long time ago. I found a p/n 15-0739-6 months ago for the UB Machine a-arms. Do you know are those the same ones you are using?
Also do you recall the p/n for the rear sway end links you used?
 
I have no idea what the part numbers were. I called directly and asked for the UCA set that Michael Crawford from Hellbilly Hotrods designed. He designed these specifically to allow similar geometry that you would get with the SC&C arms, but with a low cost that would fit within the confinements for the grassroots motorsports class. These also accept early 80's Chevy C10 balljoints, which have the same taper at the end, but are beefier at the top and 1/2" longer than stock ones. This way you don't need special upper balljoints to be 1/2" longer. Just lowers.

Also don't know the part # for the endlinks. I mocked up the bar, measured to see how long I needed my endlinks to be, and grabbed a set of Energy Suspension endlinks off the shelf at Autozone.
 
Here is an update.

I have a good portion on the interior panels back in. I still have the door panels, rear package shelf, center console, and seats. I still need to install my new seat foams and covers. I also need to repaint the plastic parts on the seats. My seatbelts were filthy, but with some good soaking in Oxyclean, scrubbing, and some goo gone they look really great. My wife helped out with most of that.

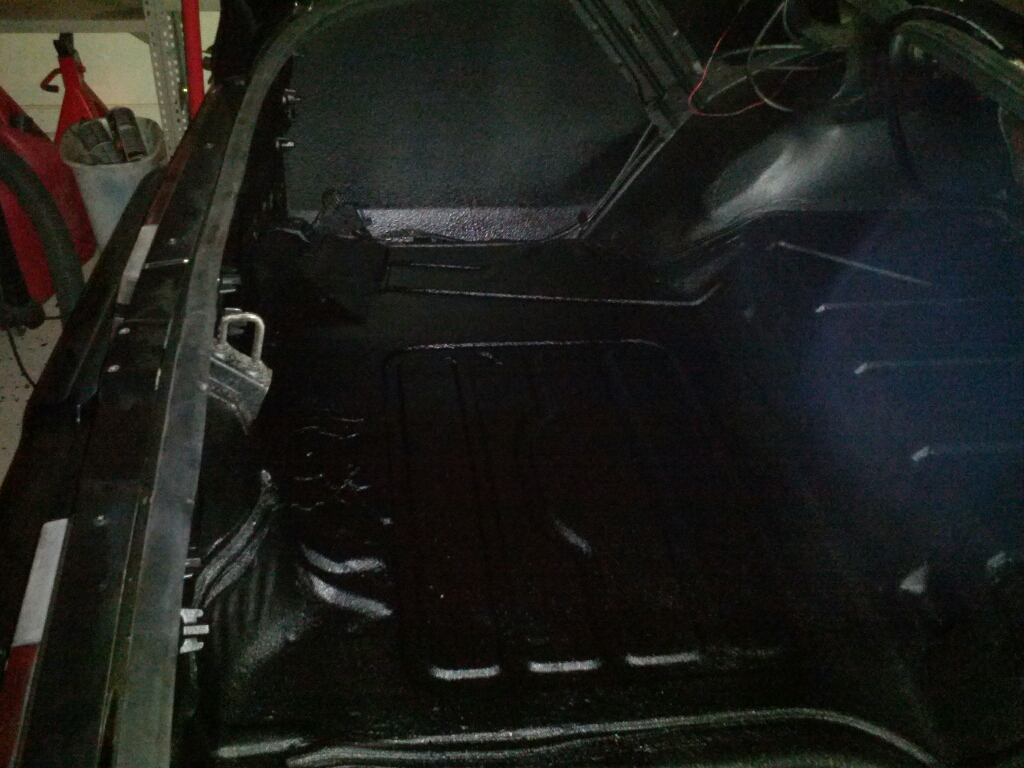
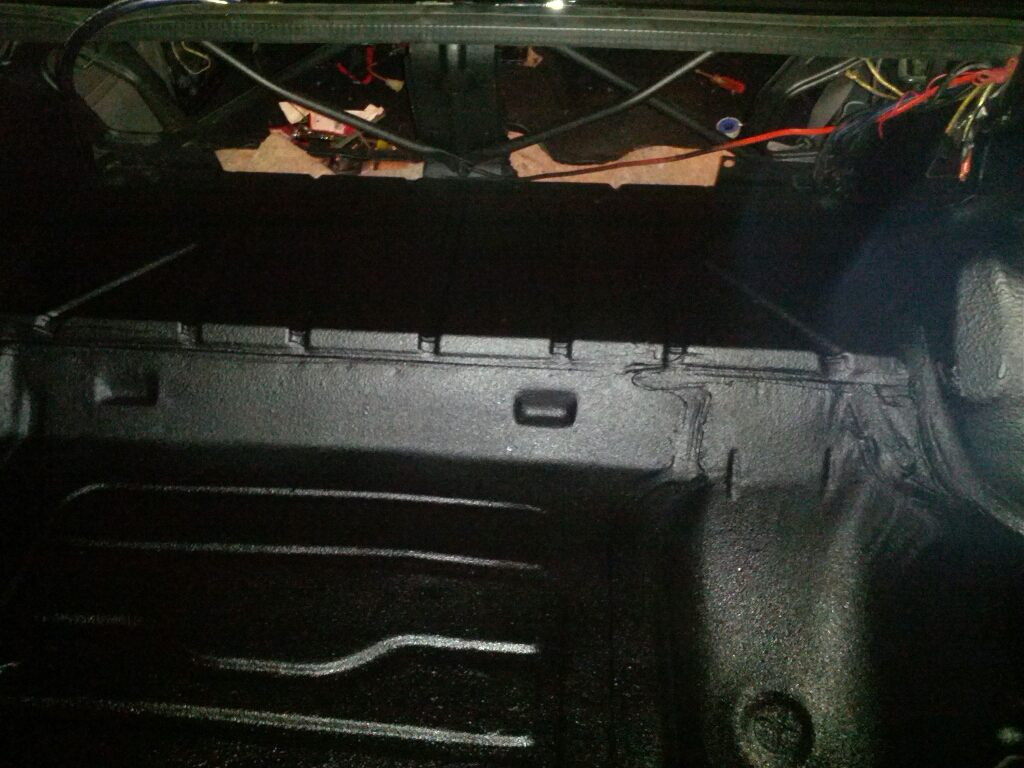
I bought a 6 pack of DEI Boom Mat spray pretty cheap on Amazon and decided that was what I was going to use to coat the trunk. This stuff goes on super easy and is the best undercoating that I have used. That being said, it is just that...undercoating. I was under the impression that this stuff had some decent deadening capability. After unloading all 6 cans into the trunk, it may have had the same effect that one thin layer of sound deadening mat would have. The metal does not resonate as much when you tap it, but it is not the dull thud that my doors have with 2 layers of E dead on them. All in all I think the trunk turned out good. I will be carpeting it down the doar though.

IMG_20130202_192414.jpg


IMG_20130202_192408.jpg


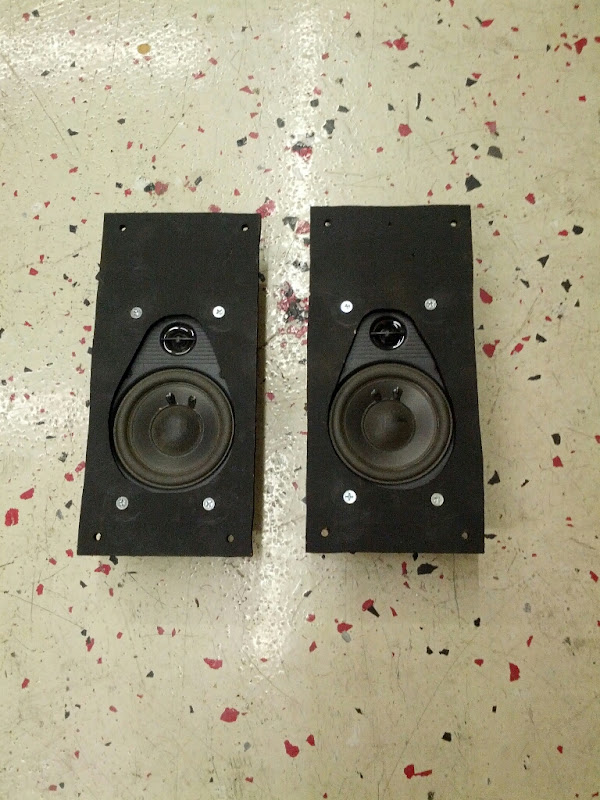
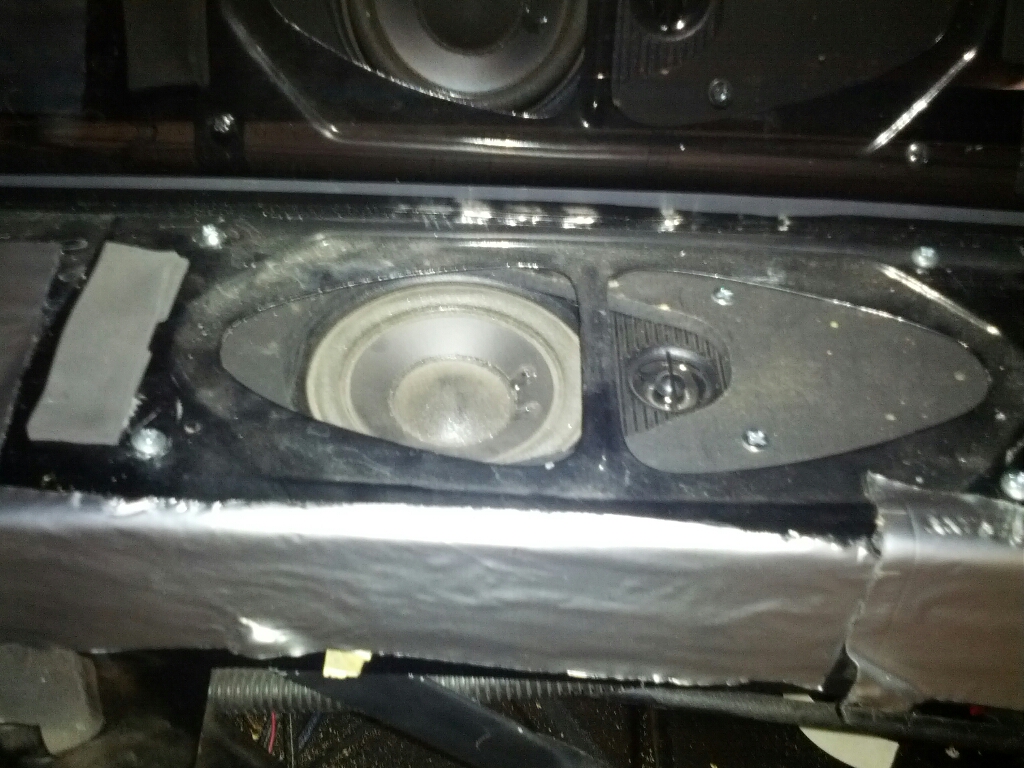
I also decided to make up some plates to put some Boston Acoustics plate speakers that I had laying around into the rear desk. I'm done with the whole 6X9 adapter thing and just want a little rear fill. I think these will do the trick.

IMG_20130203_223628.jpg


IMG_20130204_223408.jpg
 
I have no idea what the part numbers were. I called directly and asked for the UCA set that Michael Crawford from Hellbilly Hotrods designed. He designed these specifically to allow similar geometry that you would get with the SC&C arms, but with a low cost that would fit within the confinements for the grassroots motorsports class. These also accept early 80's Chevy C10 balljoints, which have the same taper at the end, but are beefier at the top and 1/2" longer than stock ones. This way you don't need special upper balljoints to be 1/2" longer. Just lowers.

Also don't know the part # for the endlinks. I mocked up the bar, measured to see how long I needed my endlinks to be, and grabbed a set of Energy Suspension endlinks off the shelf at Autozone.

Michael Crawford arms got it, when I order them in a couple weeks I'll ask the for the p/n and post it here just as a cross reference. On the the steel bushings did you get enough mileage to form an opinion for daily use as long as them stay well greased.

I'll do my homework on the end links for the rear sway, and post the p/n as well. Thanks for that info on the rear sway. Unless I missed it somewhere I haven't seen that mentioned before anywhere. I plan to steel that one, sorry. Especially since my PMT LCA's do not have sway bar provisions. Does the sway bar have to be from a 2dr Blazer? 98 4x4, right?

I'm hoping to have a rolling chassis with the undercoated body back on the frame before the Texas heat comes in.
 
Yeah he had no part number listed for them at the time since they were a 1 off set. I just had to call and order by the description. As far as the swaybar goes, the arms on it may be a little long to be really effective compared to the expensive alternatives, but so far it seems good to me. I did so much else at the same time, so I'm not sure how well it really works. Check this thread for another alternative:

http://www.montecarloss.com/community/ubbthreads.php?ubb=showflat&Number=868951#Post868951

One day I may just get the Hellwig off Amazon for $200 and call it a day.
 
BuickMike I called UB Machine about the A-Arms today they said Michael Crawford ordered two different arms from them. An arched style and the flat style. I'm pretty sure we use the flat, but before I order can you confirm that please.

The p/n for the flat/straight style is 15-0739-5R and 15-0739-5L. Almost what I had found out through research except I had a 6 at the end which is a 1.5" offset and the 5 at the end is a 1.25" offset.
 
I dug through my records and cannot find a receipt for them. They are arched and look similar to the pics below. Mine are made to accept the early 80's Chevy C10 upper ball joints. Hope that helps.

14-0809-5R.jpg
 
Well I just answered my own questions by not being such a lazy azz going back and looking at the info that has already been given. This pic look familiar? Yep, your from page 1. The arch I was referring to would have been top to bottom. Like the stockers.

Cars+012.JPG


So those arms match the ones with the p/n 15-0739-5R and one 5L
Thanks for the help
 
Oh, ok. I saw that UB has some UCA's for the Metric chassis that actually have straight tubes that go from the crossbar to the balljoint mount. That is what I thought you were referring to. Glad you were able to figure it out. BTW, that pic was taken when there was no front clip or motor. They rest level now.
 
Alright, time for an update.

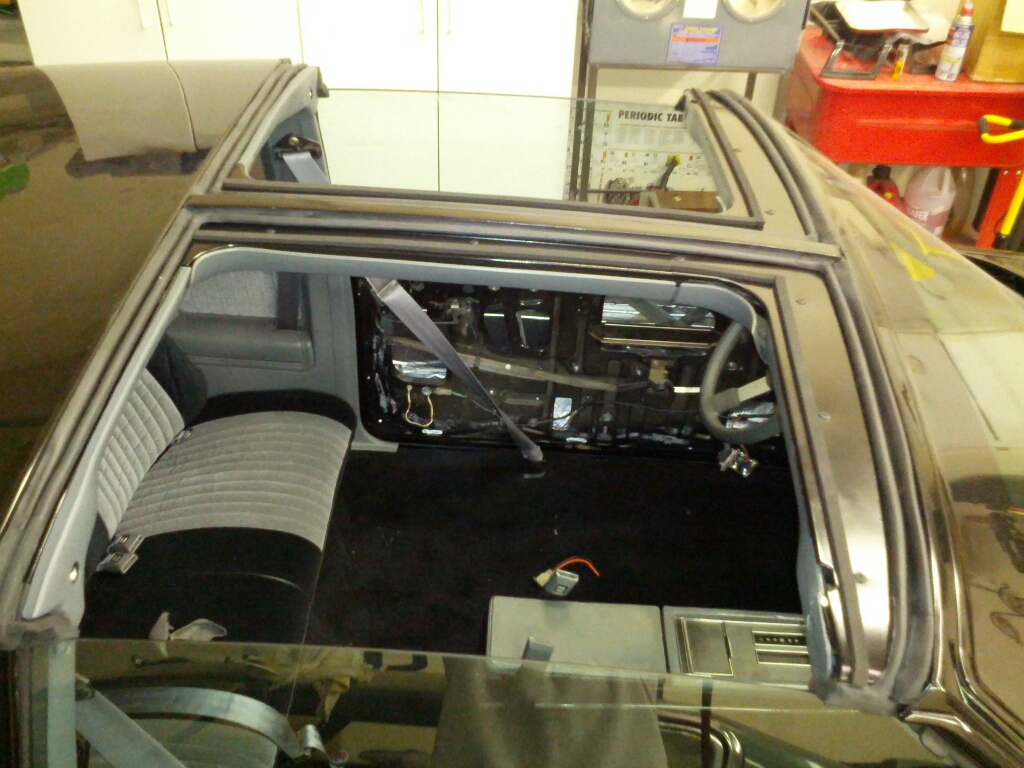
Here is the T Top area with new weatherstripping and after I repainted all the trim.

IMG_20130211_213859.jpg


Lately I've been picking away at getting the interior back in. I. I bought lots of interior goodies for this over the last year. New carpet, floormats, seat covers, front seat foams, visors, headliner, upper door panels, upper dash panel, steering wheel, some t top pieces, etc. It's looking good so far. Right now I just finished recovering the front seats. I will get them assembled and together next week.

I used Monte Carlo SS seat foams. There are close to GN seat foams, except for that there is a modification to be made on the upper foam.

The MCSS seat has 2 seams that are hog ringed to channels in the seats, where the GN seats only have one.

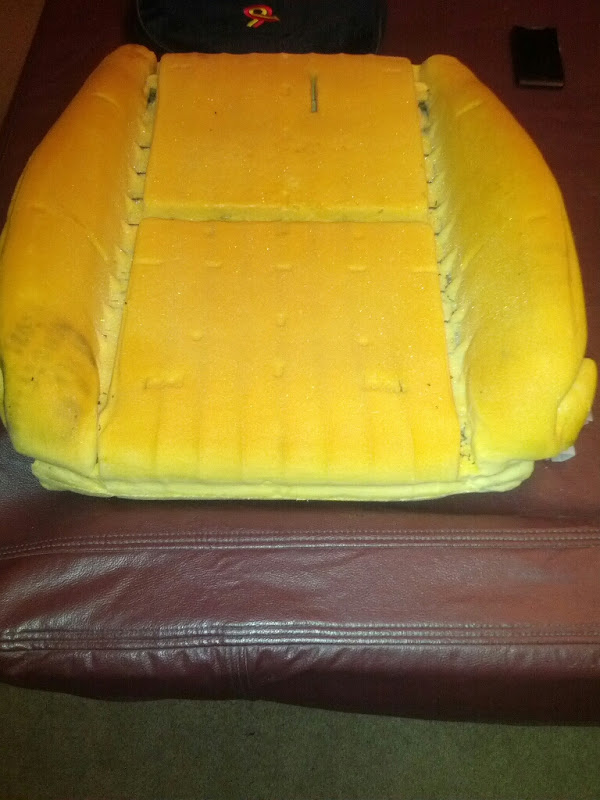
Here is the old seat foam

IMG_20130214_203904.jpg


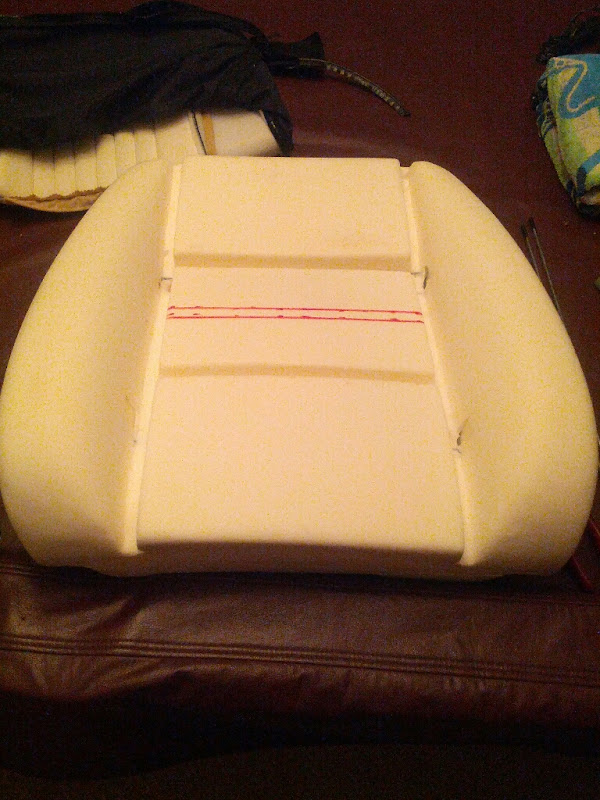
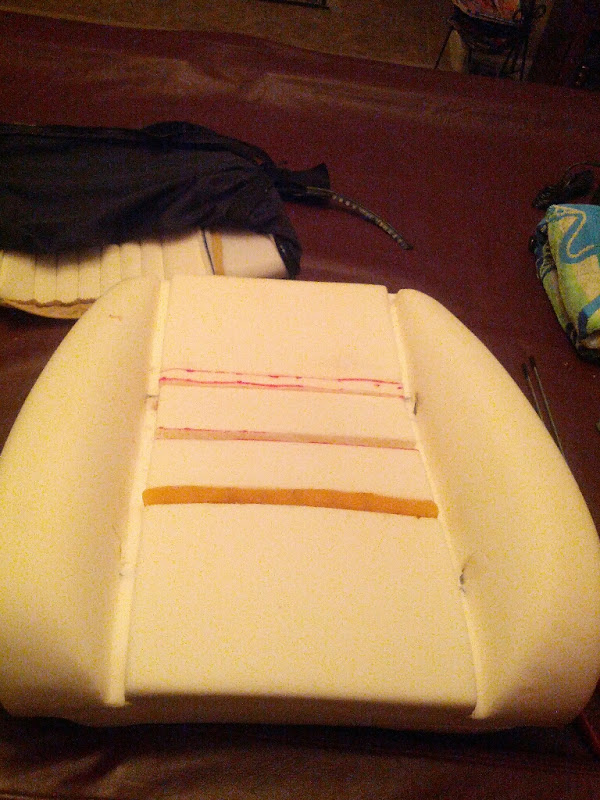
Here is the new one. You can see where I measured and marked where to cut for a new channel.

IMG_20130214_203917.jpg


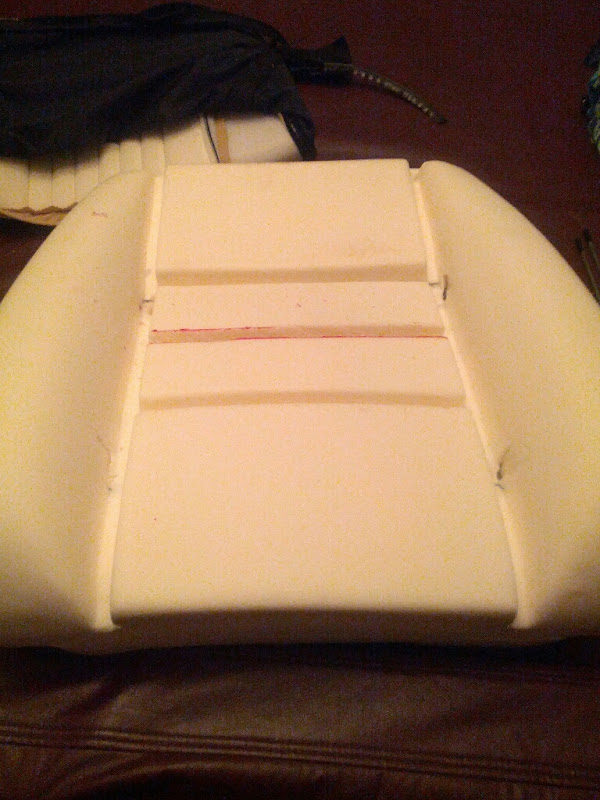
Here is it cut out.

IMG_20130214_204201.jpg


I used the piece I cut out and another that I cut from the old seat back to fill the other channels.

IMG_20130214_204434.jpg


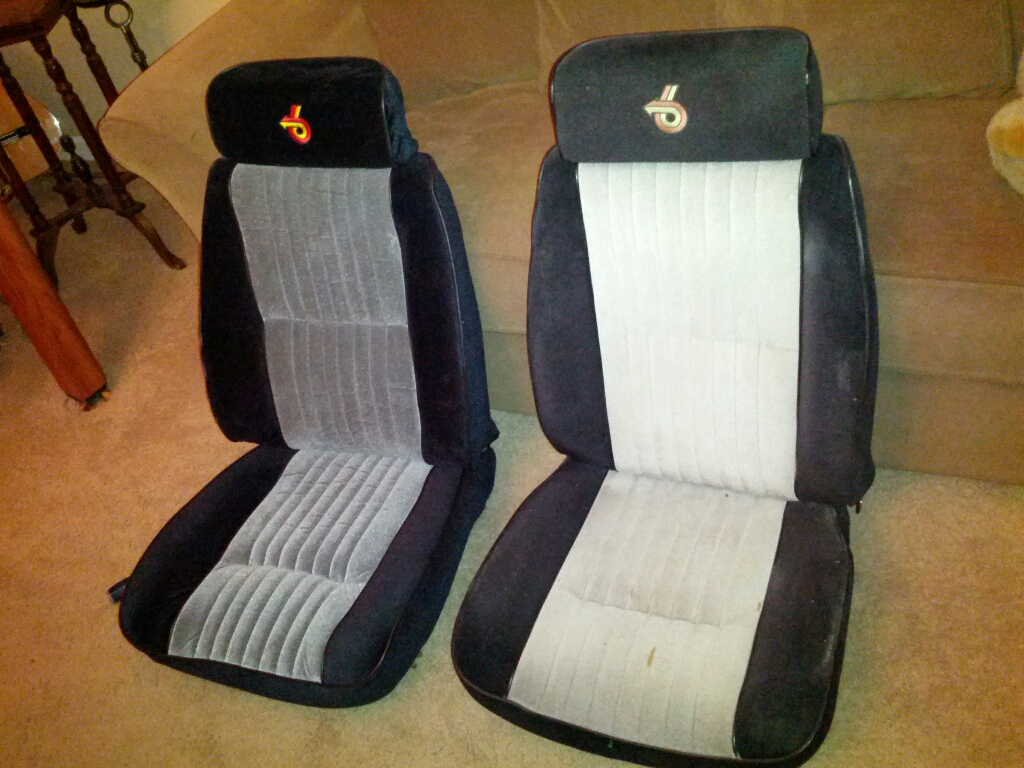
Assembly takes lots of care and patience. The headrests are tough because there is a ton of stretching. Anyway, here is a pic of a finished one next to an undone one. Check out the faded grey.

IMG_20130213_214610.jpg


After I get these in, I will need to get front speakers, door panels, kick panels, and headunit in. Then I can move onto other stuff.
 
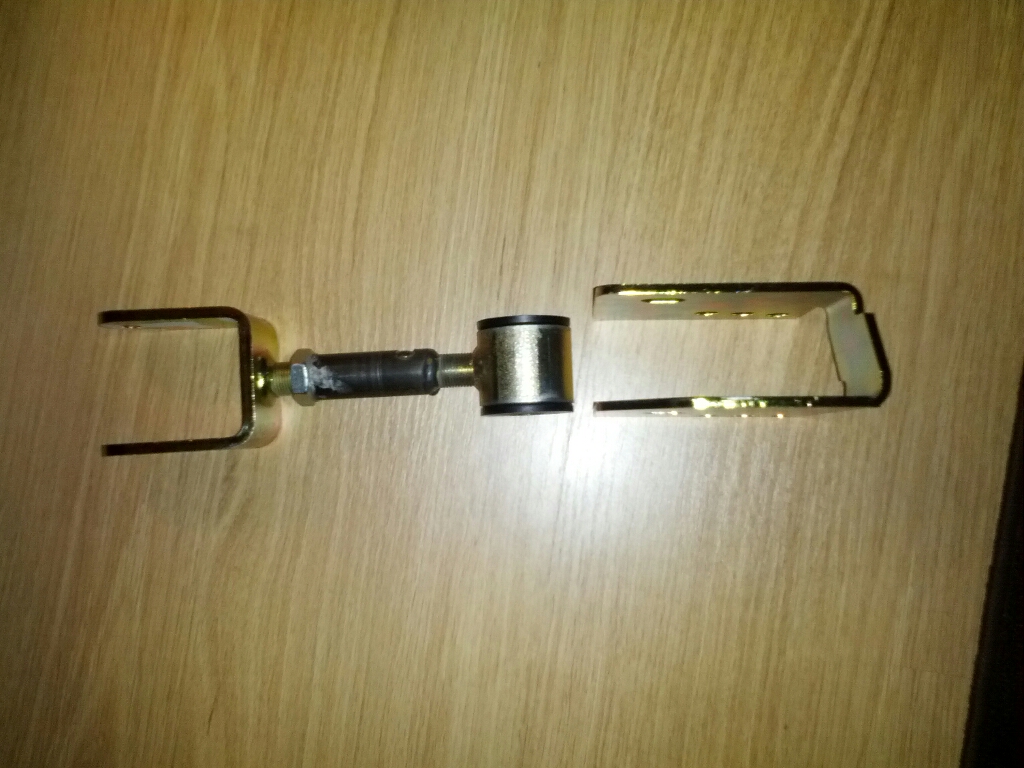
Sneak peak at my next project. Check out these Baseline Suspensions rear UCA's with relocation bracket. Notice anything different? Yep, bushings!! Kevin made me these custom with bushings since I didn't want the noise transmitted from the rod ends that come on the trpical kit. I can't wait to get these in and setup so I can get this car to hook! These along with my Toyo 275/45/16 DR's should do the trick.

IMG_20130215_215354.jpg
 
I like those control arms. I was looking into the baseline stuff a while back. I was having a hard time finding a 8.5 rear end within budget for my build (I'm rebuilding a NA Regal so I had the itty bitty 7.5). So I picked up a Ford 8.8, and was going to use Kevins swap kit.
I never pulled the trigger though $400 and 2 trade ups later I ended up with a brand new Moser 9". :)

I still liked the brackets, but like you I didn't want to deal with the rod ends if not necessary, and his brackets use his arms so I never looked back.

Now bushings?!?More info please. Are they grease-able? They look welded in on the bushing side. Are these a one off deal?
 
These are a 1 off deal. You can always hit up Kevin and see if he will make another set. The bushings are not greasable. Maybe I'll see if I can convert them.
 
These are a 1 off deal. You can always hit up Kevin and see if he will make another set. The bushings are not greasable. Maybe I'll see if I can convert them.
 
These are a 1 off deal. You can always hit up Kevin and see if he will make another set. The bushings are not greasable. Maybe I'll see if I can convert them.
 
Alright, time for an update.

Here is the T Top area with new weatherstripping and after I repainted all the trim.

IMG_20130211_213859.jpg


Lately I've been picking away at getting the interior back in. I. I bought lots of interior goodies for this over the last year. New carpet, floormats, seat covers, front seat foams, visors, headliner, upper door panels, upper dash panel, steering wheel, some t top pieces, etc. It's looking good so far. Right now I just finished recovering the front seats. I will get them assembled and together next week.

I used Monte Carlo SS seat foams. There are close to GN seat foams, except for that there is a modification to be made on the upper foam.

The MCSS seat has 2 seams that are hog ringed to channels in the seats, where the GN seats only have one.

Here is the old seat foam

IMG_20130214_203904.jpg


Here is the new one. You can see where I measured and marked where to cut for a new channel.

IMG_20130214_203917.jpg


Here is it cut out.

IMG_20130214_204201.jpg


I used the piece I cut out and another that I cut from the old seat back to fill the other channels.

IMG_20130214_204434.jpg


Assembly takes lots of care and patience. The headrests are tough because there is a ton of stretching. Anyway, here is a pic of a finished one next to an undone one. Check out the faded grey.

IMG_20130213_214610.jpg


After I get these in, I will need to get front speakers, door panels, kick panels, and headunit in. Then I can move onto other stuff.

Great write up and pics of seat foam, I plan to redo mine soon and this helps.
 
Sneak peak at my next project. Check out these Baseline Suspensions rear UCA's with relocation bracket. Notice anything different? Yep, bushings!! Kevin made me these custom with bushings since I didn't want the noise transmitted from the rod ends that come on the trpical kit. I can't wait to get these in and setup so I can get this car to hook! These along with my Toyo 275/45/16 DR's should do the trick.

IMG_20130215_215354.jpg

Mike,
How are those arms fitting, are they close??? Like I mentioned I just patterned them off my car so I don't know how close they'll be on yours..

KS
 
Hey Kevin, just started on this last night. I bolted in one bracket and went to connect the arm to the diff, but it is about 1/4" outward from lining up. I may just need to loosen the bottom bolt on the bracket and see if there is enough play to rotate it a hair. I also remember that with my stock arms the rear diff had to be in a certain position for them to line up when installing / uninstalling. Since this is different geometry maybe I need to lower the diff a bit to connect them. I'm totally guessing on how long they should be too.
 
Top