Cleaning the Frame

bob86gn

Senior Member
Joined
May 24, 2001
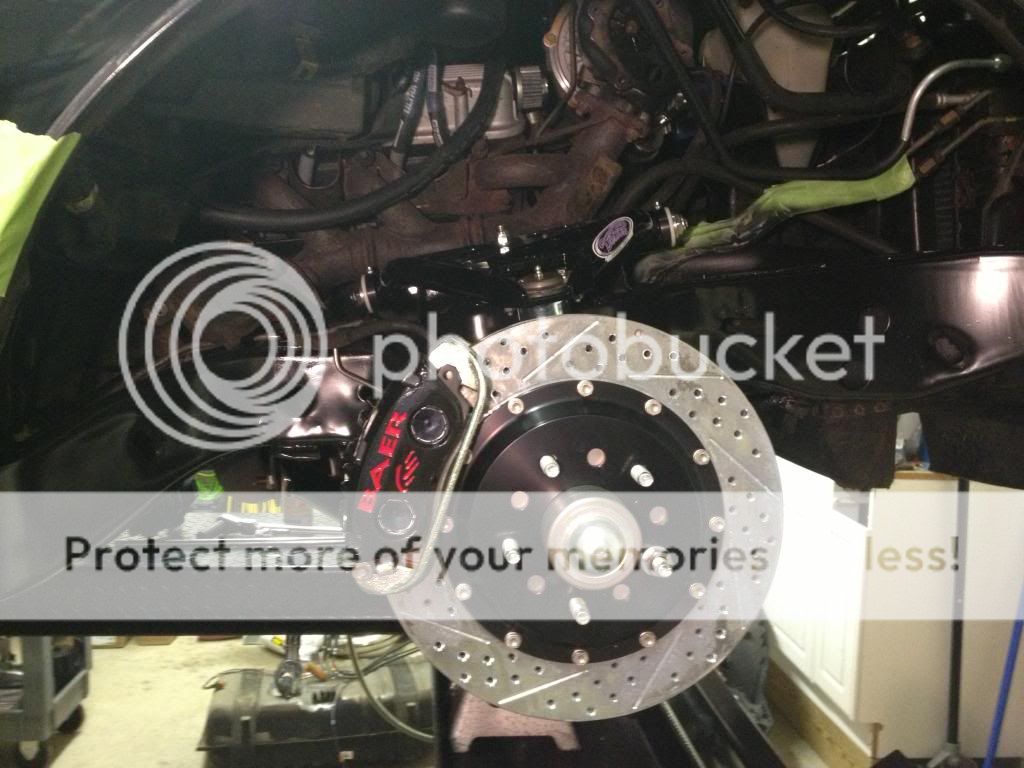
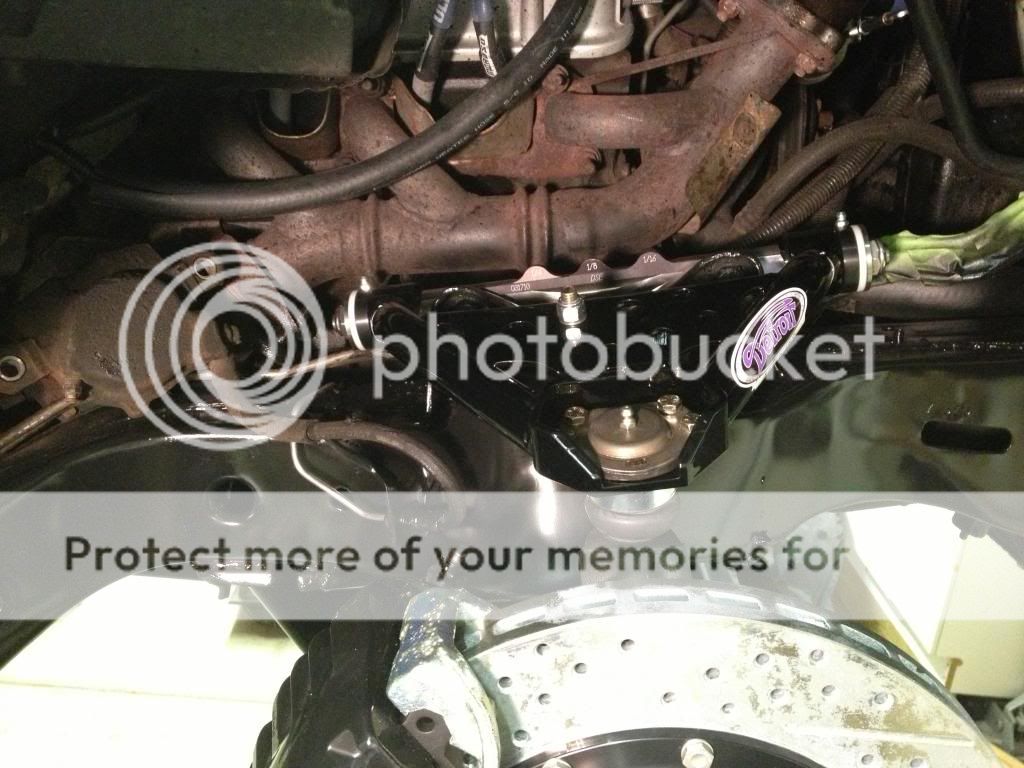
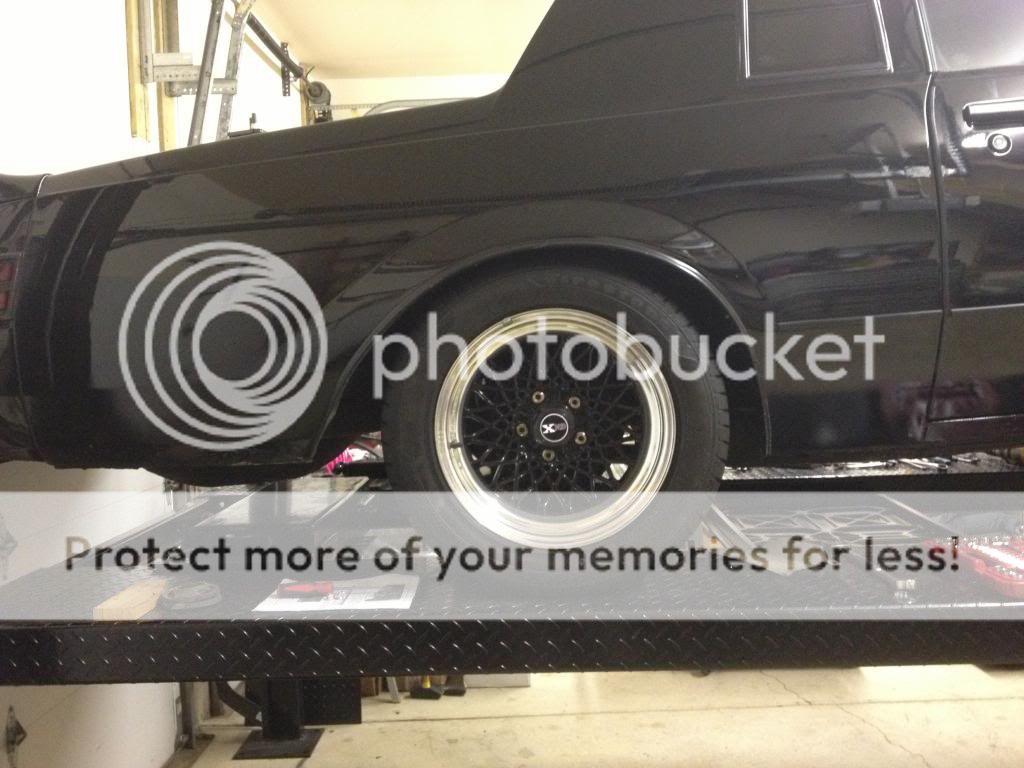
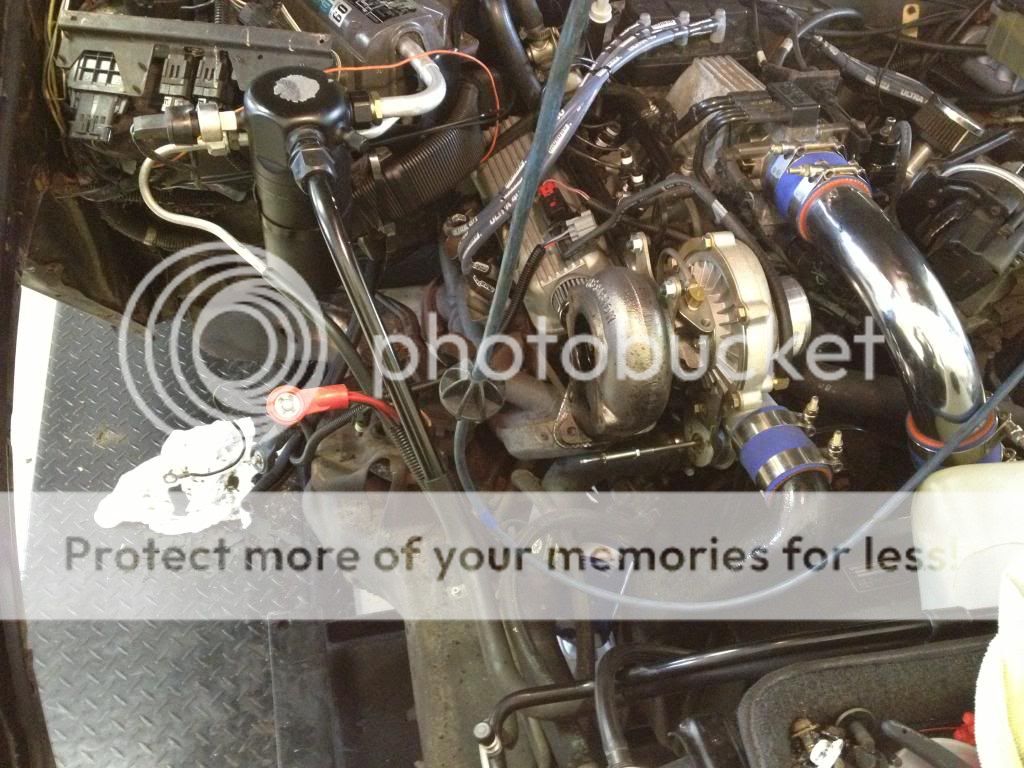
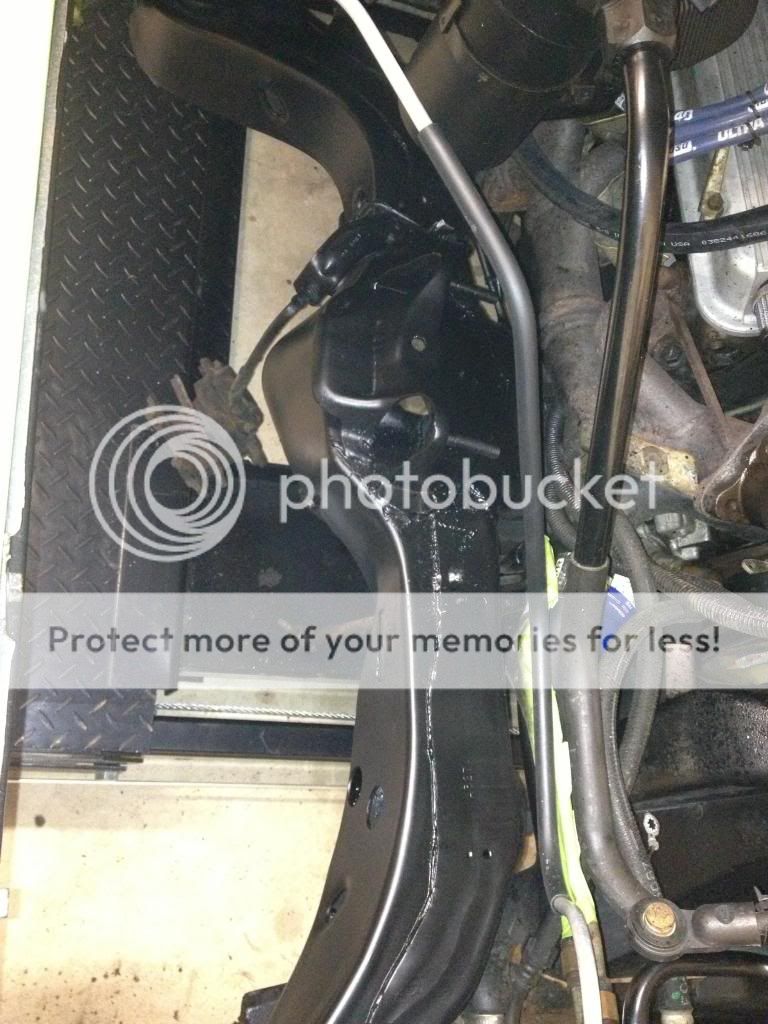
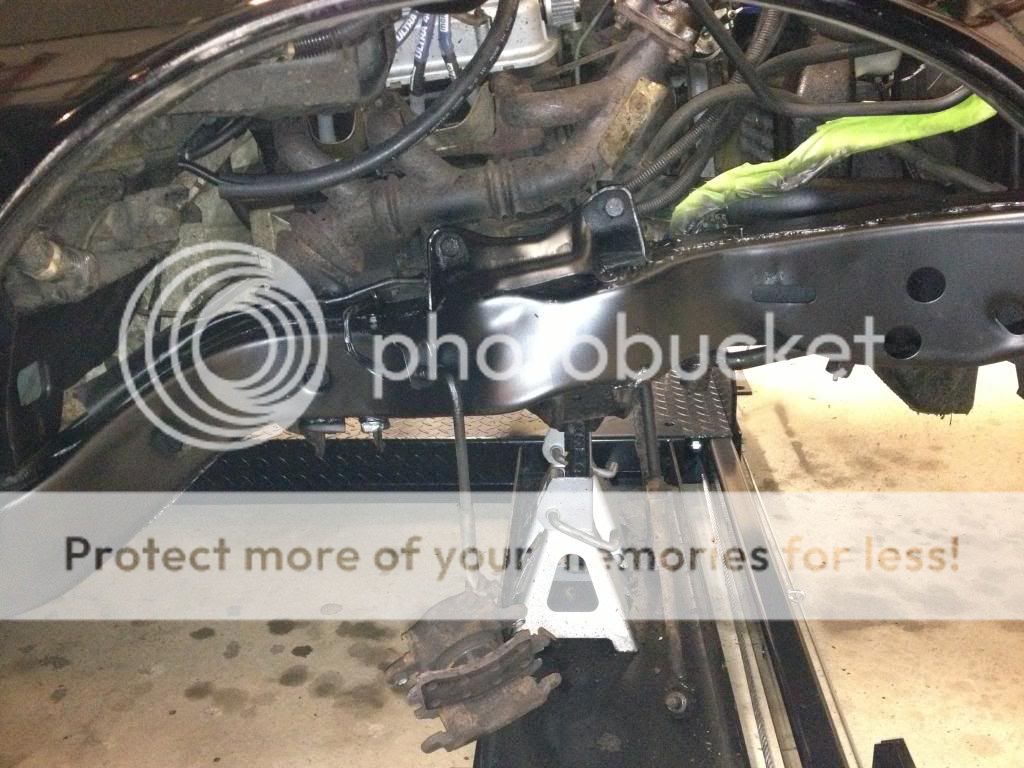
I am in the process of putting a Detroit Speed Suspension on my 87 GN and I figured I should clean up the exposed parts of the frame a little bit and POR-15 it. The area under the upper A arm cleaned up pretty good with some brakecleen but the rest of it has something else on it. Not sure what it is but it doesn't come off easy. Do you guys have any secrets for cleaning and prepping the frame. Obviously the body is still on it so it isn't as simple as sandblasting or dipping.

87-Frame-front-001_zps068f758c.jpeg
 
Probably some type of under coating. Your scraper will be your best friend. Make sure you get a good one! Assorted size stiff bristle wire brushes help also
 
I just did the whole bottom of my car while it was on a lift with the front & rear suspension, driveshaft, & tank removed. The rear brake lines were left on & the rearend was supported with a tranny jack. I used gallon of degreaser from a spray bottle, a couple of large heavy duty scotchbrite type scouring pads, & scrub brushes from Harbour Freight. Also a couple different size/type wire wheels for the crusty stuff. It took a day & a half to clean then paint. I brushed on the POR15 then sprayed with POR15 chassis black out of a rattle can. It turned out really nice, reassembled with all the new parts.
 
Not the best shot of the frame, but you can get an idea of what was done by looking at the rearend.
 

Attachments

  • 2013-01-05_13-42-09_486.jpg
    2013-01-05_13-42-09_486.jpg
    868.1 KB · Views: 203
I have been cleaning frames and engine bays for 30 plus years, the secret is........oven cleaner !!
It will remove grease and paint, hose off, apply some self etching primer, then the top coat of choice.

Oh yeah, wear gloves !!!!
And eye protection.
 
I used a heat gun and plastic scraper for the undercoating then wiped the frame down with paint thinner. After that, I used a wire wheel on a drill to take it down to bare metal. It's a lot of work but get's it done. I usually try to avoid harsh chemicals but may try using oven cleaner next time.
 
Bottom is almost done. Needs some touchup/ finishing... but it's a work in progress. Not a show car, but very presentable so far. Next up are a few more mechanical items, then drive it until I can afford a paint job!
 
I just pulled the rear out on my new Buick. Took wire wheel on my 4" grinder been working great. If I had the time and the room I would have done the entire frame had it sand blasted and painted. Since I want to drive the car I'm doing POR15 on the under carriage and the inside floor pan. Engine compartment I use engine degreaser and a pressure washer and then blow the water off with my air hose from the compressor. Eastwood extreme chasis gloss black.
 
And most sane people just drive their cars and never look underneath....then there are those who are obsessed...on the darkside.
good looking Chassis guys.
I was lucky enought to buy mine new and painted the bottom the first week with urethane, now the 86 GN project car was another matter, it had been rust protected with Alabama red clay, a few days of pressure washing and the perfect floor boards were revealed, then PPG etch prime and urethane black.
total dissassembly would have been better but we will tackle that one upgrade at a time.
 
Forget Por15. Get SEM Rust Shield. That stuff will never come off.
 
Without a lift handy what is the best way to do this? I want to undercoat the bottom of the car to protect it from rusting and its in good shape underneath, but if left unprotected it will develop into a nightmare.
 
Figured I better update this thread on the progress. I will note that I own every aerosol product that Eastwood makes at this point.

Here is the passenger side before starting the process:
Frame-003_zps63025af6.jpg


I used Eastwood Undergone, a drywall spakling knife, a wire wheel in a drill, multiple wire brushes, a scuffing pad and a bunch of rags to get me here:
Frame-004_zps5194c54d.jpg


I found some other stuff called Eastwood Chassis Clean which is illegal for use in Cali so you know it has to be good (real bits of panther in it)
That worked great to clean up the Undergone to get me down to basically bare metal
I sprayed the sections with two coats of Rust Encapsulator, scuff sanded it with 400 grit and hit it with Chassis Black.

Here are pictures of it with the Rust Encapsulator on it, I wanted to stop there but they recommend the Chassis Black as being more chip resistant so I hit it with 3 coats of that as well.
Frame-005_zpsba18bedd.jpg

Frame-002_zpsc541ef7e.jpg
 
And most sane people just drive their cars and never look underneath....then there are those who are obsessed...on the darkside.
good looking Chassis guys.
I was lucky enought to buy mine new and painted the bottom the first week with urethane, now the 86 GN project car was another matter, it had been rust protected with Alabama red clay, a few days of pressure washing and the perfect floor boards were revealed, then PPG etch prime and urethane black.
total dissassembly would have been better but we will tackle that one upgrade at a time.

Did all of mine with jackstands, yes it was fun to spray !

Reminds me of my S-10. It was a 4 year old credit union repo that was apparently trashed, then pulled out of a creekbed. My first weekend was spent under it with a rented pressure washer and I ended up knocking about 300# of well-compacted red dirt out of the frame rails!
 
Reminds me of my S-10. It was a 4 year old credit union repo that was apparently trashed, then pulled out of a creekbed. My first weekend was spent under it with a rented pressure washer and I ended up knocking about 300# of well-compacted red dirt out of the frame rails!
Yes, red clay in my Florida Driveway was a site to see, my cars never go offroad, that stuff took forever to wash off and assimilate into the yard, but it was a great preservative and salt free, really preserved the panels.
 
lrayzer, you spurred me on to show some progress! I went directly into the garage tonight before dinner :)

After-005_zps787c8acf.jpg


After-006_zpscb30ddbe.jpg


After-004_zpsc984fe96.jpg


Not applicable to this thread whatsoever, but here is an idea of the stance in the back
After-003_zps05eb3642.jpg


And a gratuitous rear end shot of the DSE rear suspension
After-002_zpse474526e.jpg
 
Top