Thermostat...something simple

WH1_T-Type

Well-Known Member
Joined
Jun 1, 2009
So I knew what I was doing going into putting in a 160degree thermostat, but that was because I have done lots of little jobs like that before. In reading my searches for anything I should look out for I noticed a lot of questions about where things were located. So when I went out to do it, I figured I would take some pictures as I went along for future reference!

So here we are.

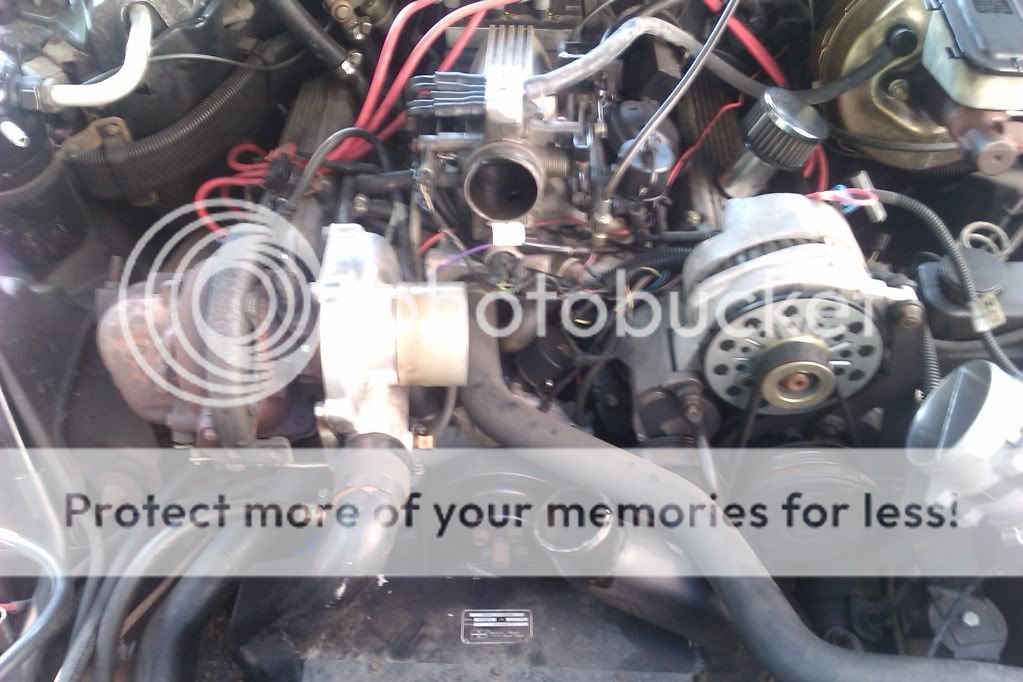
Pop the hood!
IMAG0163.jpg


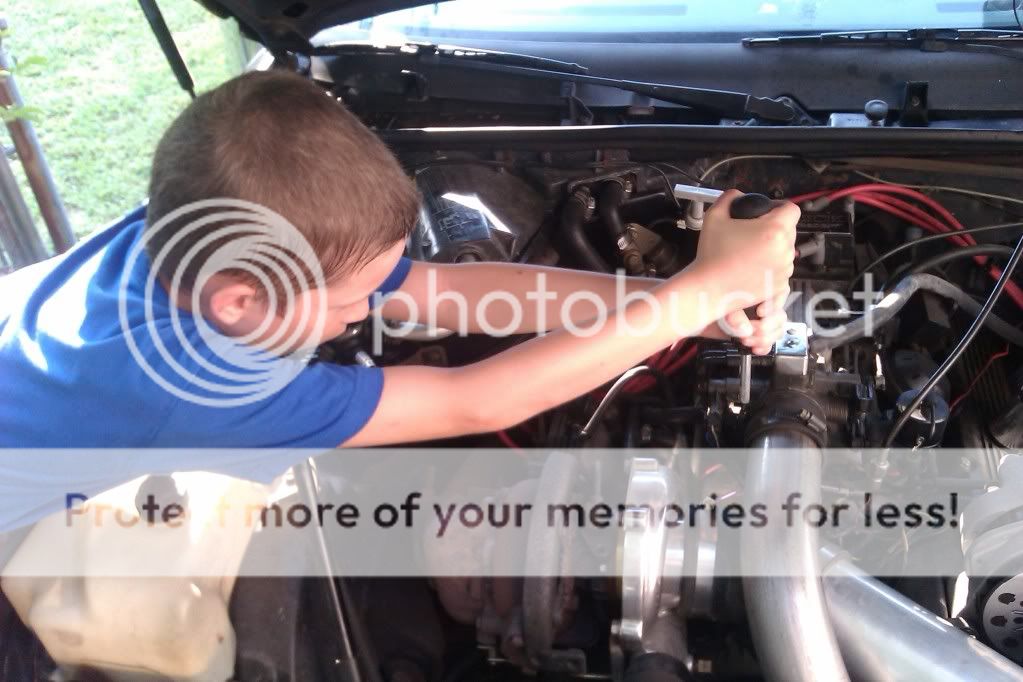
Take off the up pipe and the MAF/Turbo pipe
IMAG0164.jpg

IMAG0167-1.jpg


Here is the hose that runs from the top of your radiator to the water neck and thermostat.
IMAG0168.jpg

(in the above picture, directly over the hose, you can see the electrical plug for the IAC. I removed that to get to things better as well. In the below picture you can see the unplugged unit)

Remove the hose and here is the neck that needs to come out. If you plan on replacing it anyways, which is a good idea and what I did, go ahead and take the hose off and grab it with something and pull it out. you will probably ruin it this way. So if you are trying to reuse it, leave the hose on and use the hose as leverage on it to work it out.
IMAG0169.jpg


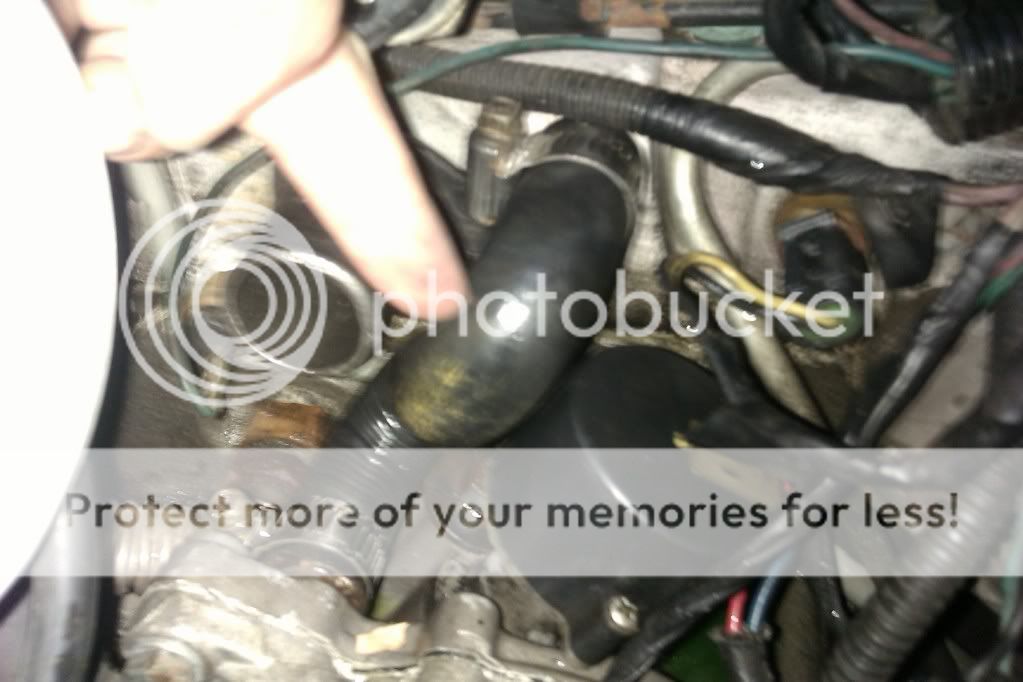
Easiest way to move forward is to take the hose that goes from the waterpump to the block off
IMAG0178.jpg


to get the housing out you will have to take this bolt out. Now is when you either put the radiator hose back on to get the housing out or you just grab it with pliers and pull.
IMAG0170.jpg


here's the old housing
IMAG0174.jpg


beneath is the thermostat
IMAG0173.jpg


I decided to replace the neck and got one from Autozone. It is CAST IRON so is way stronger then stock and was only 8 bucks and they had it in stock!
IMAG0175.jpg
 
Finishing up

lubed up the o-ring on the new housing with vaseline, put the new thermostat in, the neck, and the hose to the pump. Be careful when putting the bolt that holds the neck in back into the block. Ensure you do not cross thread it, take your time.
IMAG0179.jpg


hose back on!
IMAG0167.jpg


Engine back together!
IMAG0163.jpg


I know a lot of people will think it was silly to post this, but I hope it is a help to someone!
 
While I was at this, I also installed a water temperature gauge. Directly to the left of the the hole for the water neck you can see a single wire going into a plug. If you do a search, THIS is the one that feeds the dash dummy light that everyone says to use for your sender and is the one I did use. Works great. Sorry I didn't take a pic pointing to it, but I think it is pretty visable here.
IMAG0173.jpg
 
Nice "How-To" write up.

I'm learning the hard way that nothing is quite as straight forward as it seems when it comes to working on these cars.

~JM~
 
Nice "How-To" write up.

I'm learning the hard way that nothing is quite as straight forward as it seems when it comes to working on these cars.

~JM~

Thanks! and very true..lol

I would have thought you were older............:biggrin:

I'm a prodigy! :D

That's my oldest boy James! He likes to help for about 15 minutes each job...then he wants to ride his bike!! lol
 
TIP: Once the upper radiator hose is off, get a large socket that fits just inside the thermostat neck and use it to work the housing out of the intake. The thermostat housings can really be a PITA to remove if you are trying to just use pliers or the upper hose to pull it out.
 
Nice "How-To" write up.

I'm learning the hard way that nothing is quite as straight forward as it seems when it comes to working on these cars.

~JM~


These cars are cake to work on IMO. Everything is staring right at you, unlike most cars nowadays. I think the hardest part to these cars is the #6 spark plug, lol.
 
These cars are the easiest Ive ever worked on. 4th gen fbodies suck dxck just to change plugs on. The carb turbo cars are a pita but liveable. I will admit ive never had exhaust leaks til i owned one of these and i hate pulling off the turbo but its becoming second nature like everything else. My car has ran damn good since i fixed the cracked manifold keith pointed out to me. Just gotta think of them as an old simple 80s car.

Good pics. this should be posted in the how to. the part number for the neck would help some people out just being in the section. get the idle fixed yet?
 
IAC isn't fixed yet. Wife wants me to get that water leak fixed before I go back to the idle because even with the screwed up IAC numbers it is running great. :(

Don't have the part number off hand, but I will get it when I go out later.
 
While I was at this, I also installed a water temperature gauge. Directly to the left of the the hole for the water neck you can see a single wire going into a plug. If you do a search, THIS is the one that feeds the dash dummy light that everyone says to use for your sender and is the one I did use. Works great. Sorry I didn't take a pic pointing to it, but I think it is pretty visable here.
IMAG0173.jpg
Thanks for the ' how to' doing this right now and was mashing Housing to get it off,, good info,, Also replacing lower radiator hose.. got one from kirban performance that looks and is not shaped like the one in your pic or the one I took off but they say it is correct,, any ideas... Thx Dave
 
You are welcome, hope it can help. Doing this thread made me think that doing a 'how to' on a suspension rebuild would be easy...learned the hard way that it was not simple to do a thread like this for suspension!!!

I did not replace any hoses at that time, but I would think that as long as you can attach the hose firmly without kinking it, there wouldn't be an issue. Hopefully someone with more experience it will chime in.
 
one thing i will add to this, and it applies to EVERYTHING....use lots of ANTI SEIZE when joining dissimiliar metals....steel bolt, aluminum manifold, etc...makes assembly, and future dissassembly MUCH easier..
 
I just did mine today. Put a 160'F one in. I found it helpful to remove the valve cover to turbo breather pipe. With that removed,it helps to get at things from the side. I'd also highly recommend that someone get a new S-hose if it hasn't been replaced. This is the perfect time to replace it. You've got to at least undo the end that attaches to the block,anyway.

My upper hose was stuck on the housing like it had been on there since new. (maybe it has?)
A prybar from each side,back and forth,eventually got it loose. Stick the prybar between the hose end and the housing.

Be careful not to drop the housing bolt and u-clamp. If you do,you know that with these cars,the parts won't hit the floor. They will fall into a hiding place.

Getting the housing off: Good luck. Mine turned easily,but would not come out of the hole. Prybar once again,from the drivers side. Rest it on the base of the housing...whack it with a 3lb hammer. Off comes the housing.

Getting the new housing in. Good luck again. Mine didn't just push in. Yes,I lubed it.
Solution: A 2x3 piece of wood about 16in long. Put the housing against the hole...put the end of the wood on the housing. The other end of the wood should be about where the intercooler is. The 3lb hammer again. One shot. Just like setting a core plug.
I had a new housing to install. The old one was still ok.

Once everything is back together,the rad petcock is tightened. Fill.

Start...wait for the thermostat to open. Cap off. Keep it full. I turned the heat on which opened the hot water valve just in case air was trapped. Once flow started,I raised rpm to 2,500 or so by hand...the level dropped. I used the free hand to add more coolant,put the cap on...released throttle.

I let it idle for a bit and build pressure. Shut it off and looked for leaks.

I've got a fresh hunk of cardboard under mine all night. There had better not be any drops when I check in the AM! lol
 
Top