Ok guys, I posted in the turbo section to see if there would be any interest in this how to and some people said they would like to see it so here goes. I hope everyone finds this useful. Its gonna be full of pictures and will be very detailed. I looked around but did not see an in depth how to anywhere so I figured I would do one up...
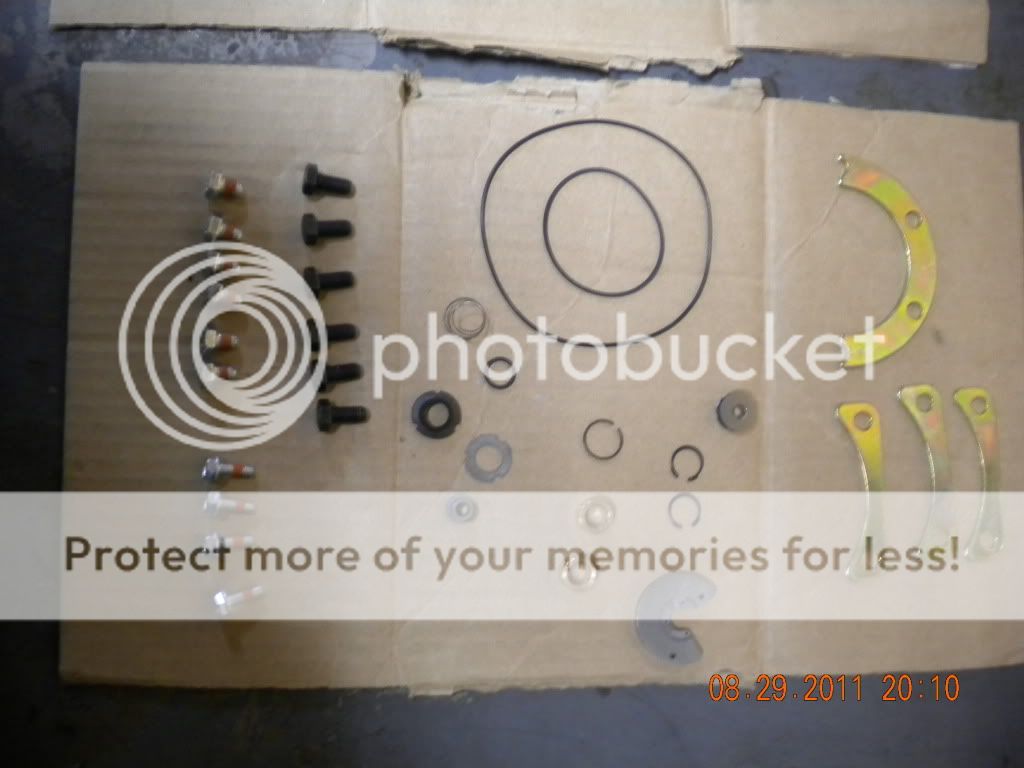
Kits can be obtained from many turbo parts suppliers. ******* is a great source for parts and there are a few good places on *****...not all but a couple of good ones. I will say that I got no help from one of our "supporting vendors" when it came to parts but I will leave that alone. To each his own.
Hopefully this will make it easy for most do it yourselfers. In all honesty, this is not very hard and doesnt require many special tools. The tools needed are as followed but not limited to:
10mm, 13mm and 5/8 combination wrenches
center punch
hammer
dead blow hammer
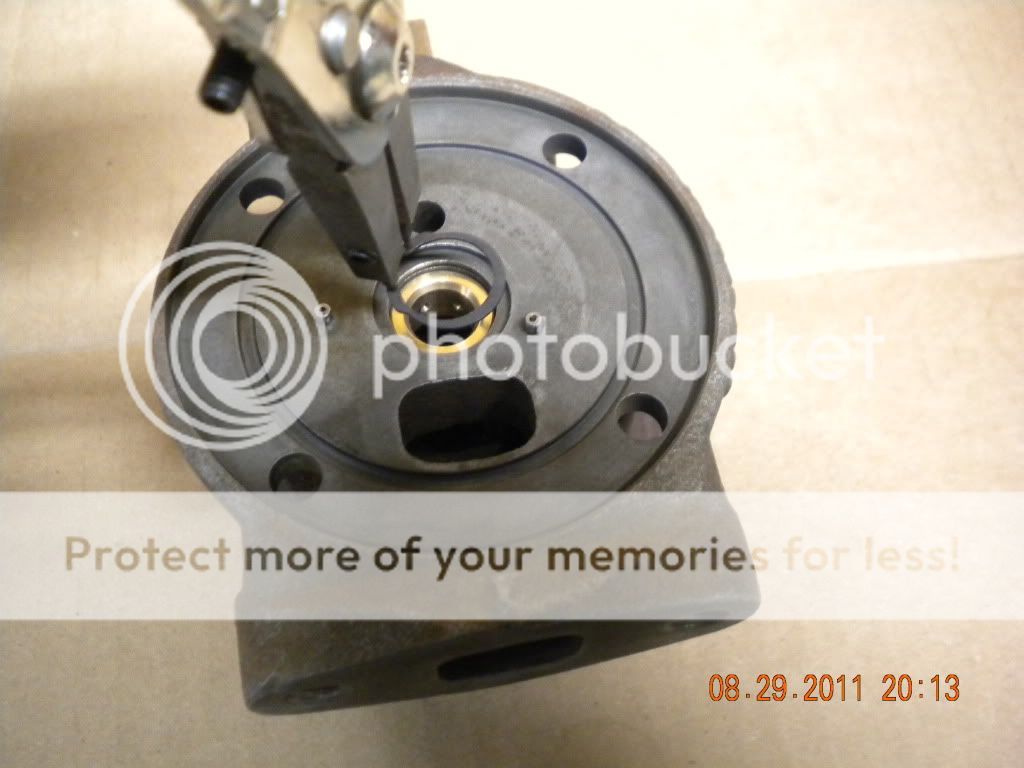
snap ring pliers
needle nose pliers
11mm 12 point socket
Torque wrench capable of 18-20 INCH lbs.
For some parts, sockets can be substitued for the combo wrenches but the wrenches are a must.
DISASSEMBLY:
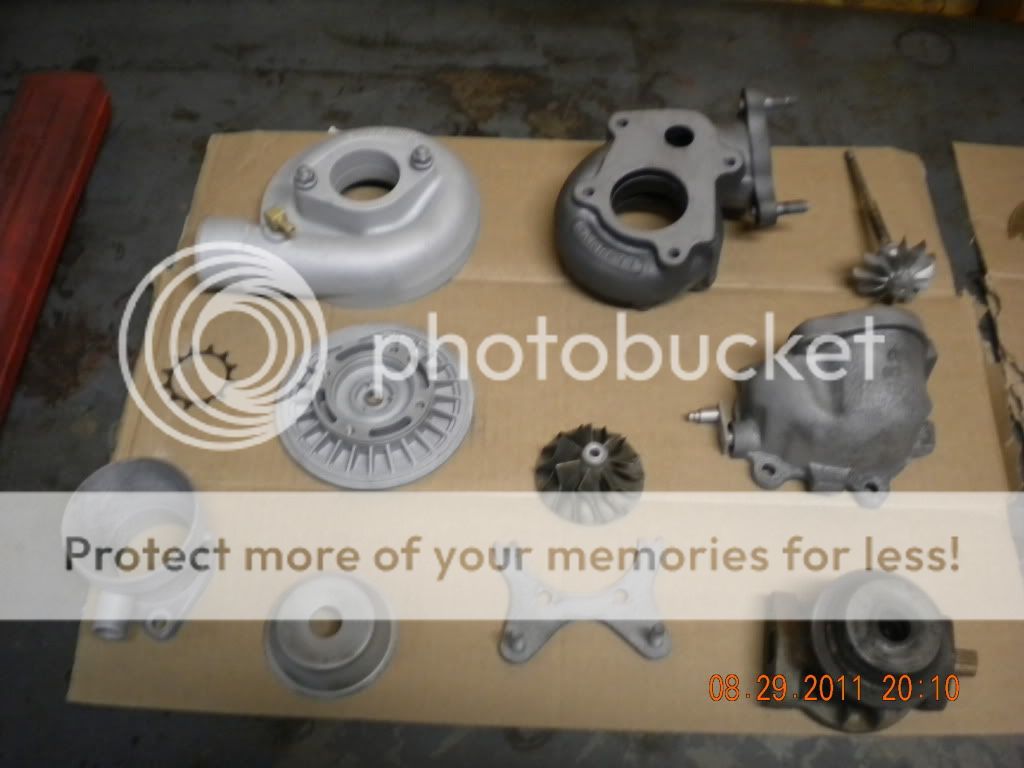
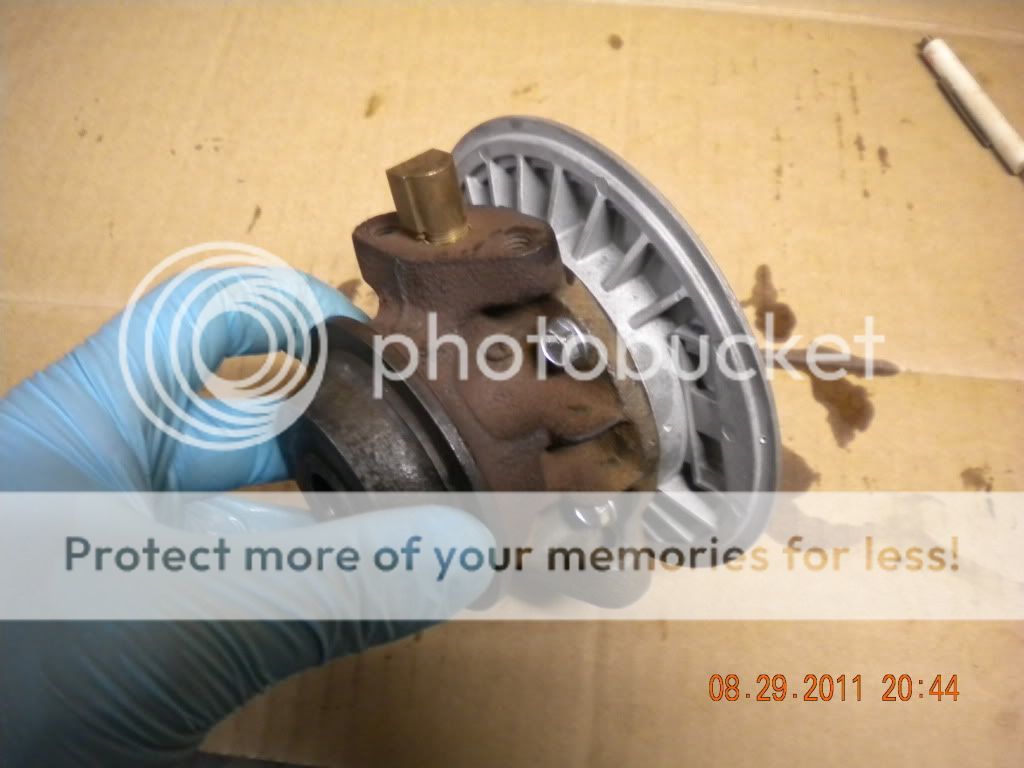
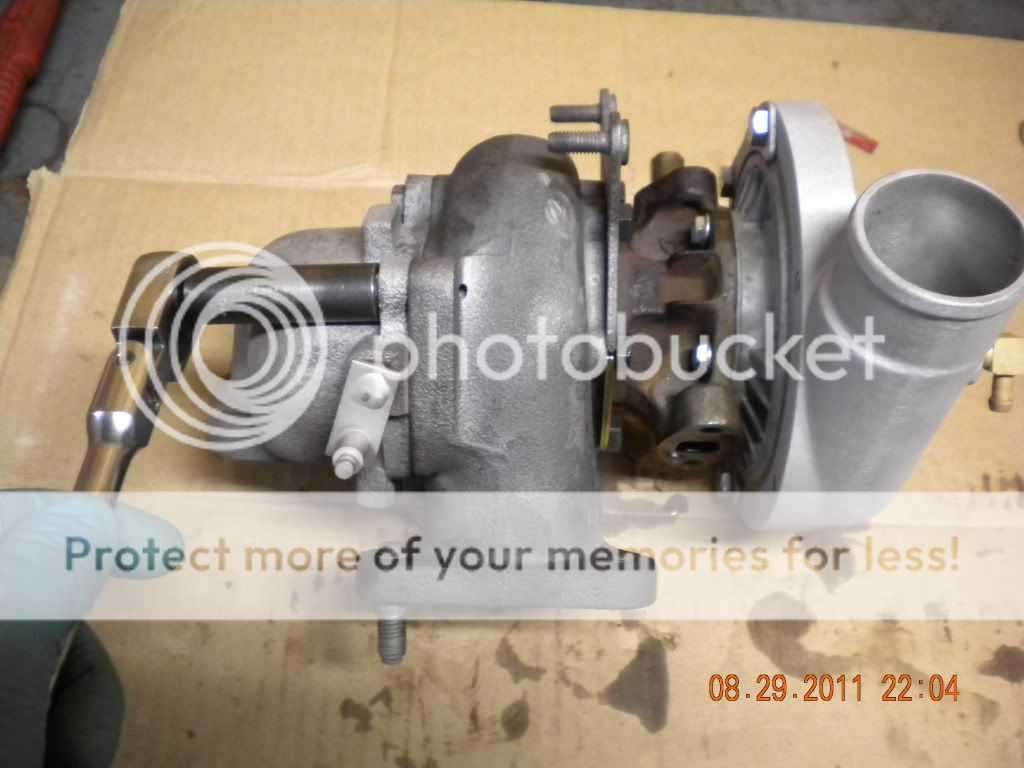
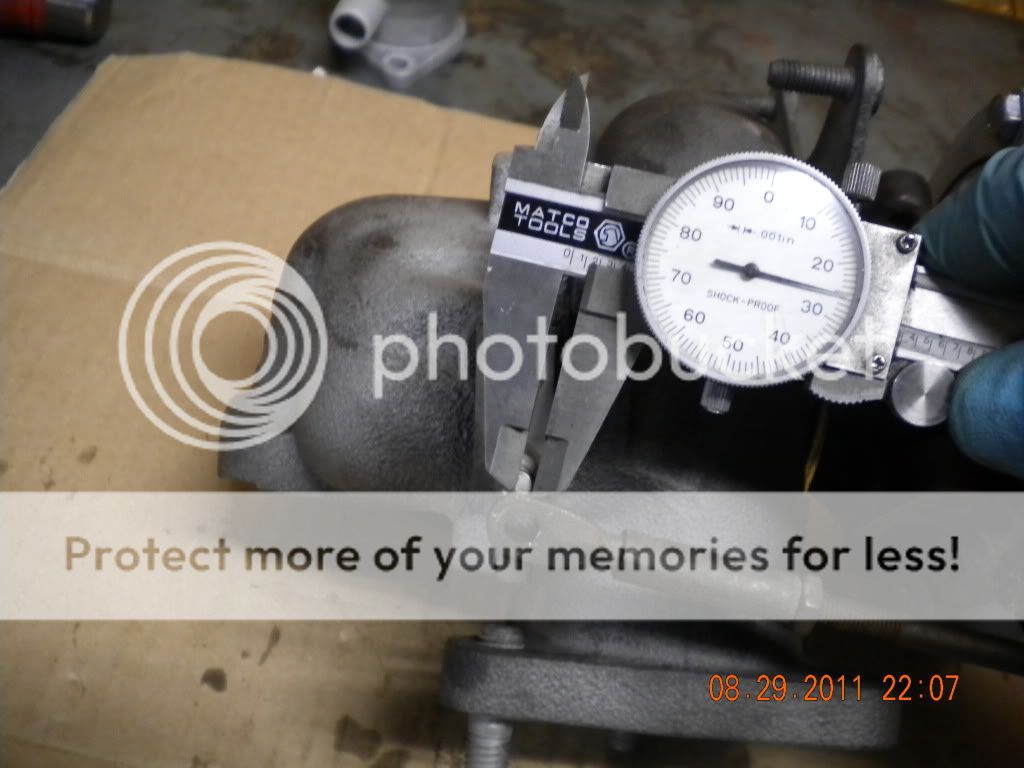
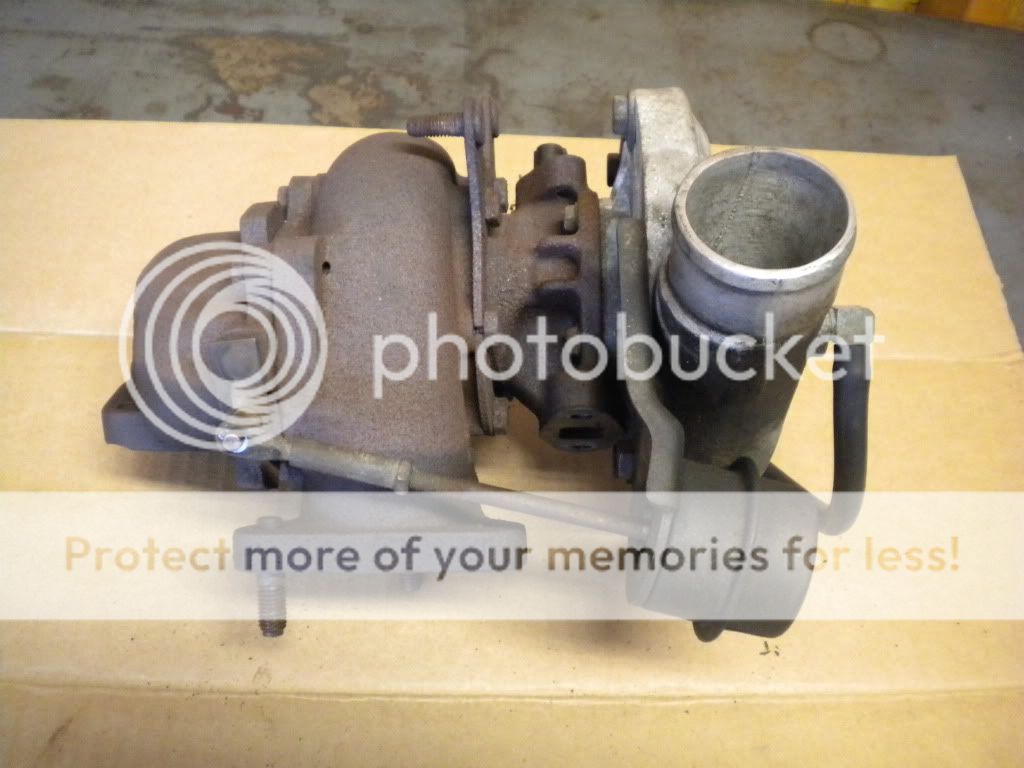
Ok this is what you should have. Mine was using oil at a fast rate. Thats why it is getting the rebuild.
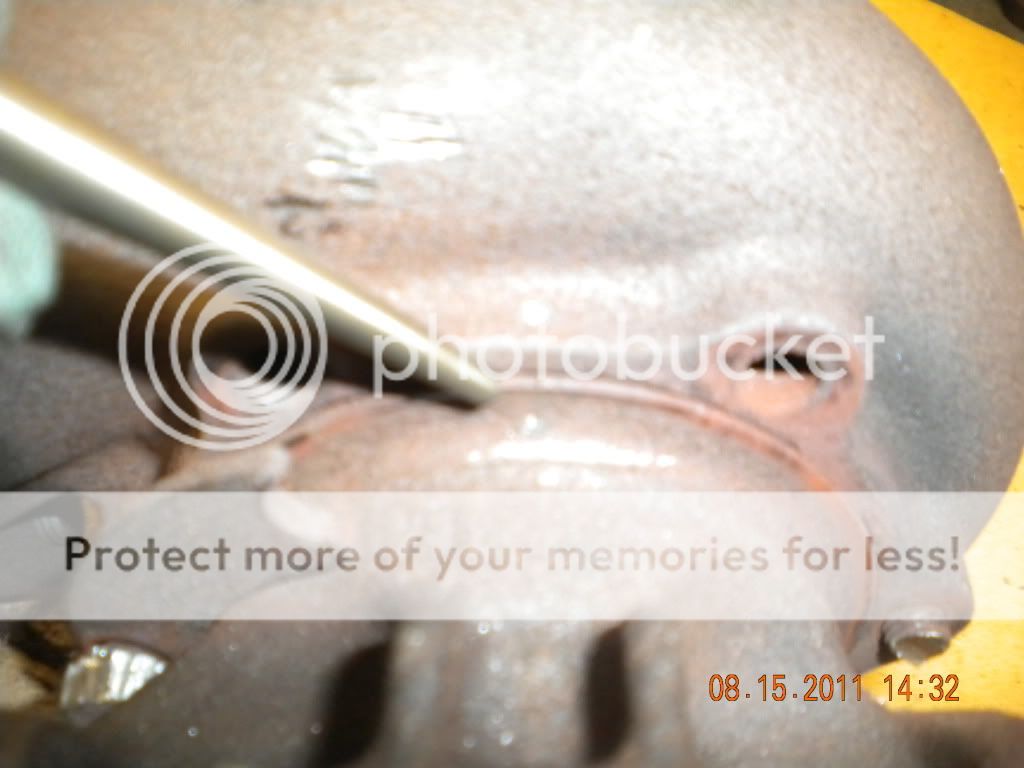
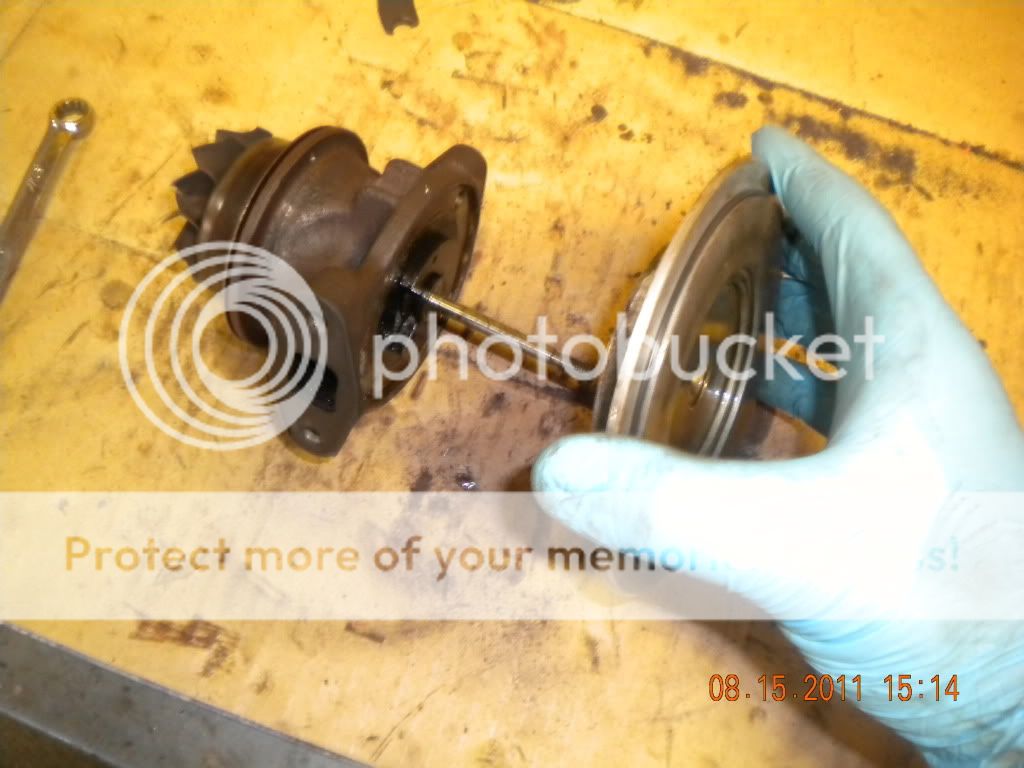
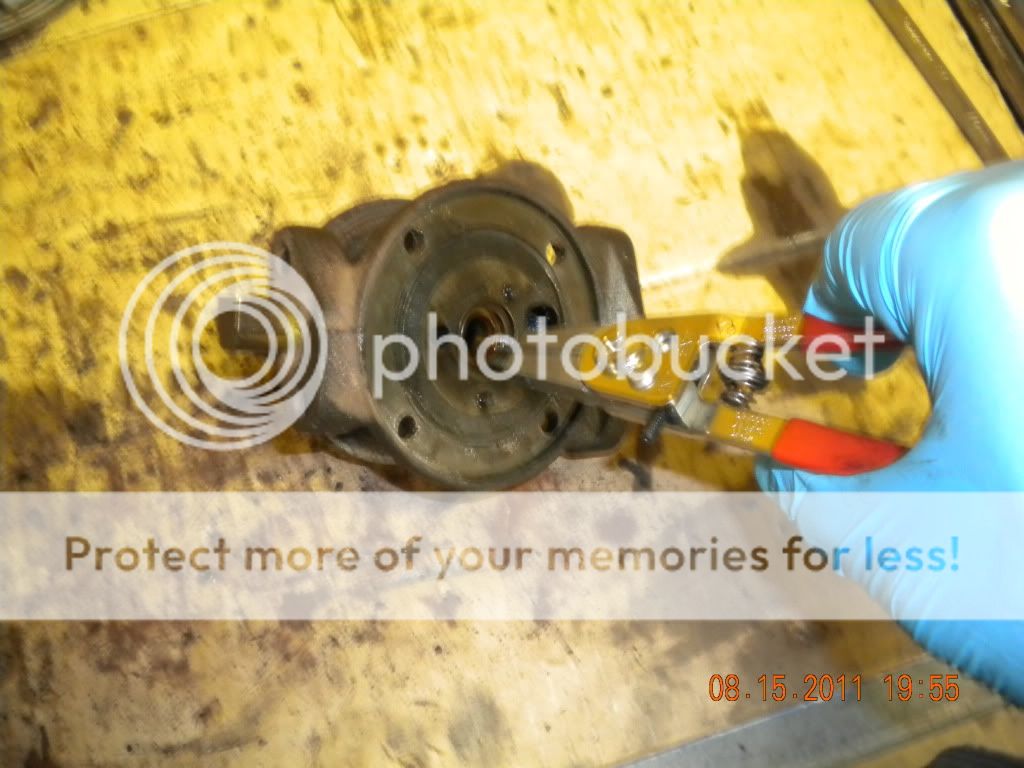
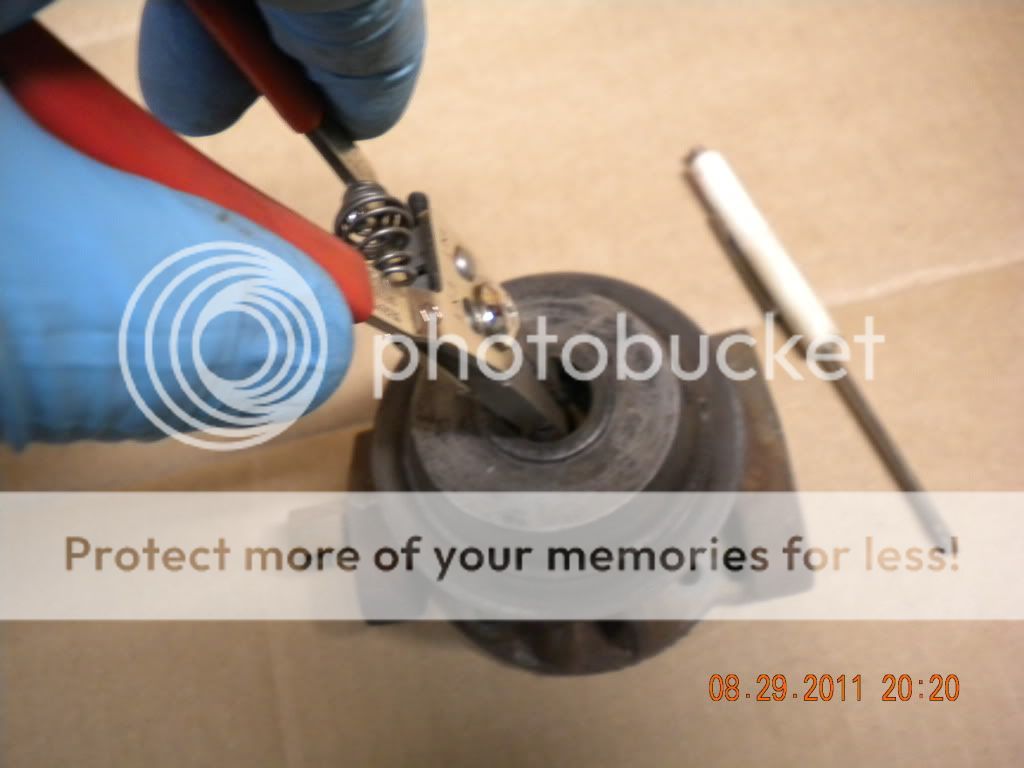
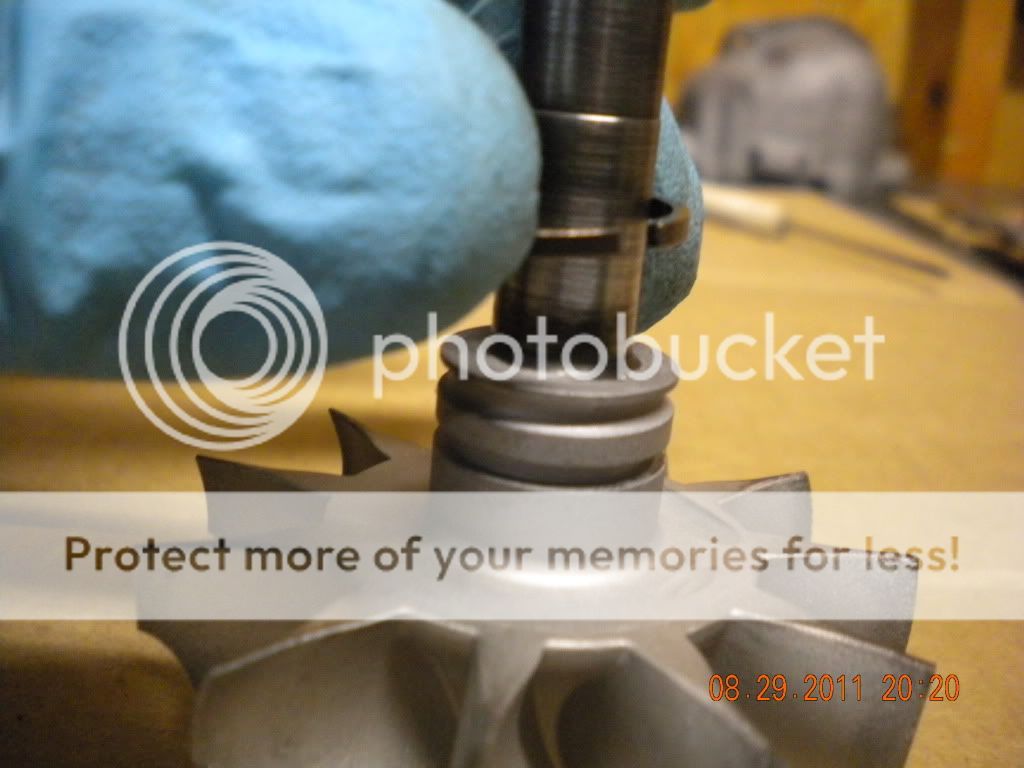
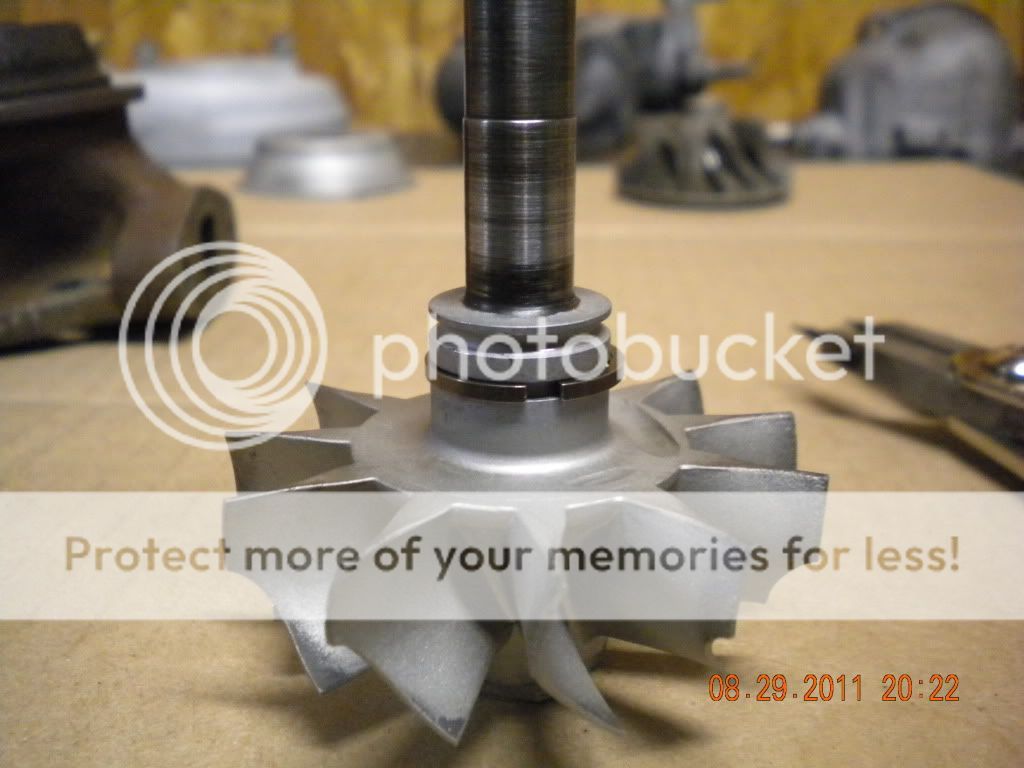
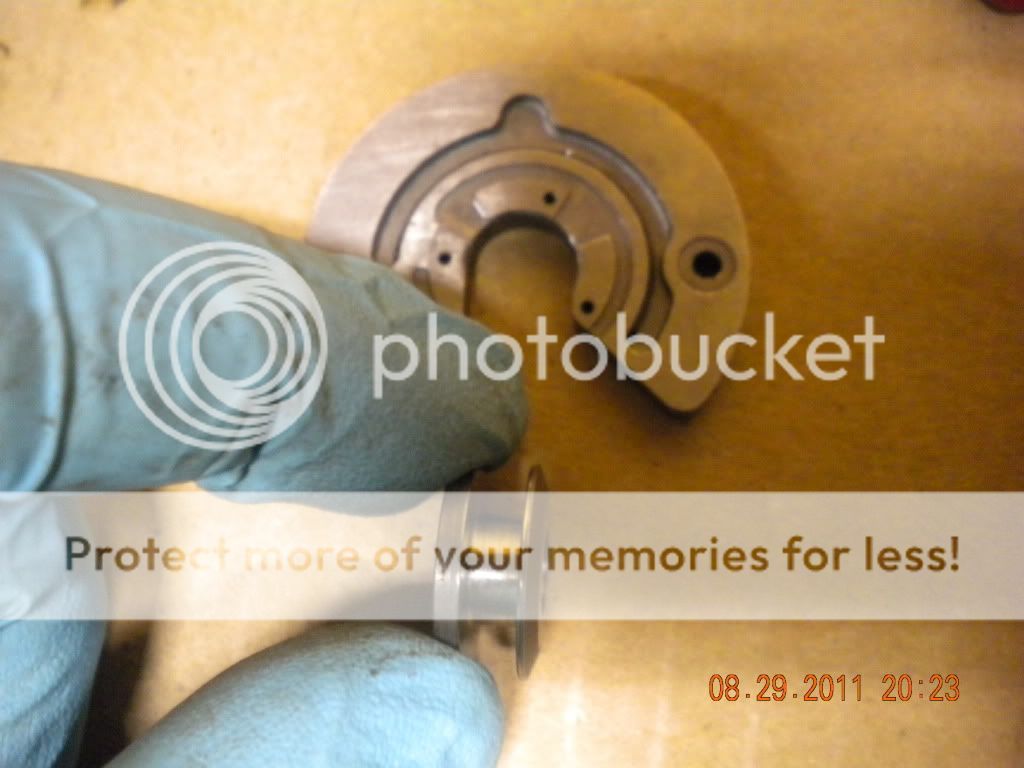
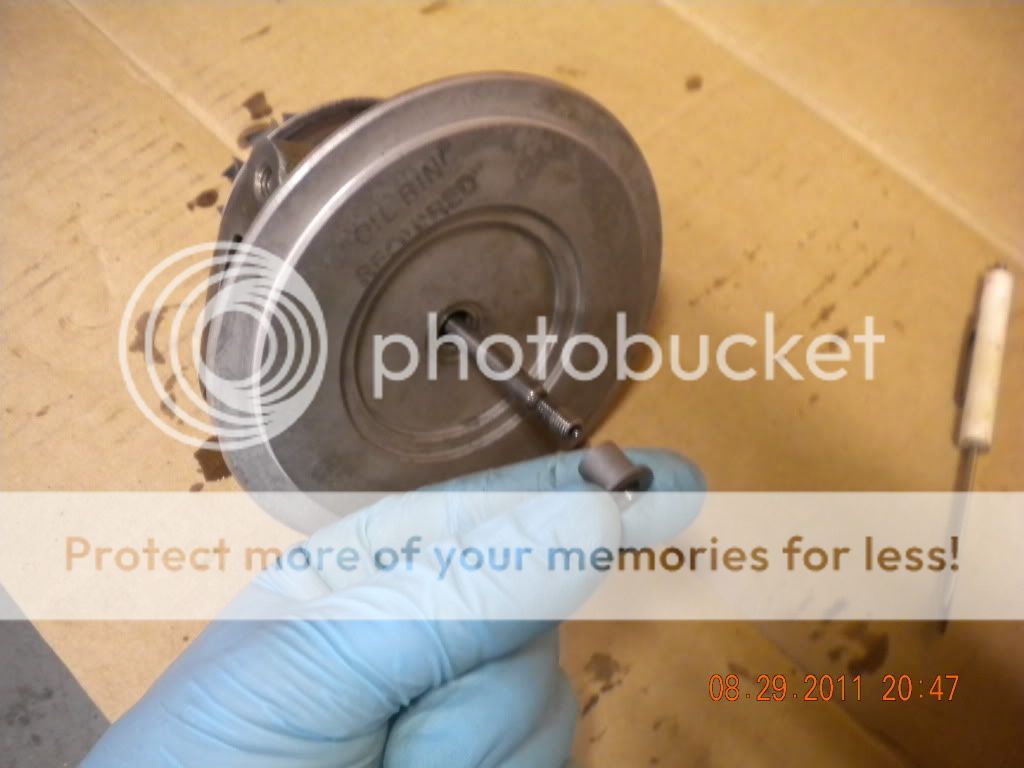
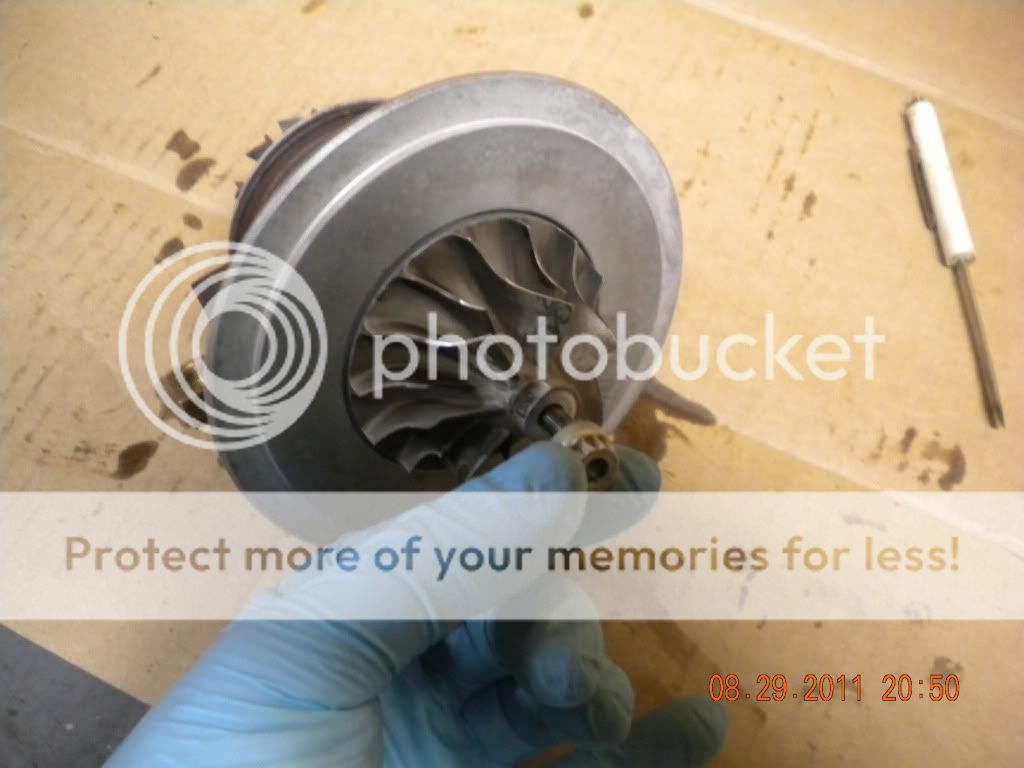
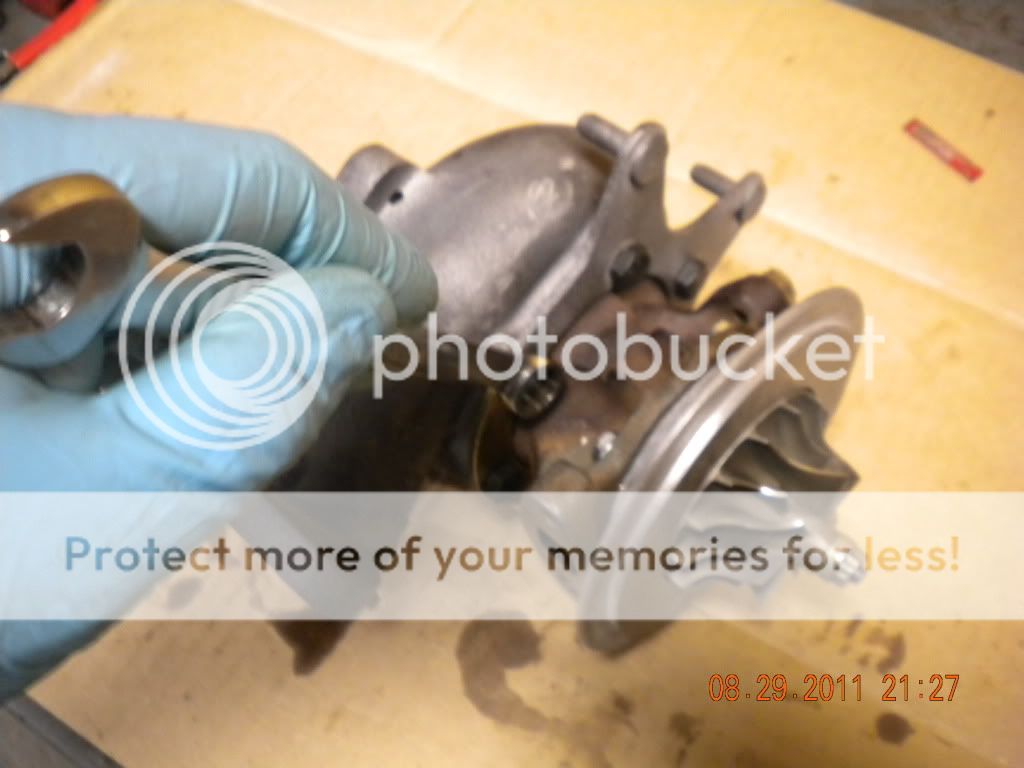
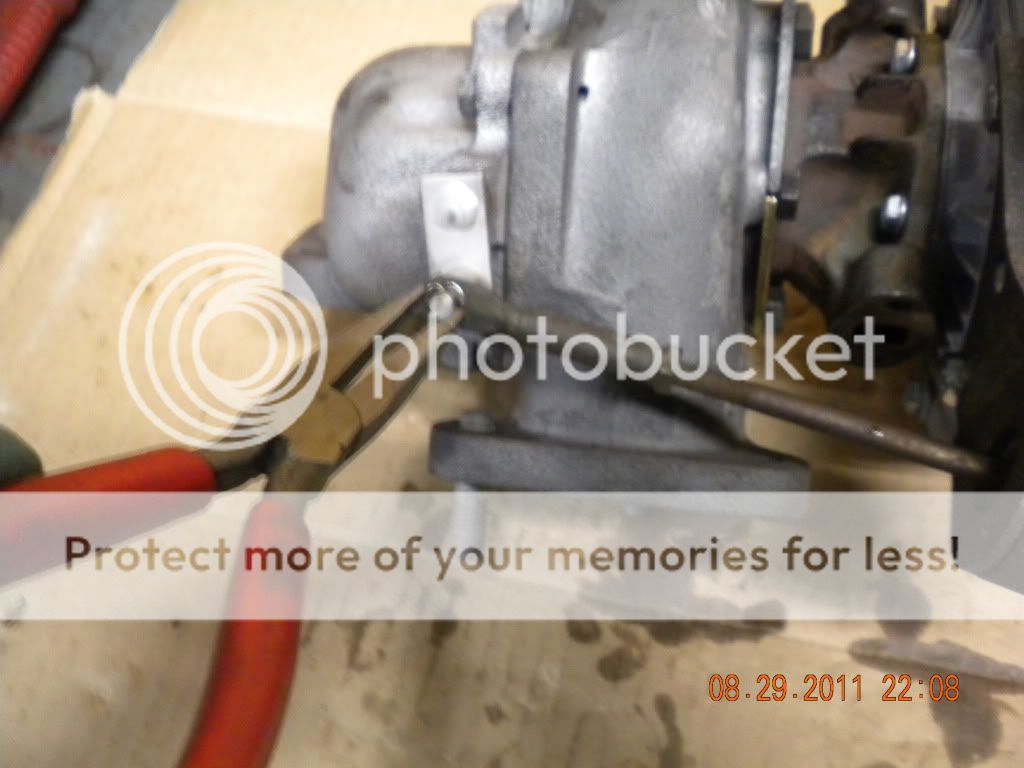
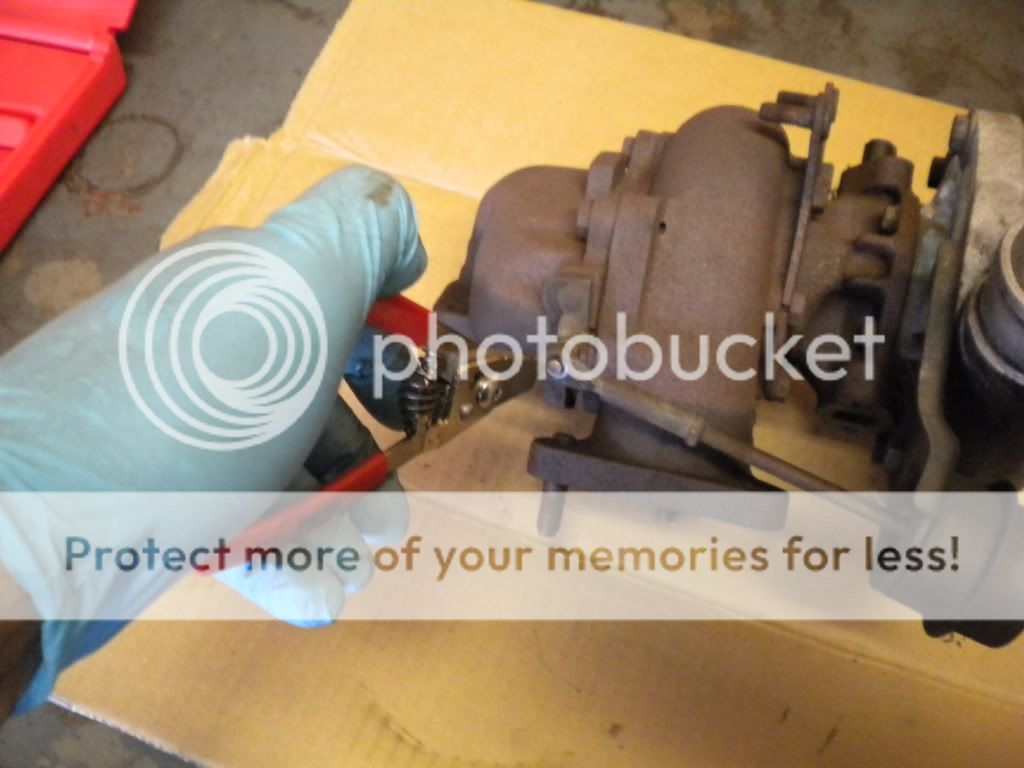
Step 1. Remove snap ring from waste gate swing valve arm.
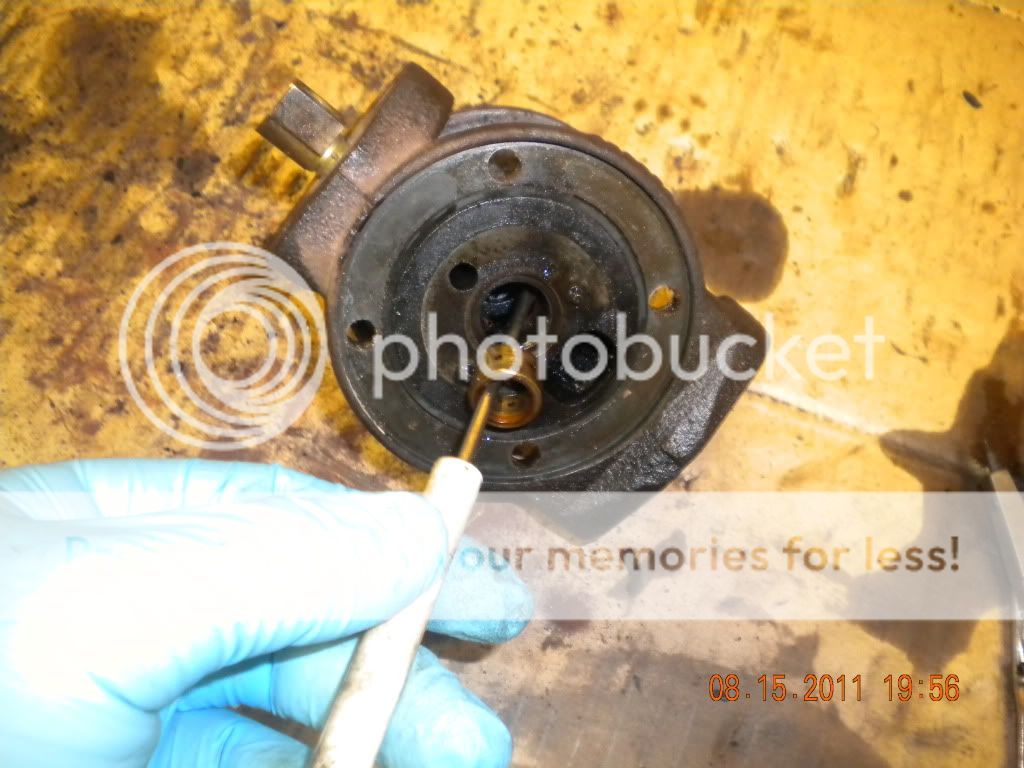
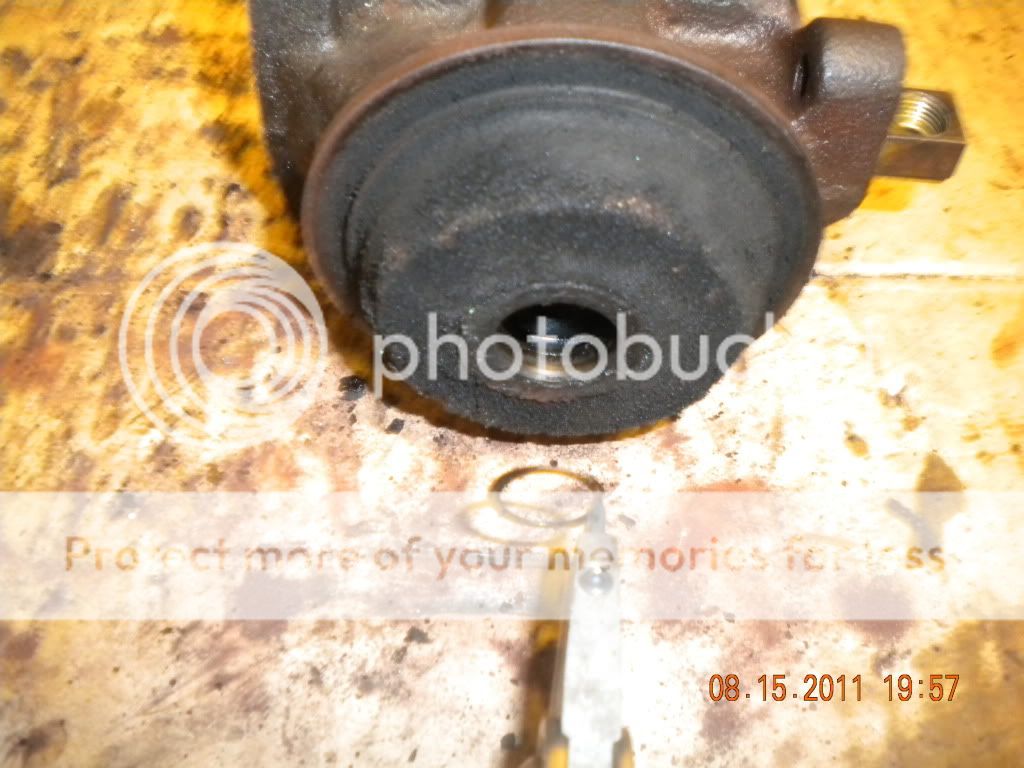
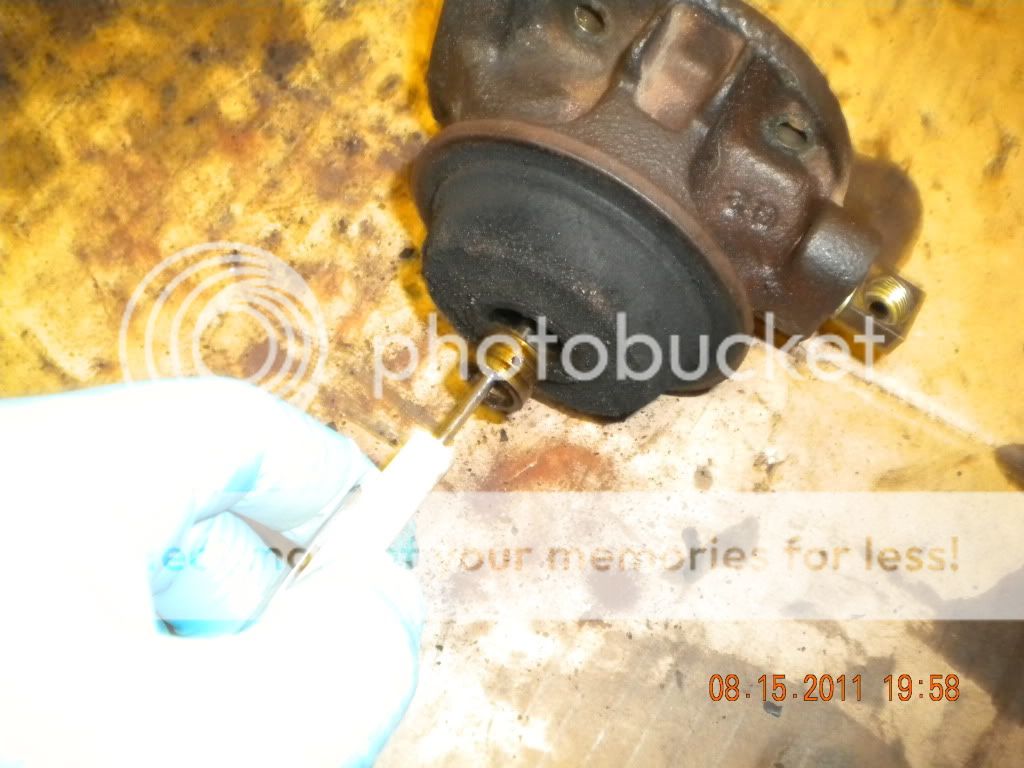
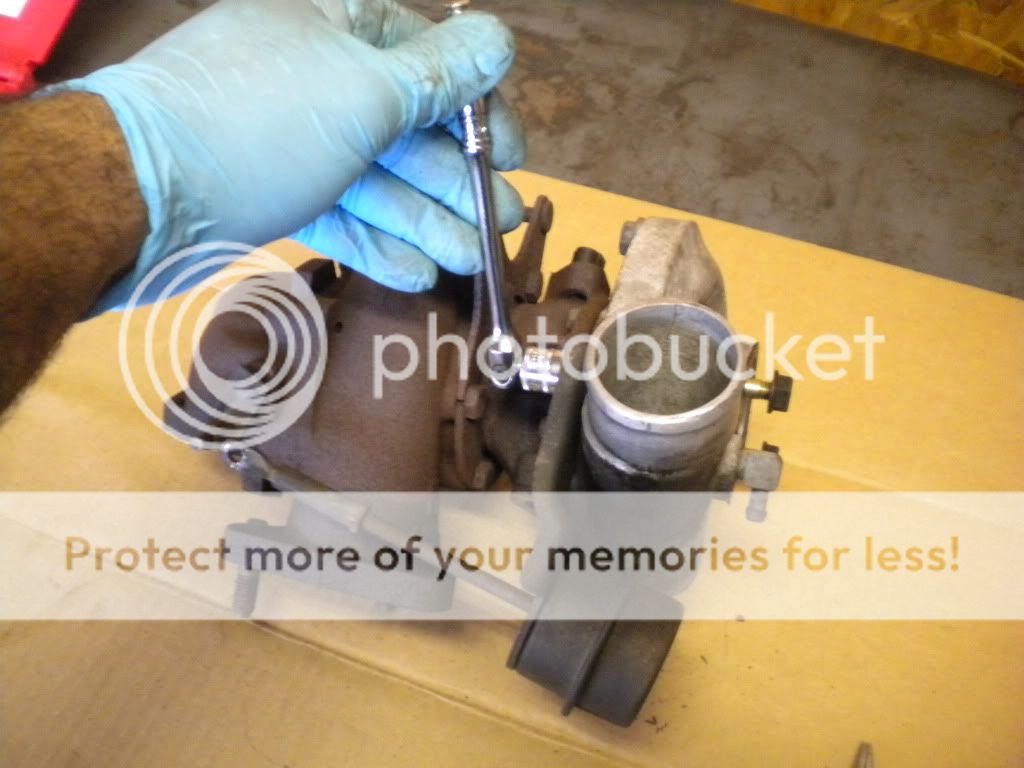
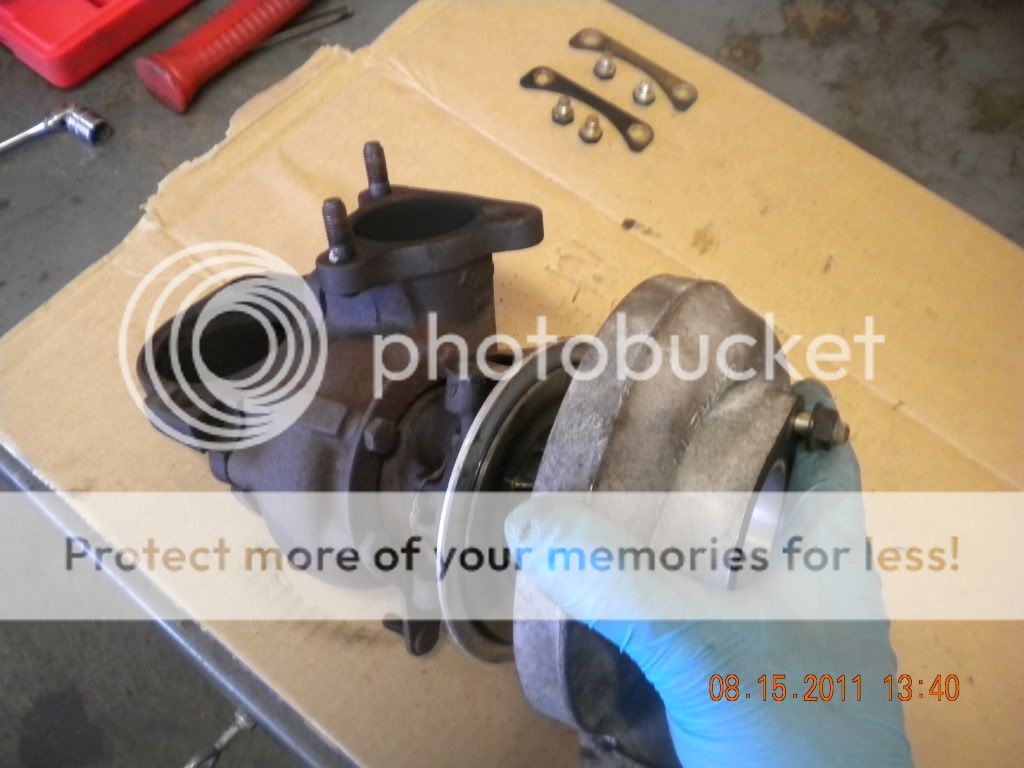
Step 2. Remove waste gate actuator bolts and remove actuator.
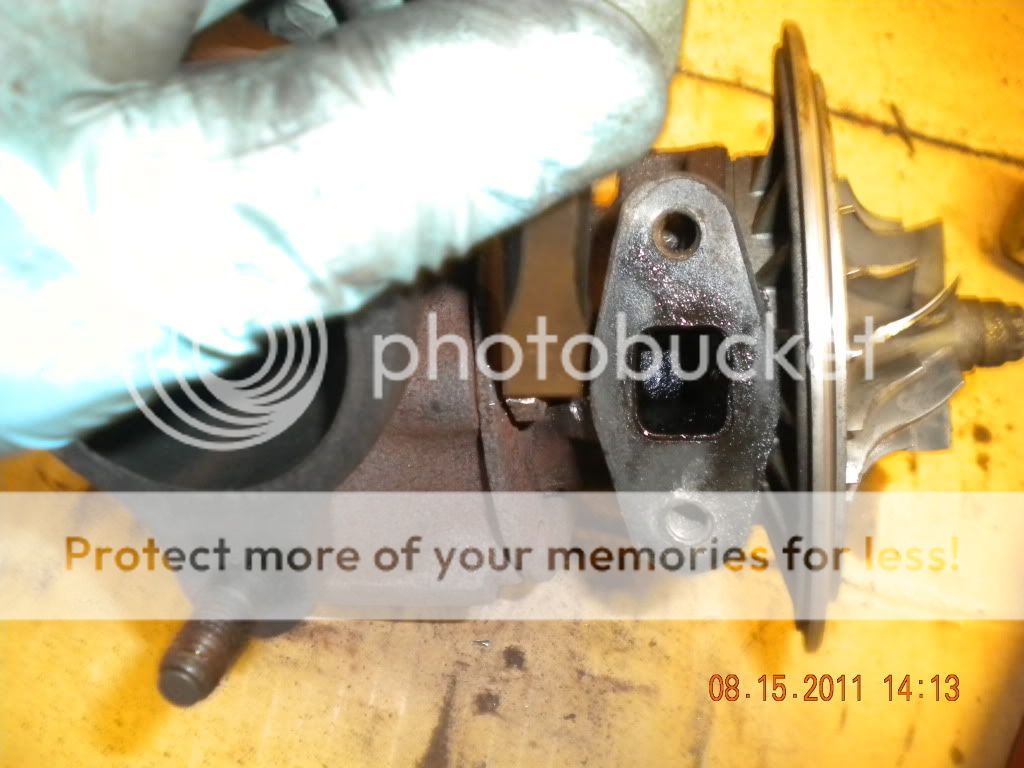
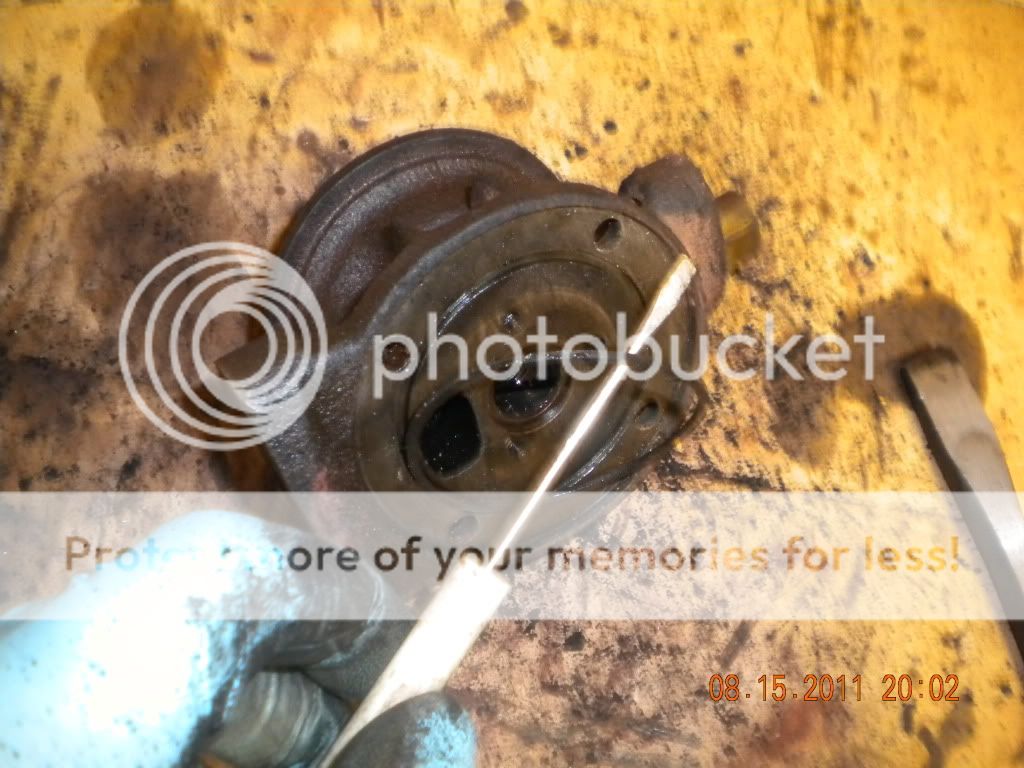
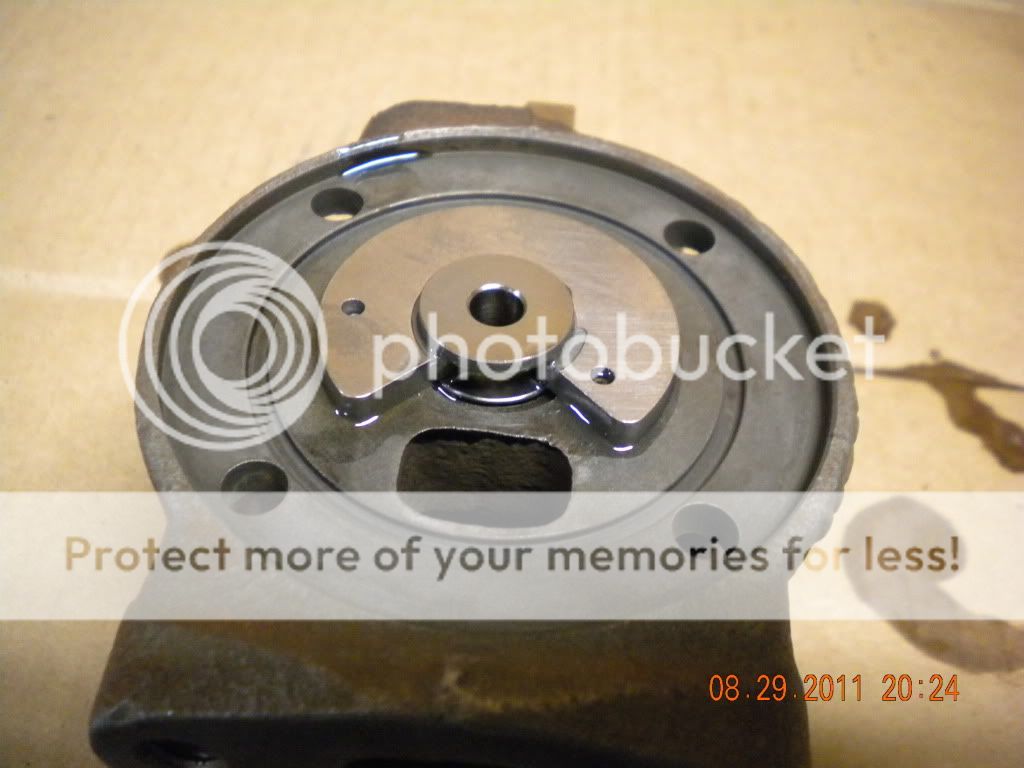
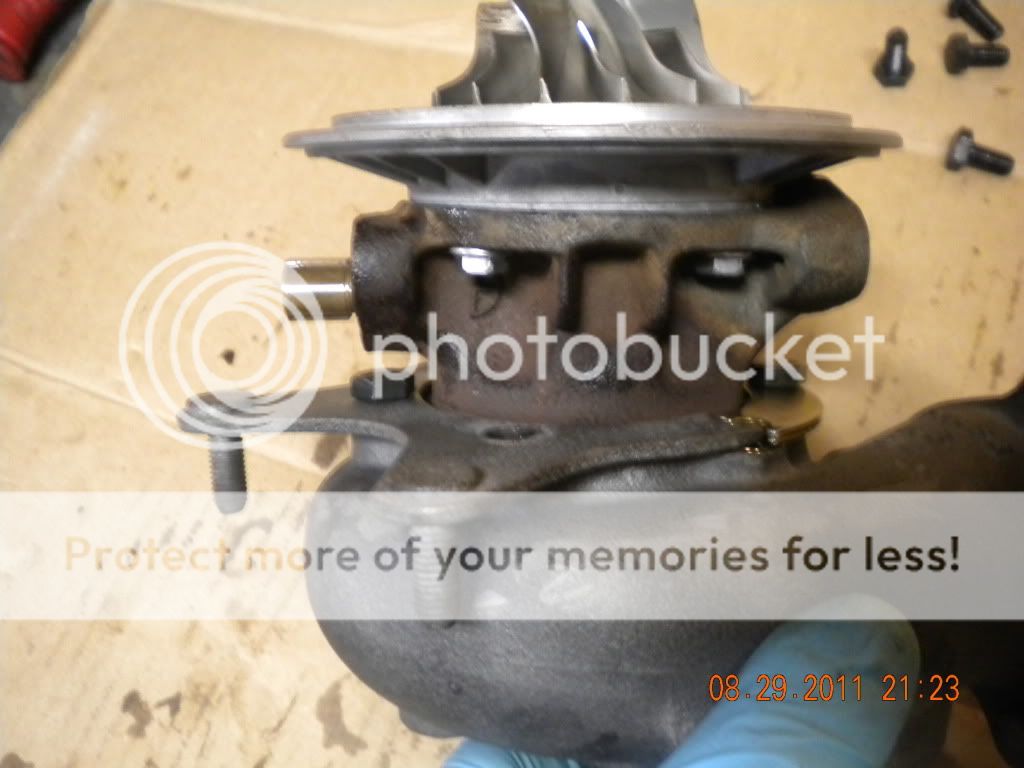
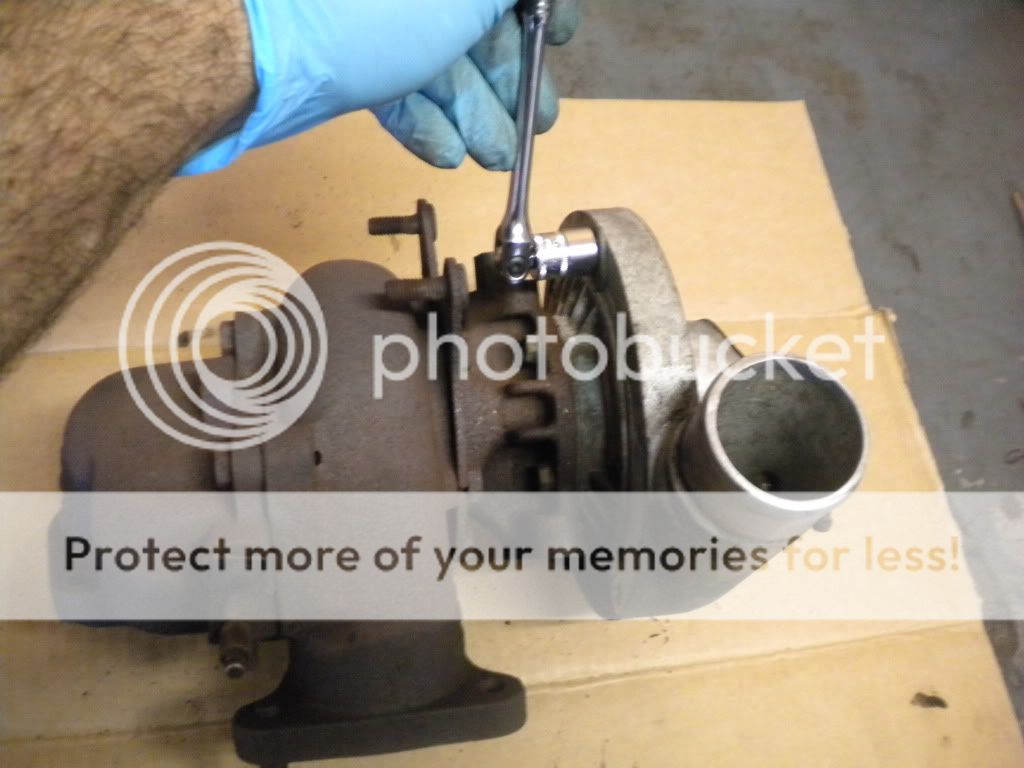
Step 3. Make an index mark on compressor housing and back plate. This will make lining it up on assembly a snap.

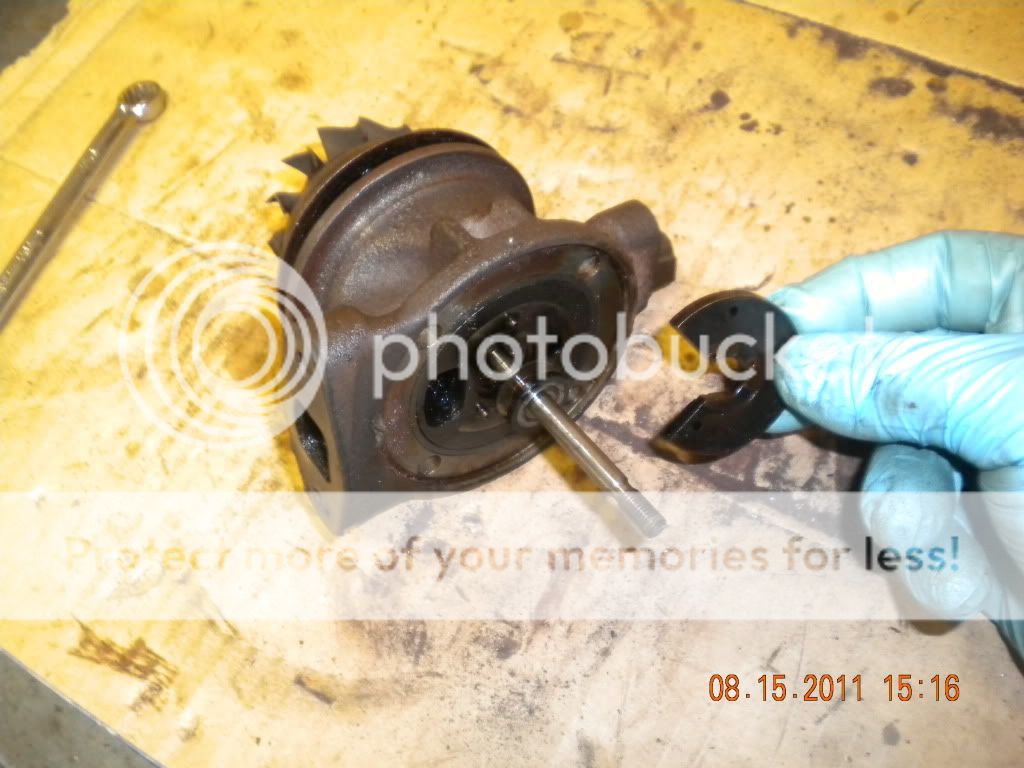
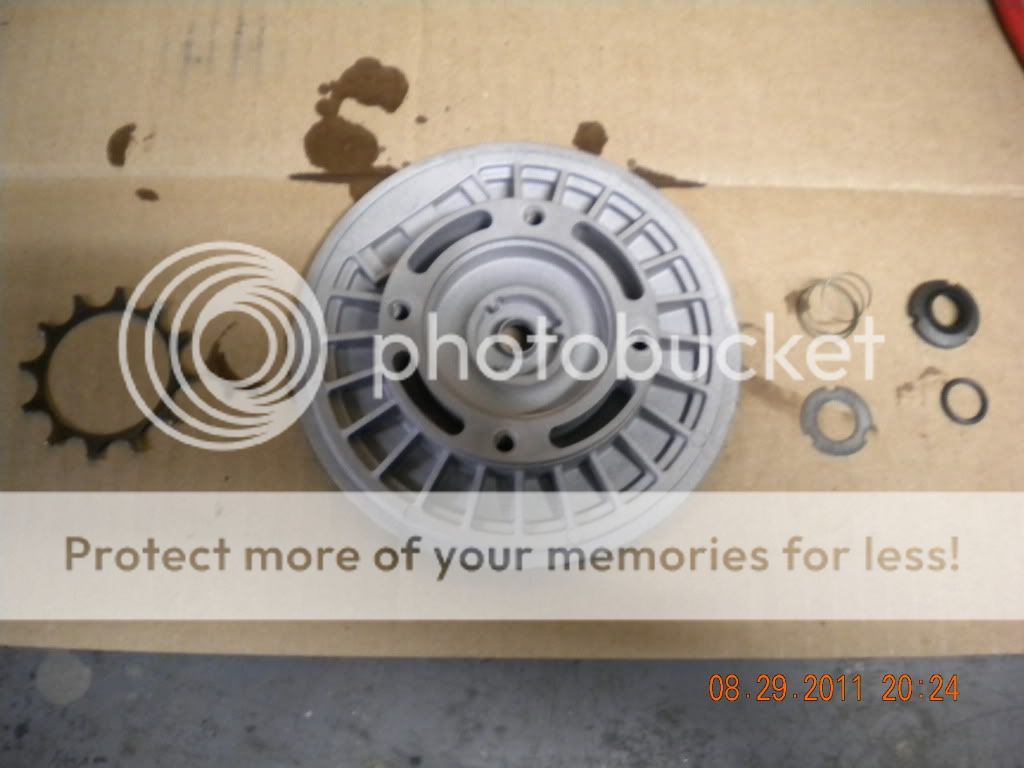
Step 4. Remove the rest of the compressor bolts and clamps.
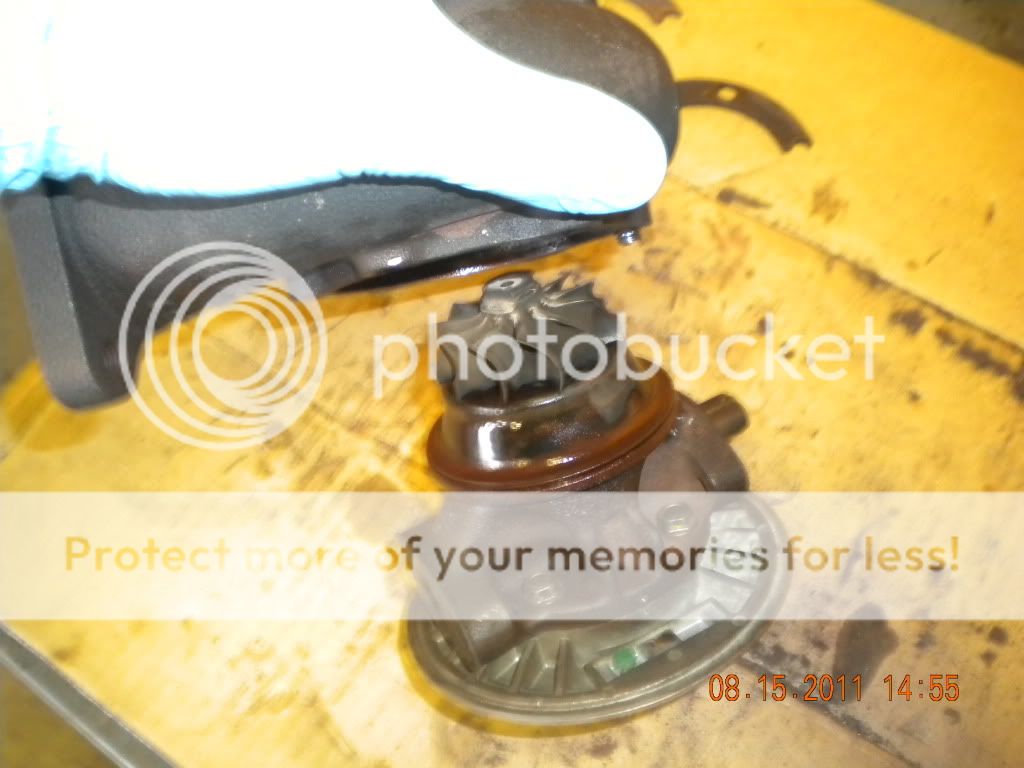
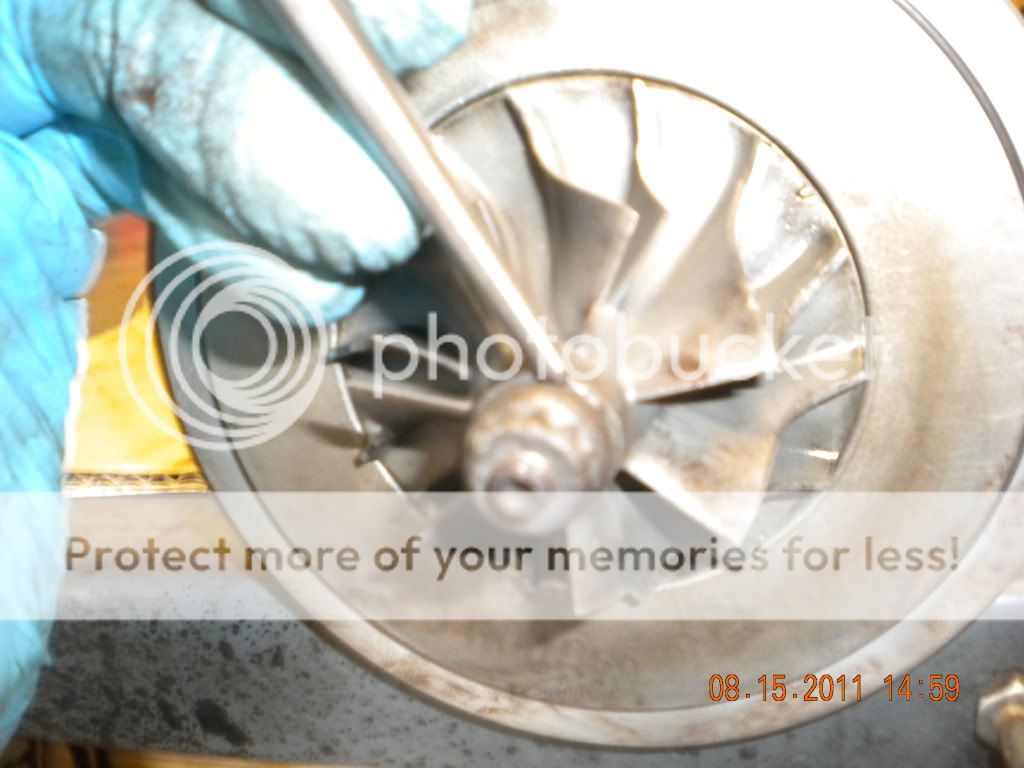
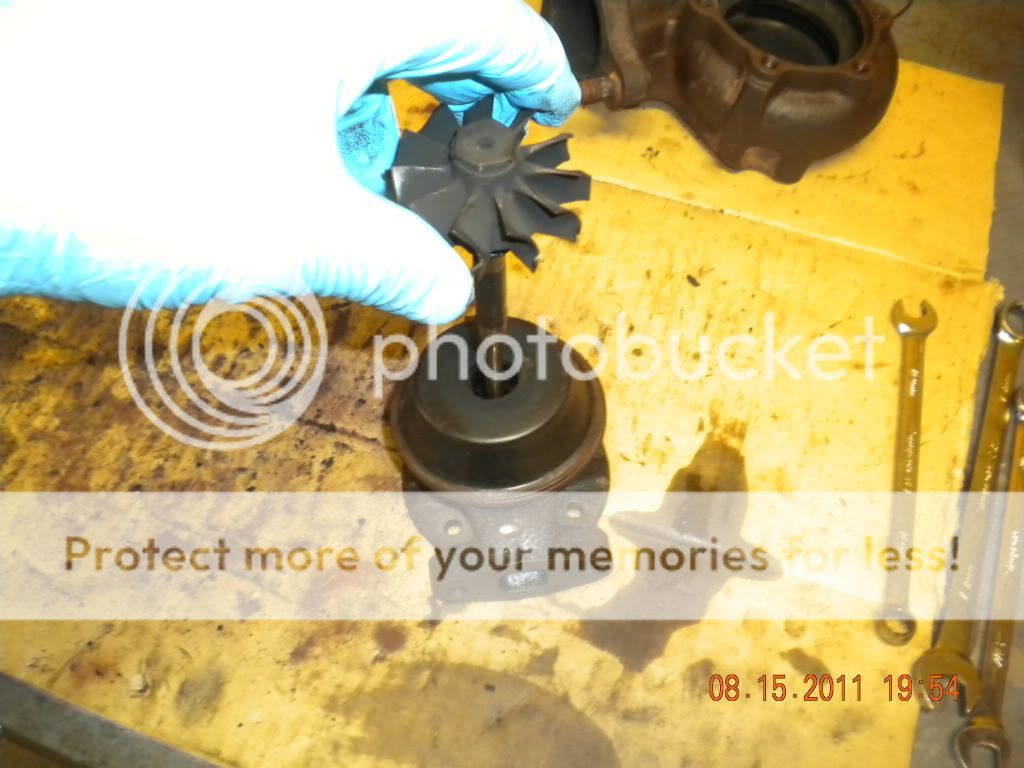
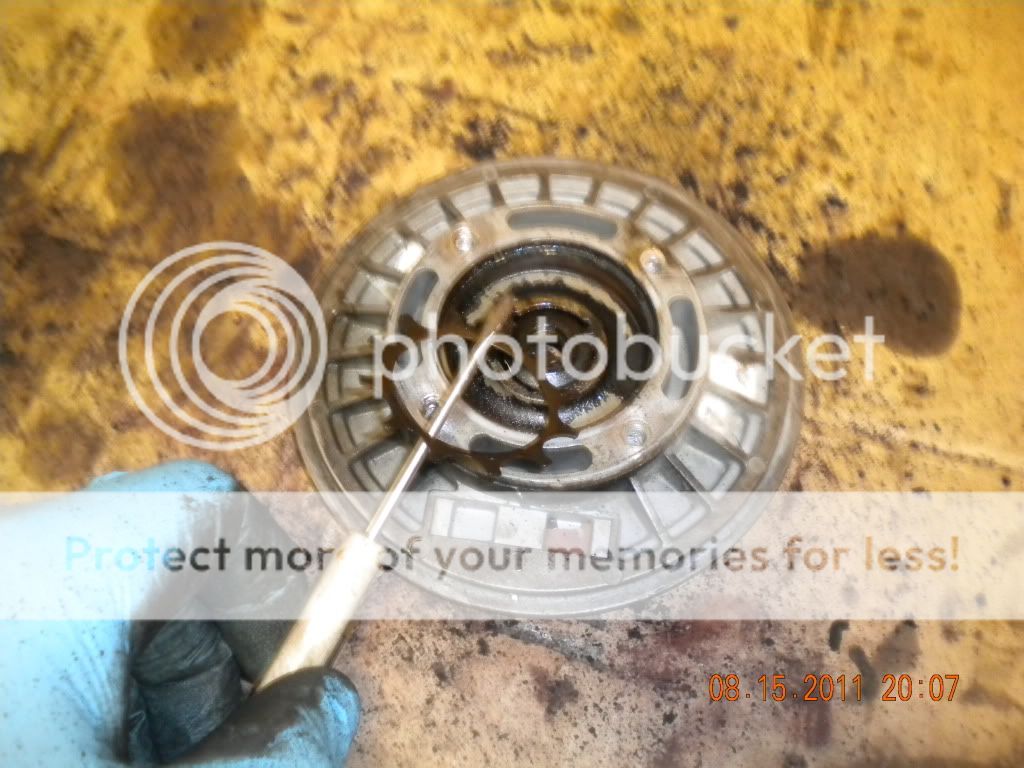
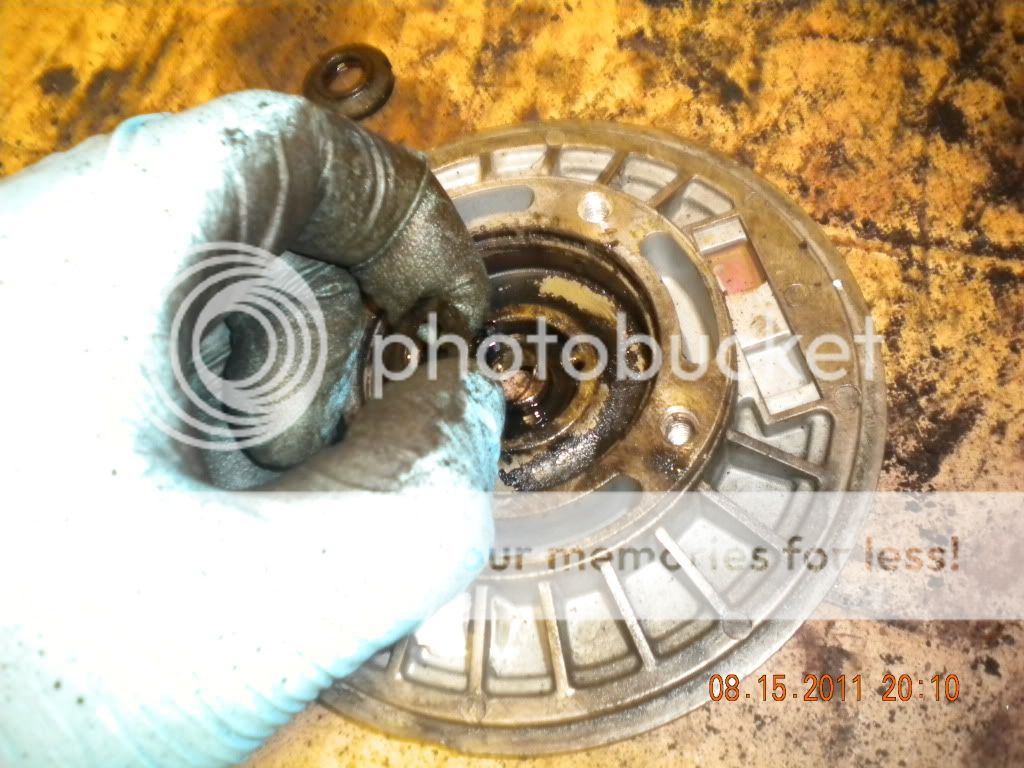
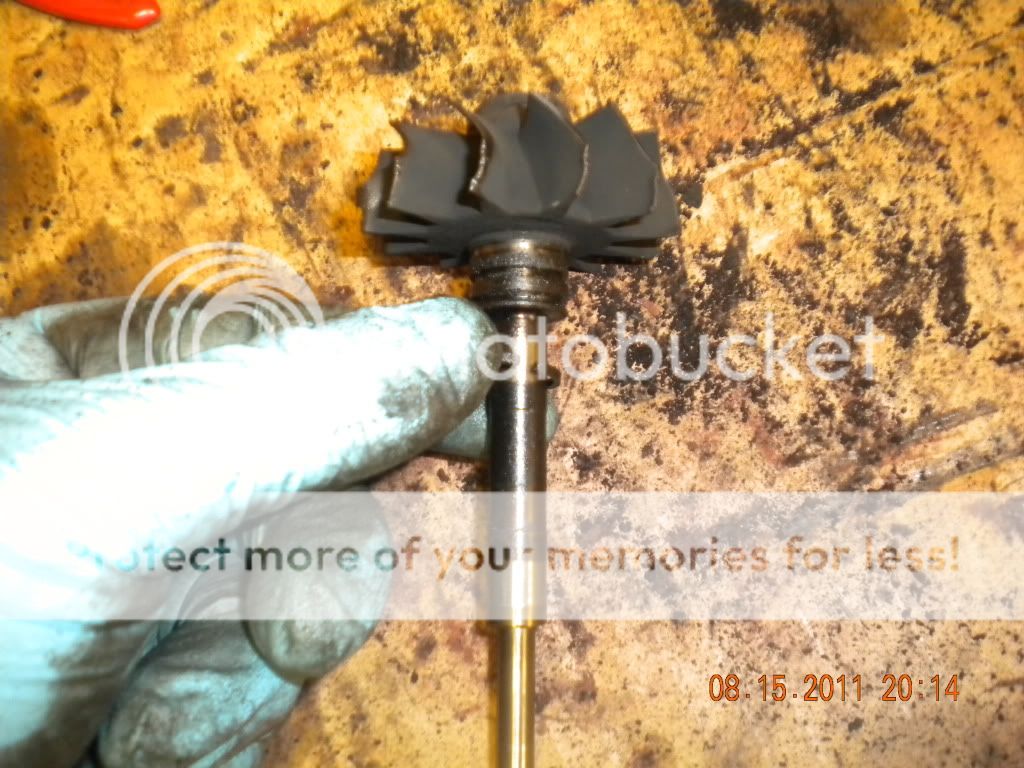
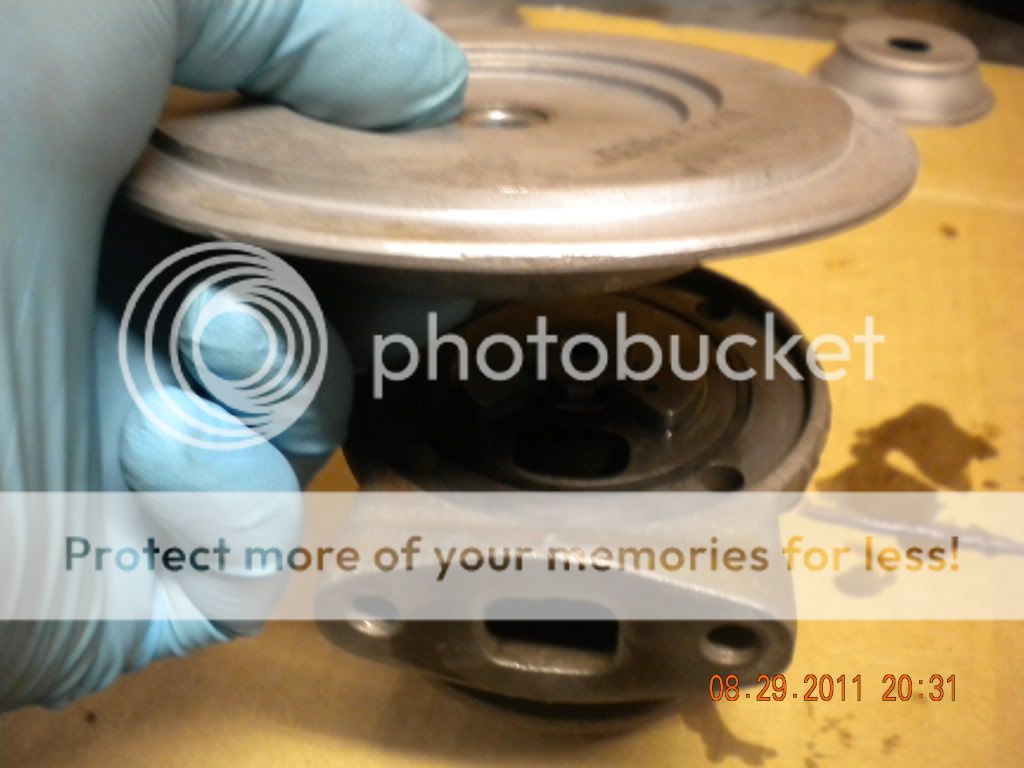
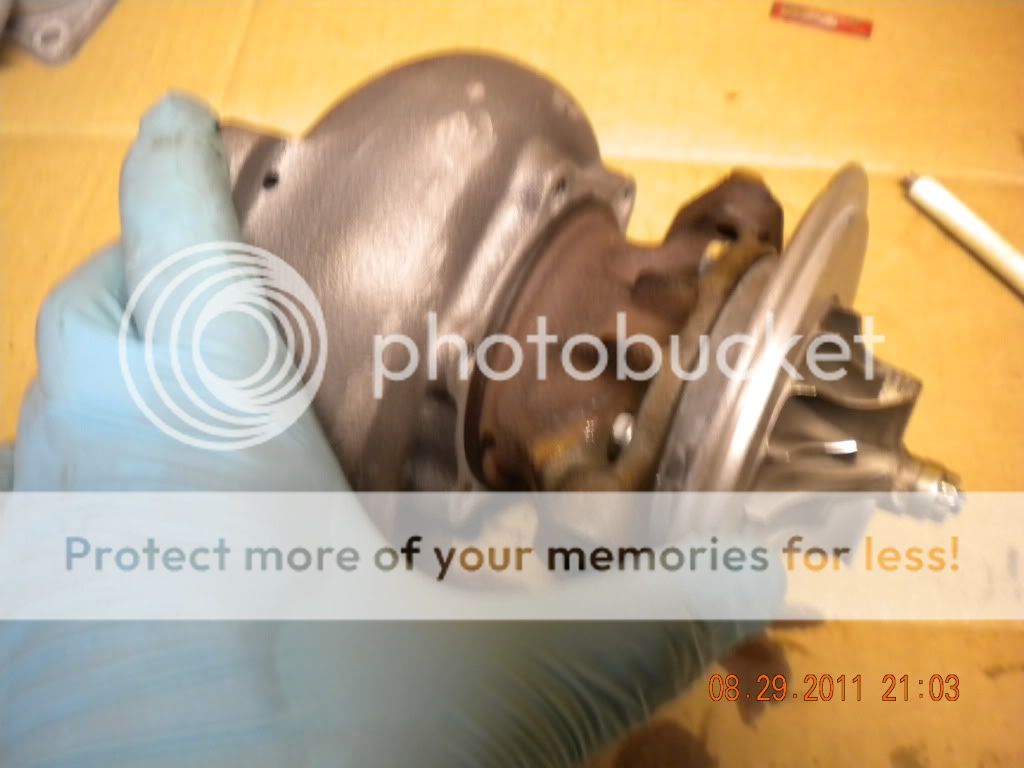
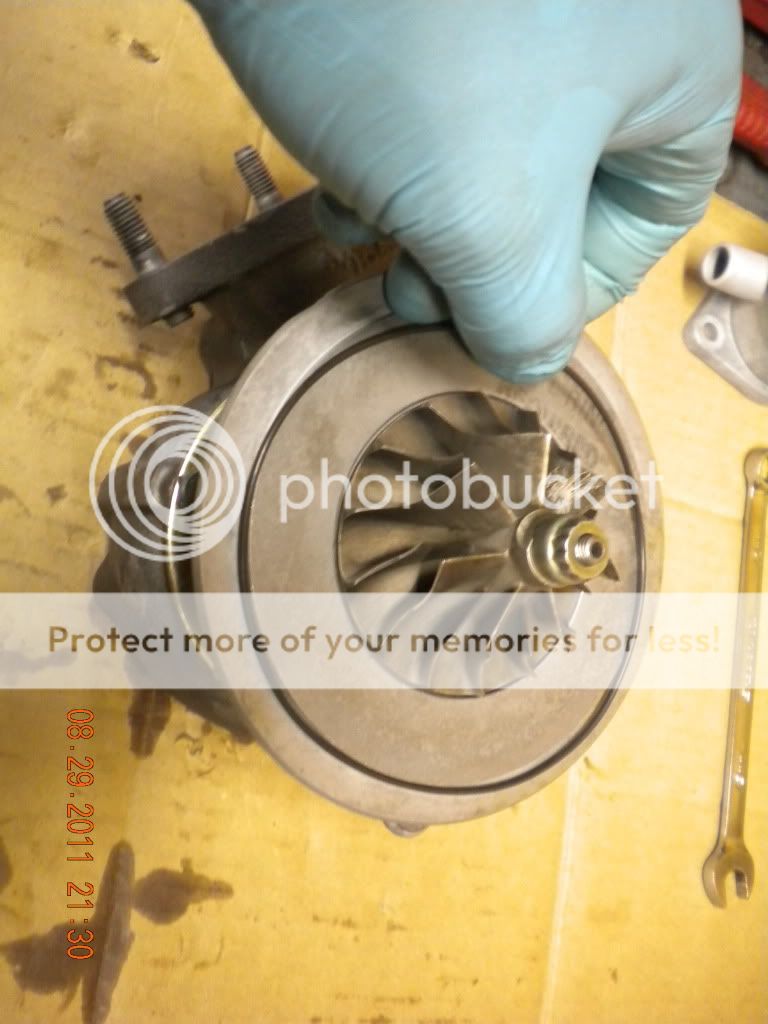
Step 5. Remove compressor housing carefully not to damage compressor wheel.
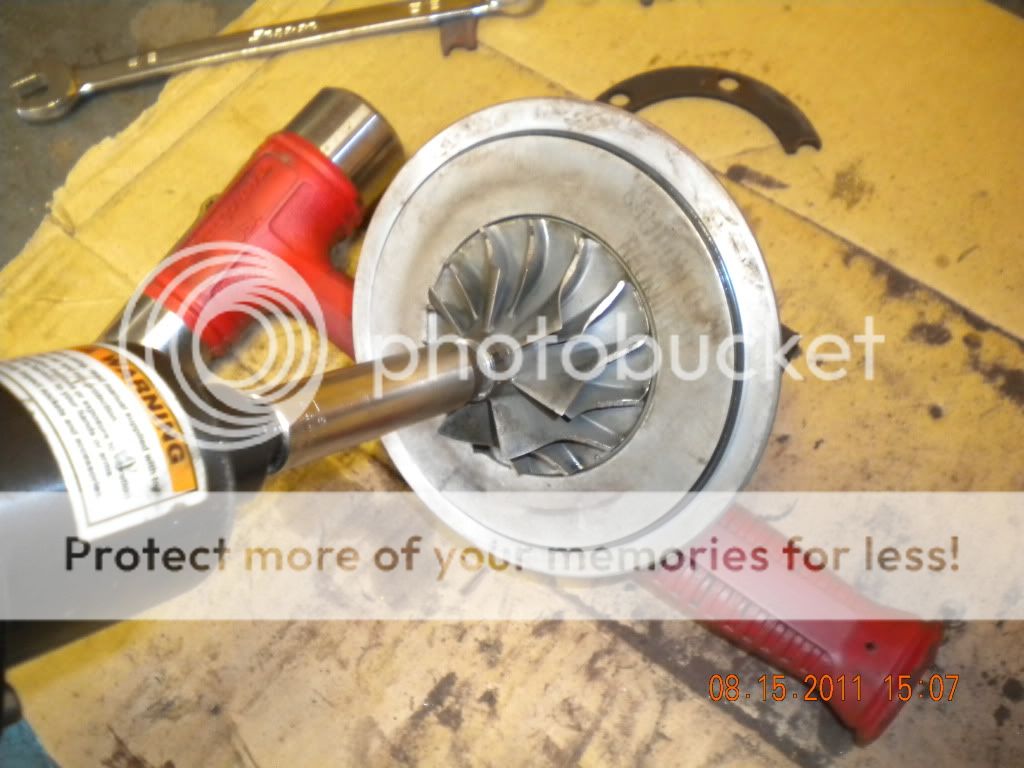
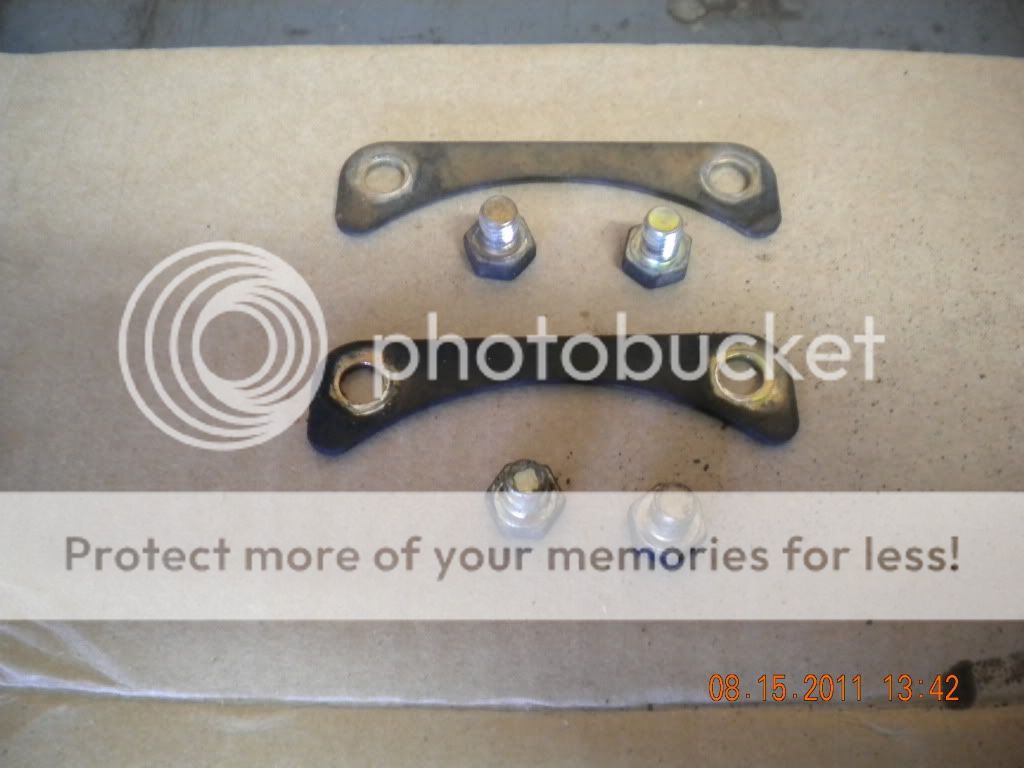
Step 6. Hold on to the compressor clamps even if your kit cam with new. The new may not fit. Mine didnt.
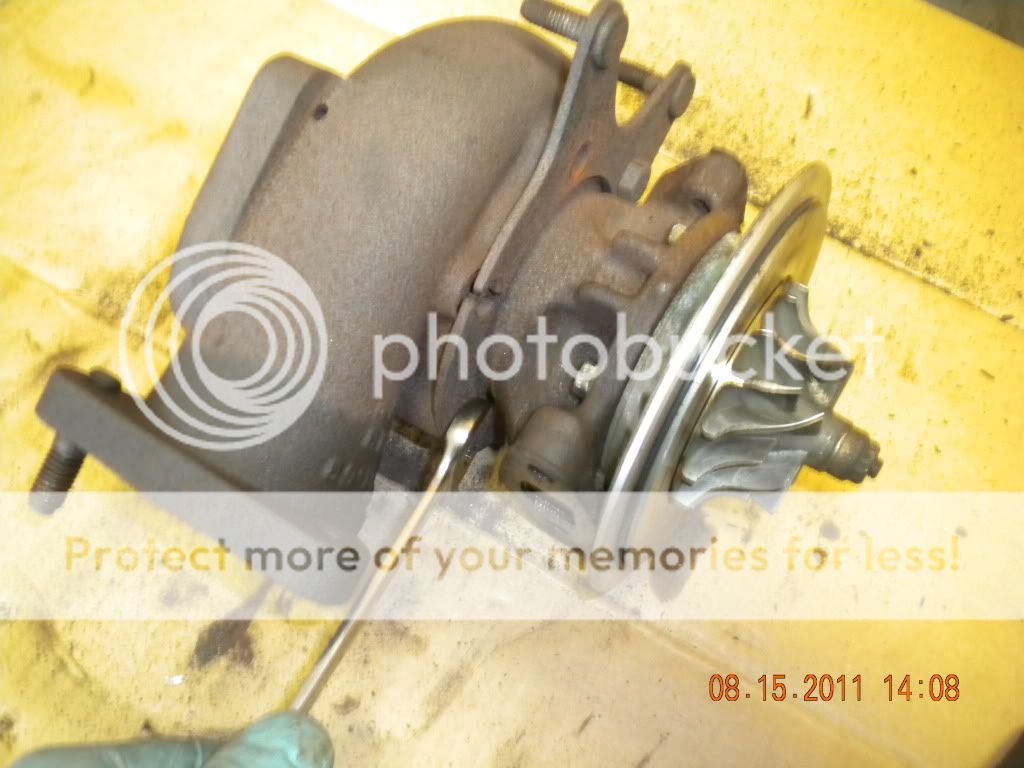
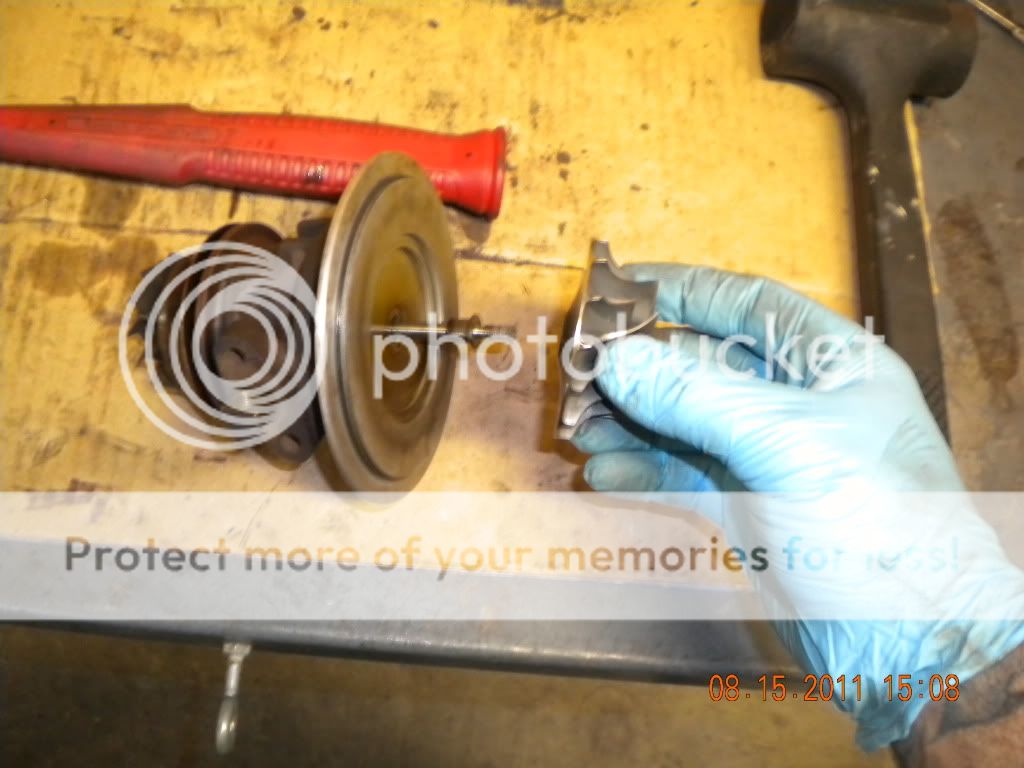
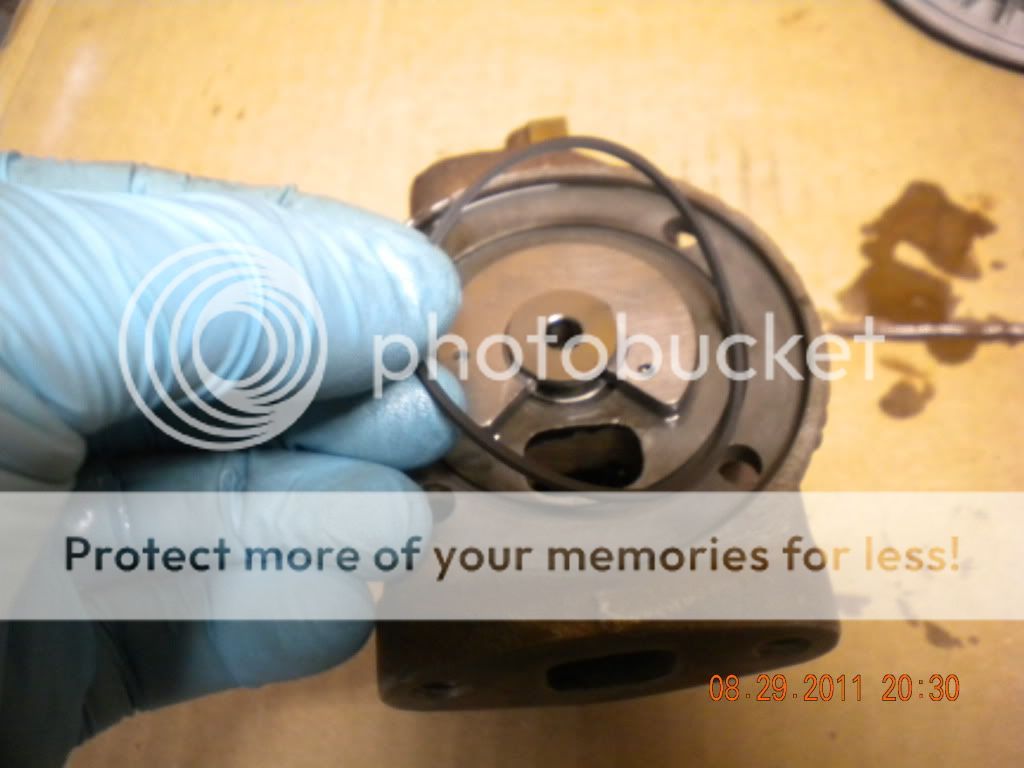
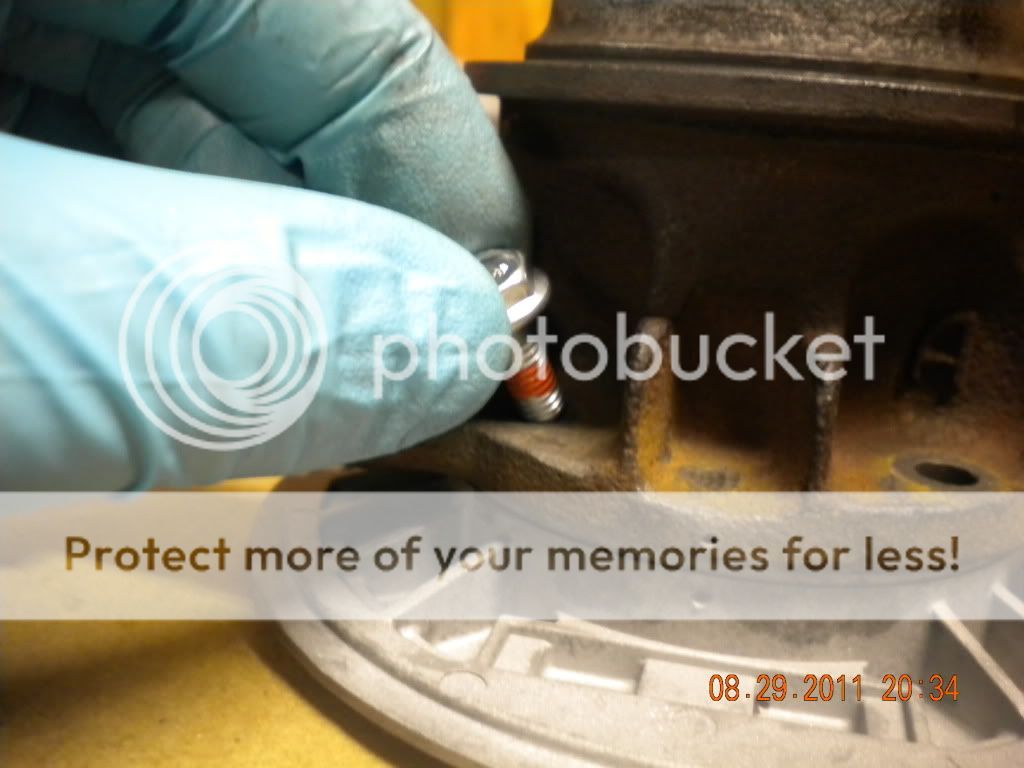
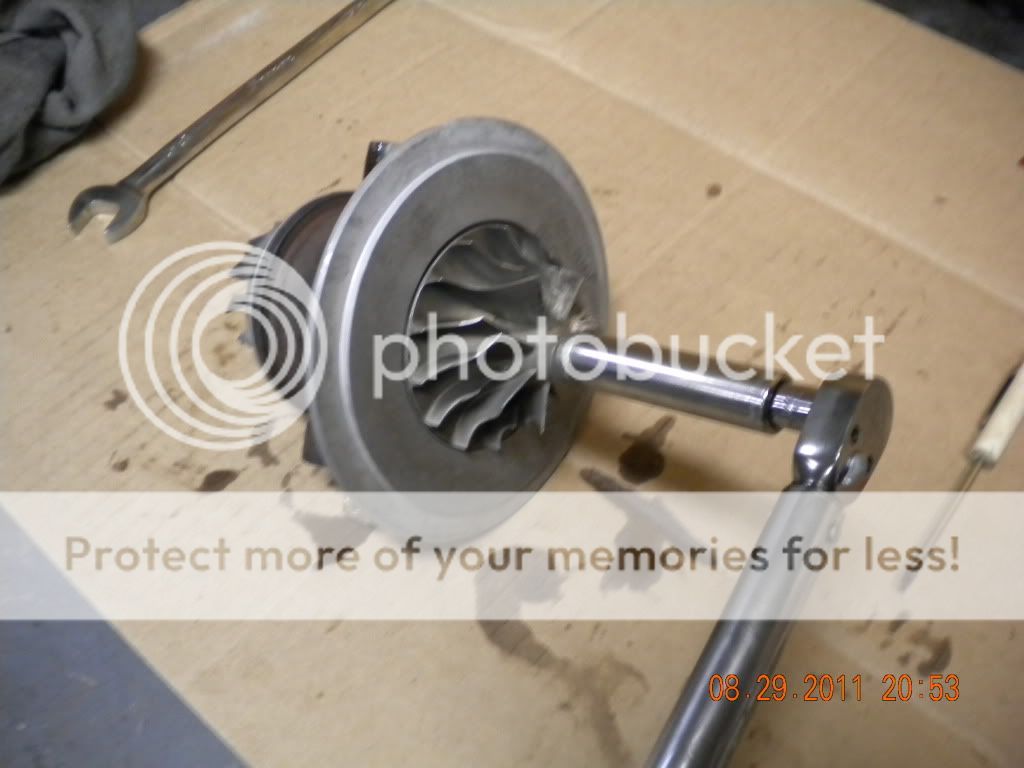
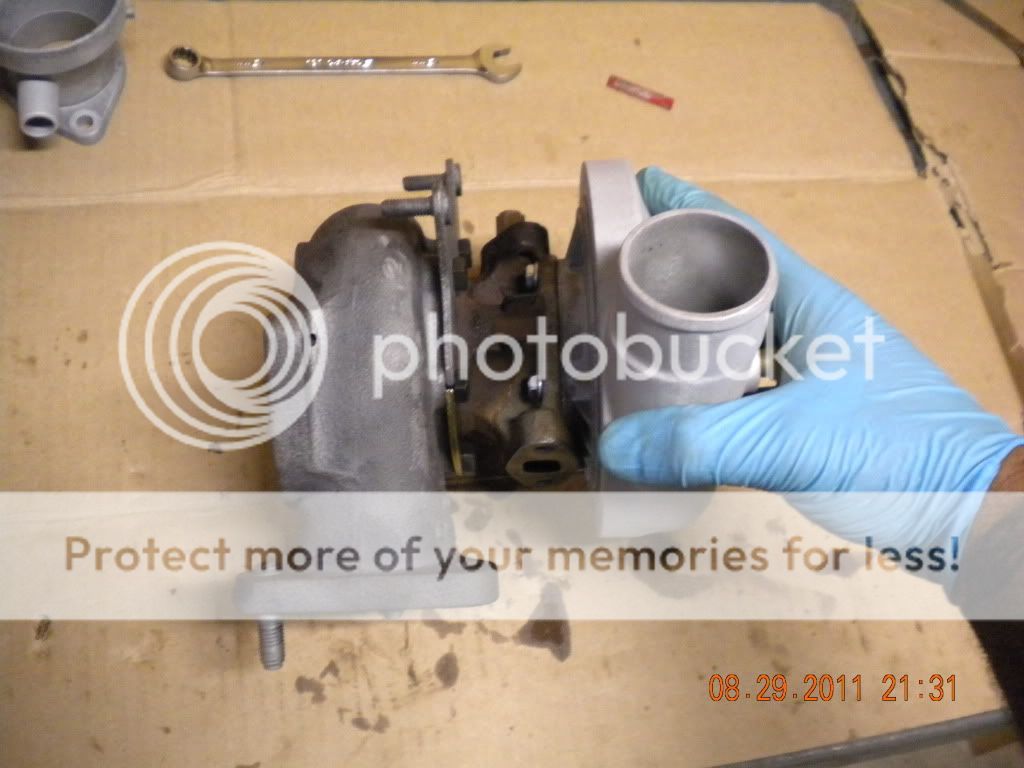
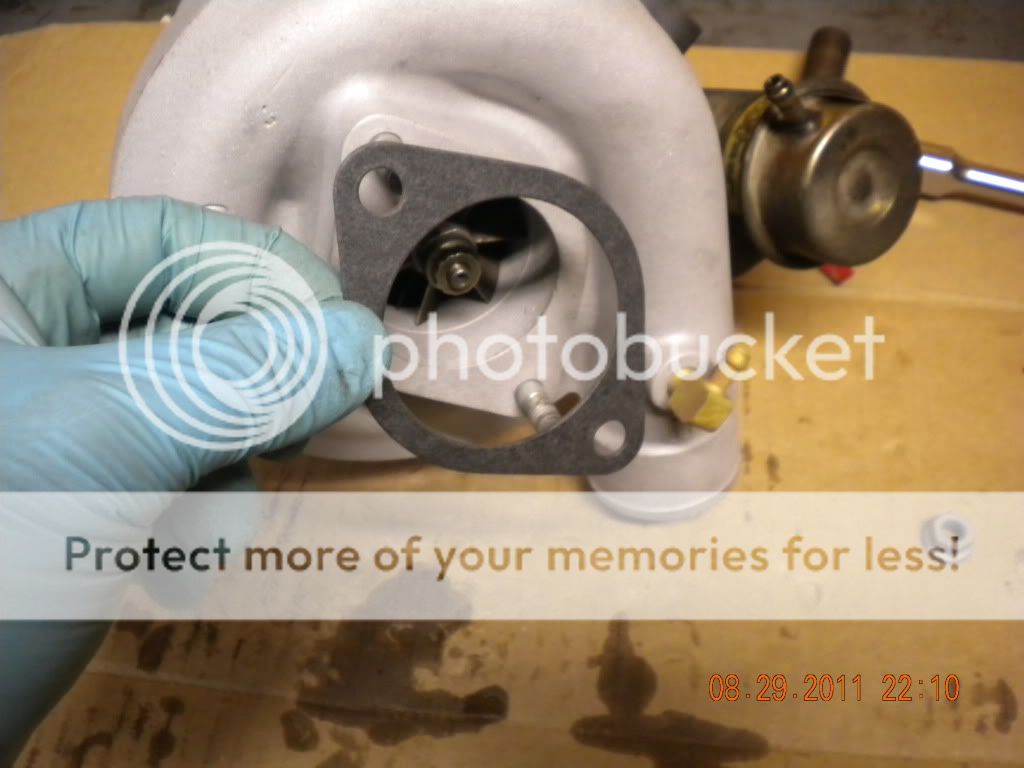
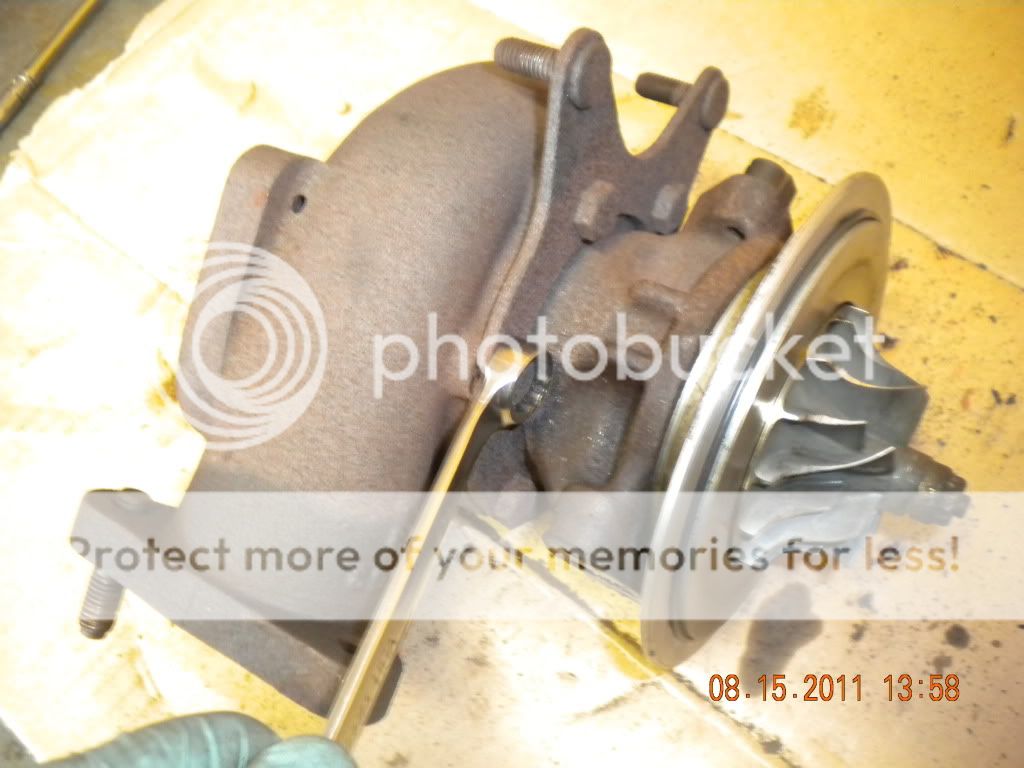
Step 7. Remove exhaust elbow bolts.
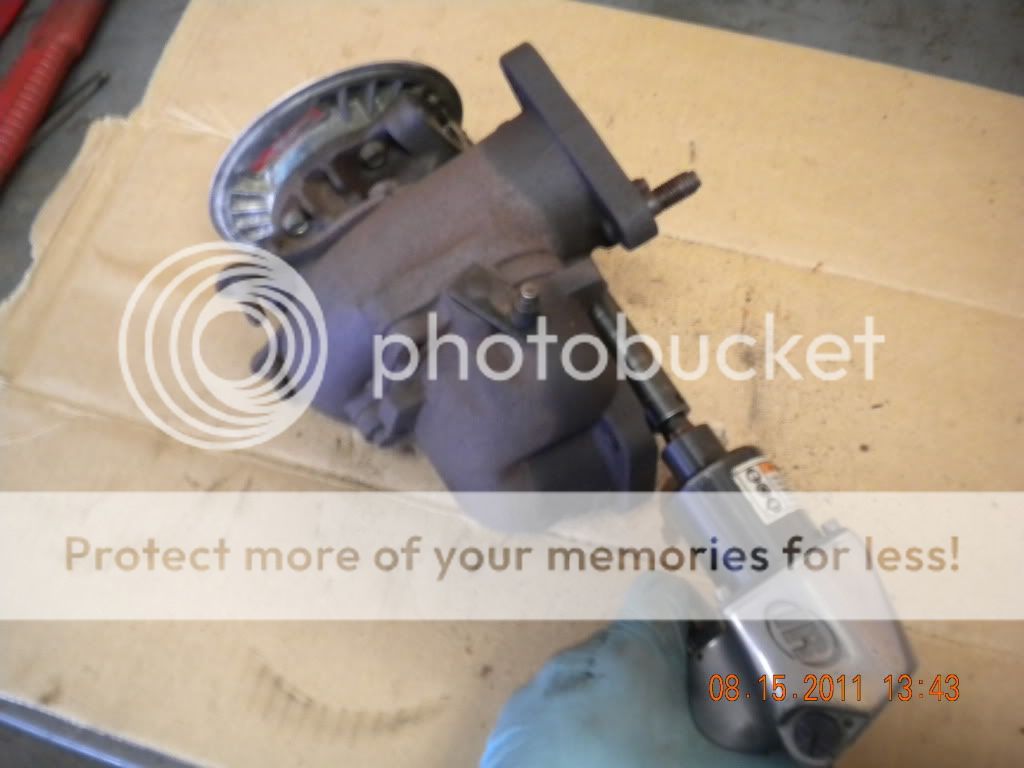
Step 8. Remove exhaust elbow.
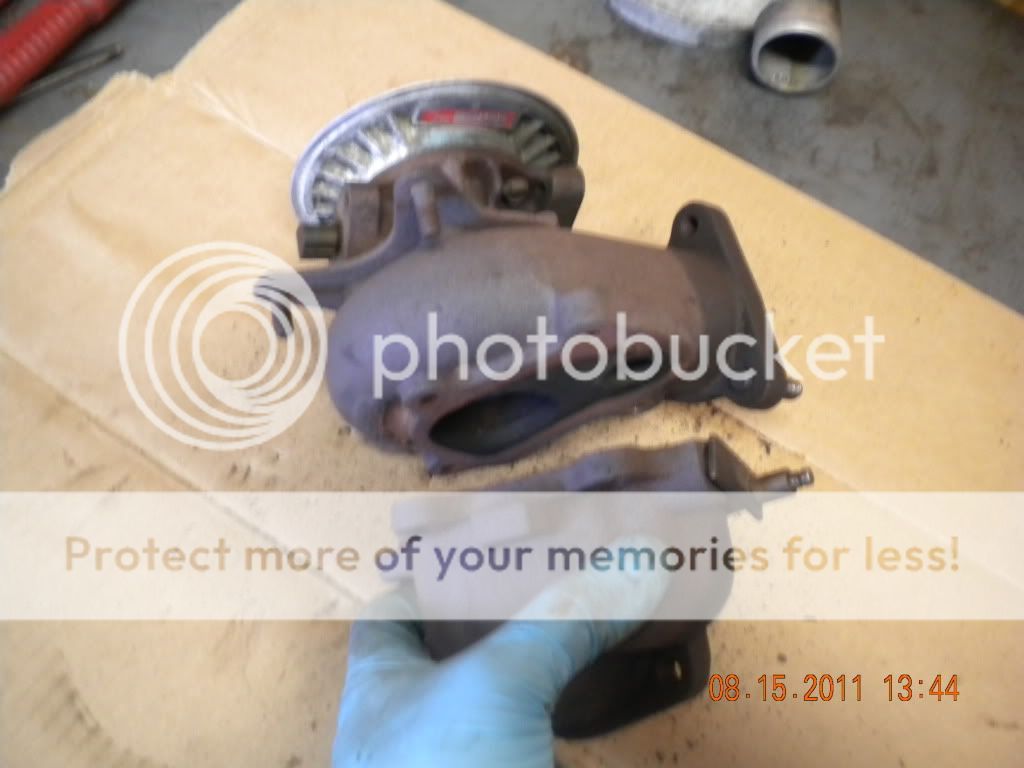
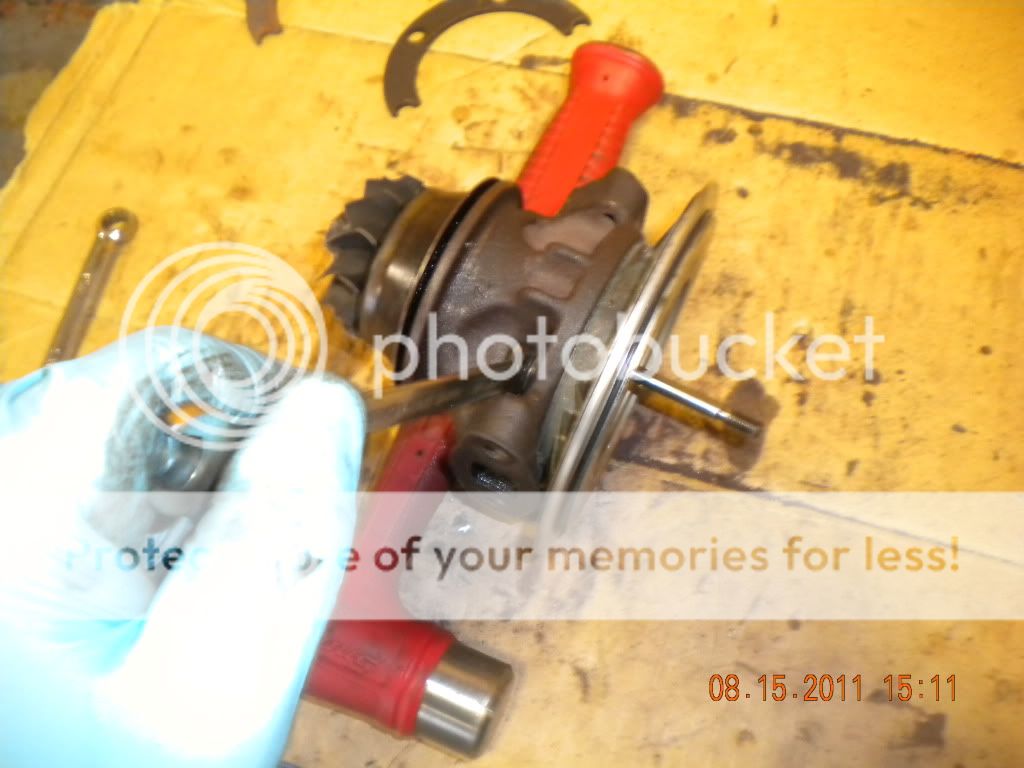
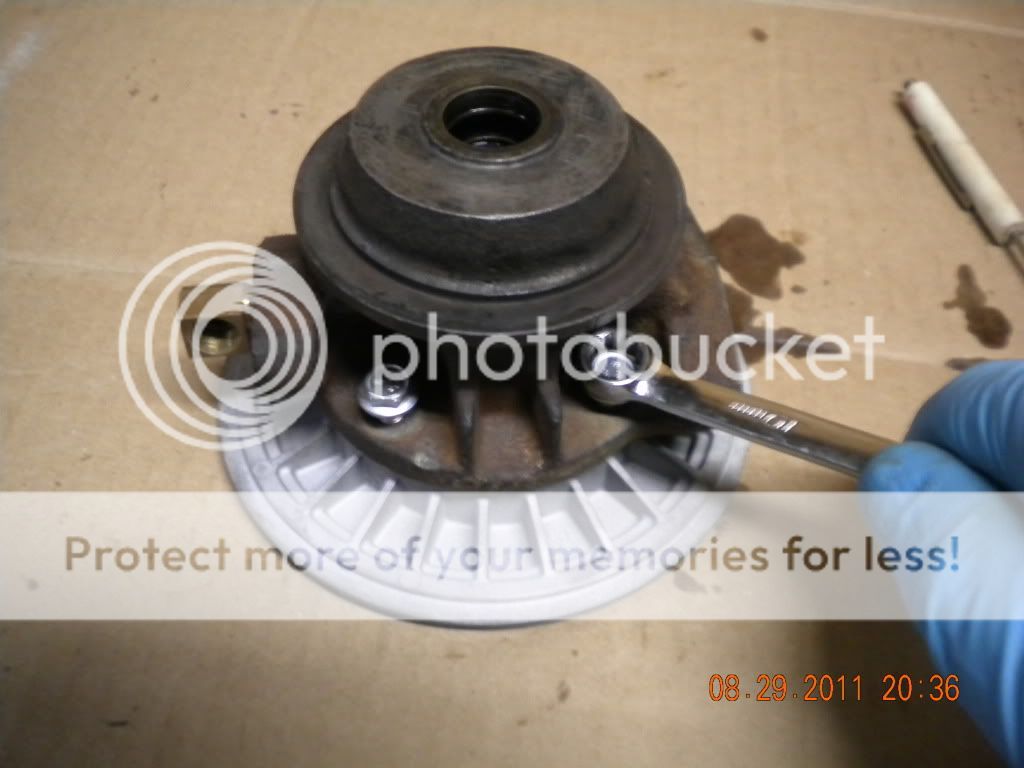
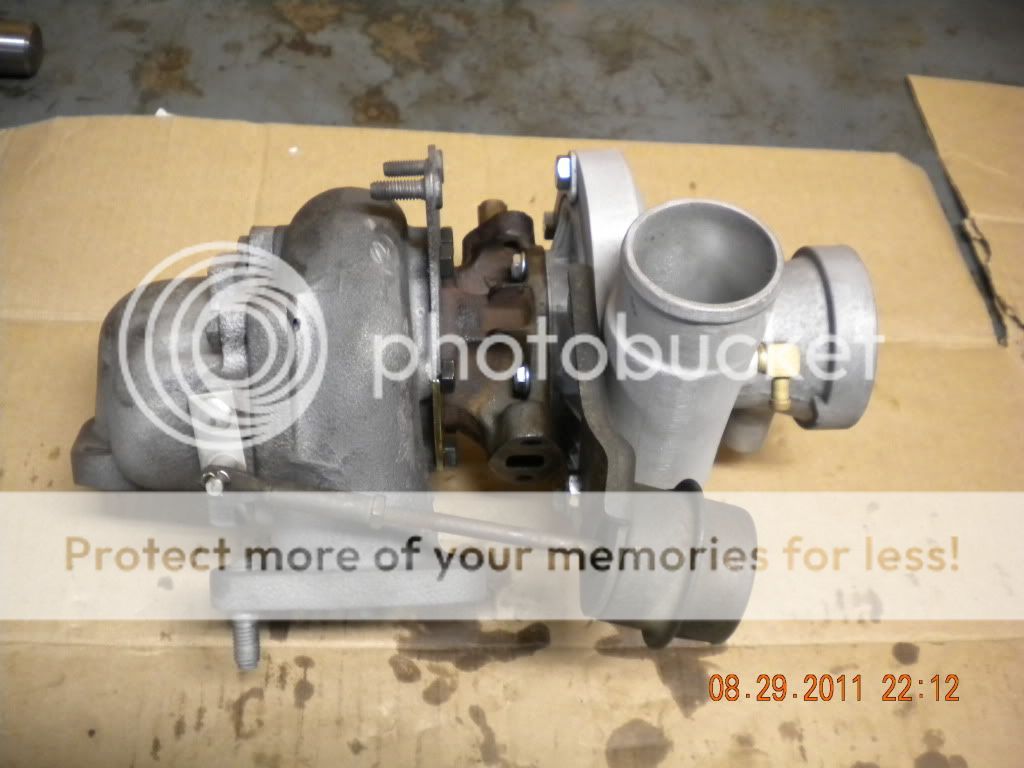
Step 9. Remove turbine housing bolts except the ones under the oil inlet and outlet of the center section.
Kits can be obtained from many turbo parts suppliers. ******* is a great source for parts and there are a few good places on *****...not all but a couple of good ones. I will say that I got no help from one of our "supporting vendors" when it came to parts but I will leave that alone. To each his own.
Hopefully this will make it easy for most do it yourselfers. In all honesty, this is not very hard and doesnt require many special tools. The tools needed are as followed but not limited to:
10mm, 13mm and 5/8 combination wrenches
center punch
hammer
dead blow hammer
snap ring pliers
needle nose pliers
11mm 12 point socket
Torque wrench capable of 18-20 INCH lbs.
For some parts, sockets can be substitued for the combo wrenches but the wrenches are a must.
DISASSEMBLY:
Ok this is what you should have. Mine was using oil at a fast rate. Thats why it is getting the rebuild.
Step 1. Remove snap ring from waste gate swing valve arm.
Step 2. Remove waste gate actuator bolts and remove actuator.
Step 3. Make an index mark on compressor housing and back plate. This will make lining it up on assembly a snap.
Step 4. Remove the rest of the compressor bolts and clamps.
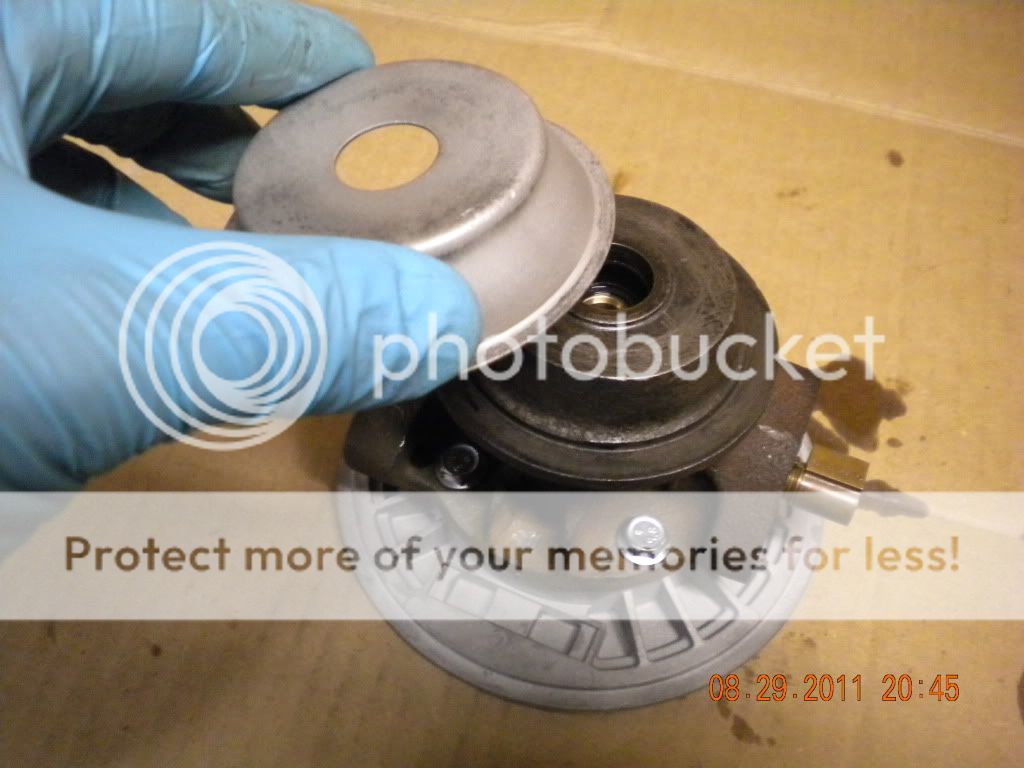
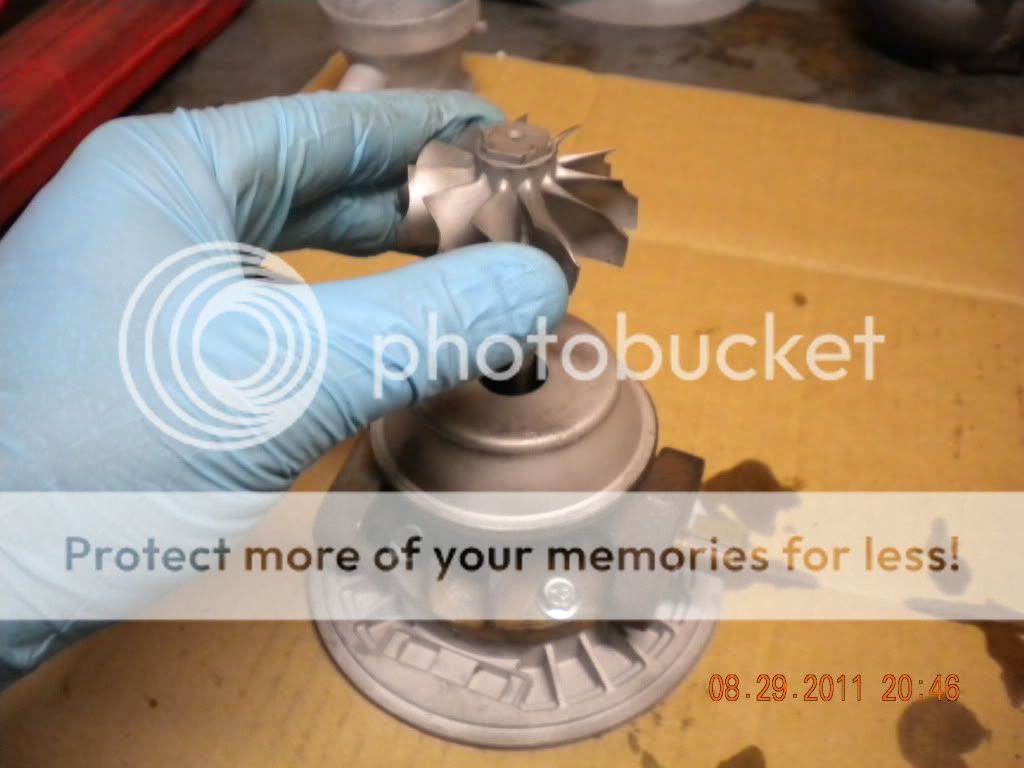
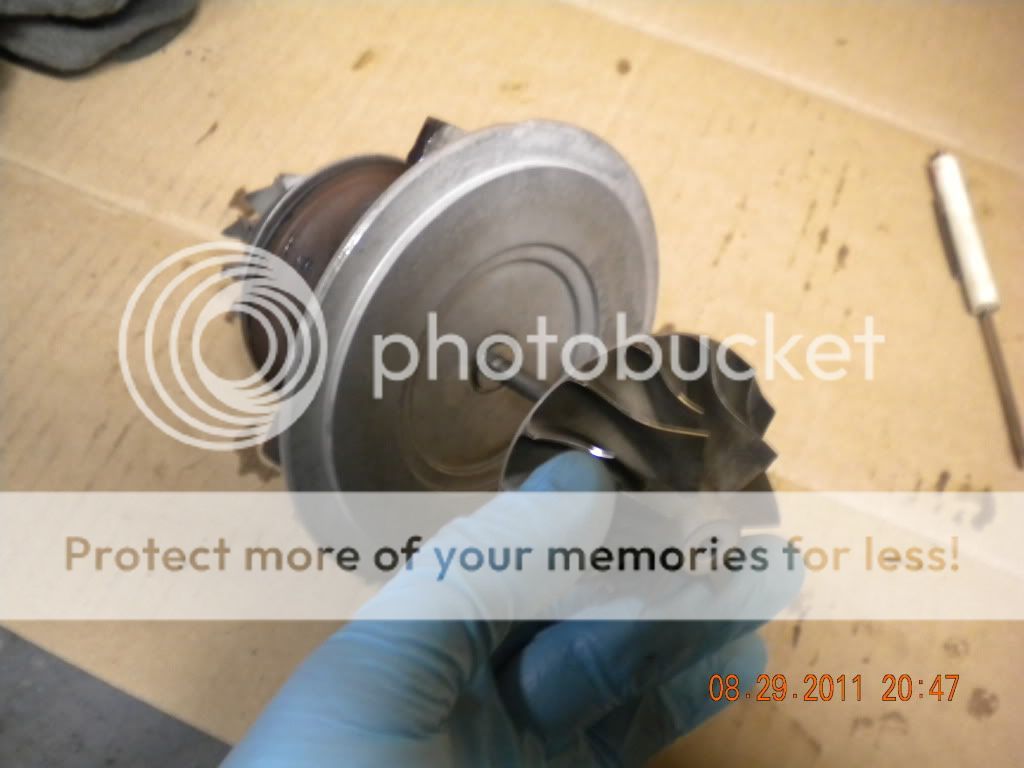
Step 5. Remove compressor housing carefully not to damage compressor wheel.
Step 6. Hold on to the compressor clamps even if your kit cam with new. The new may not fit. Mine didnt.
Step 7. Remove exhaust elbow bolts.
Step 8. Remove exhaust elbow.
Step 9. Remove turbine housing bolts except the ones under the oil inlet and outlet of the center section.