*Hydroboost install writeup with pics*

Joined
Jan 30, 2004
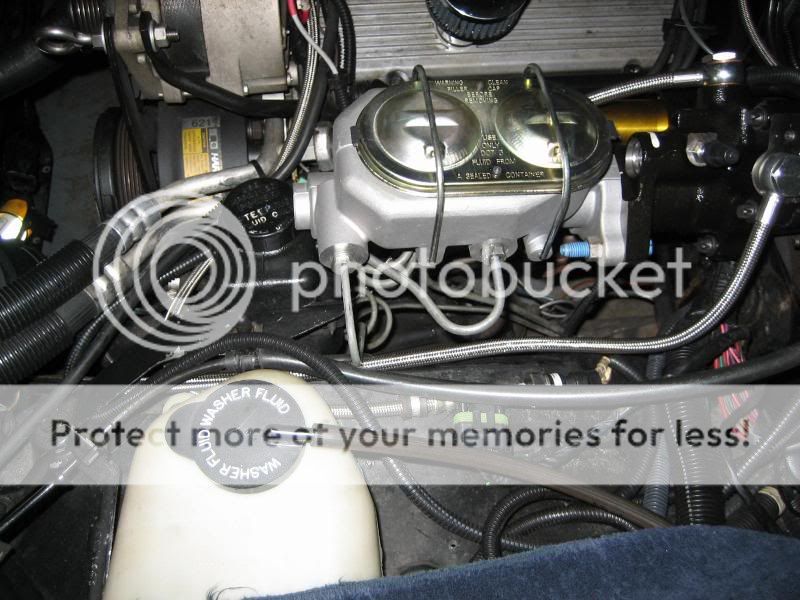
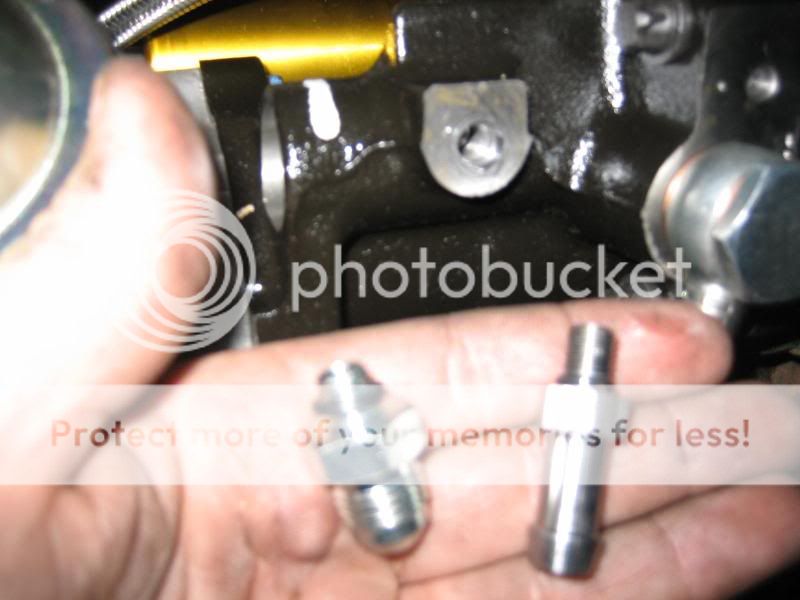
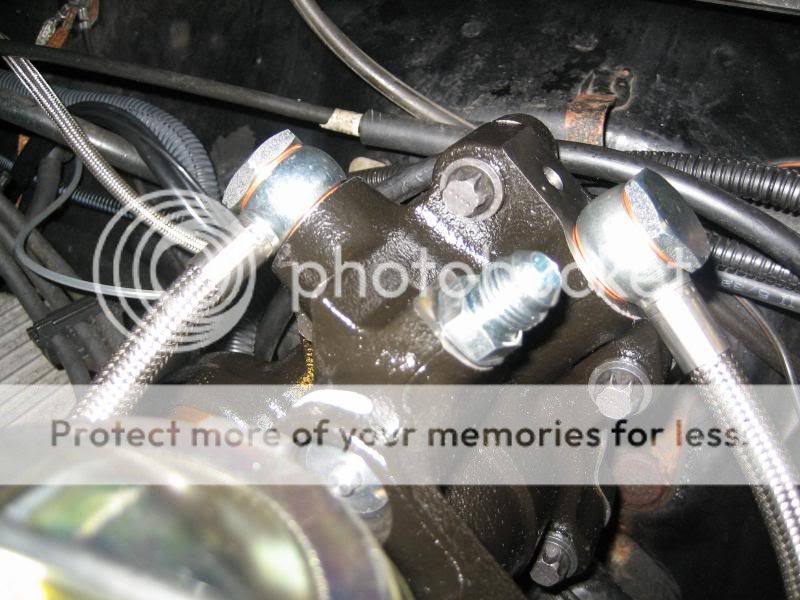
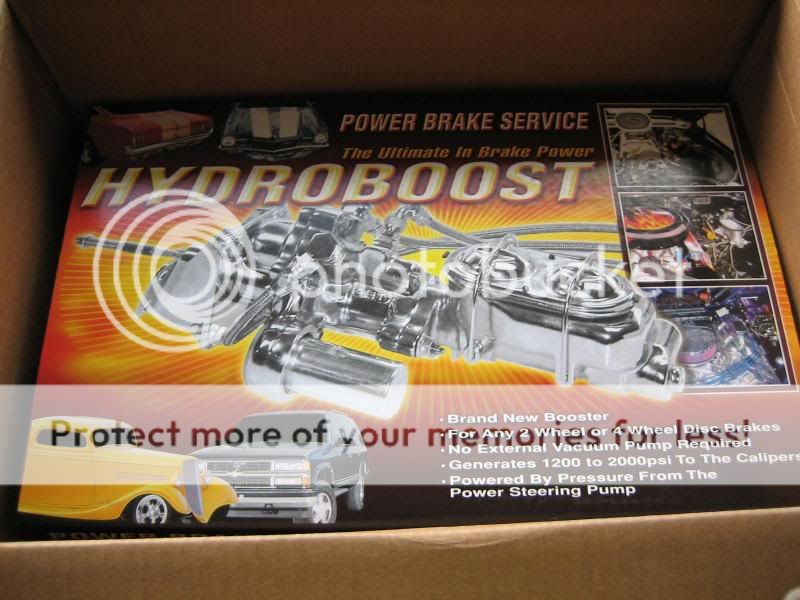
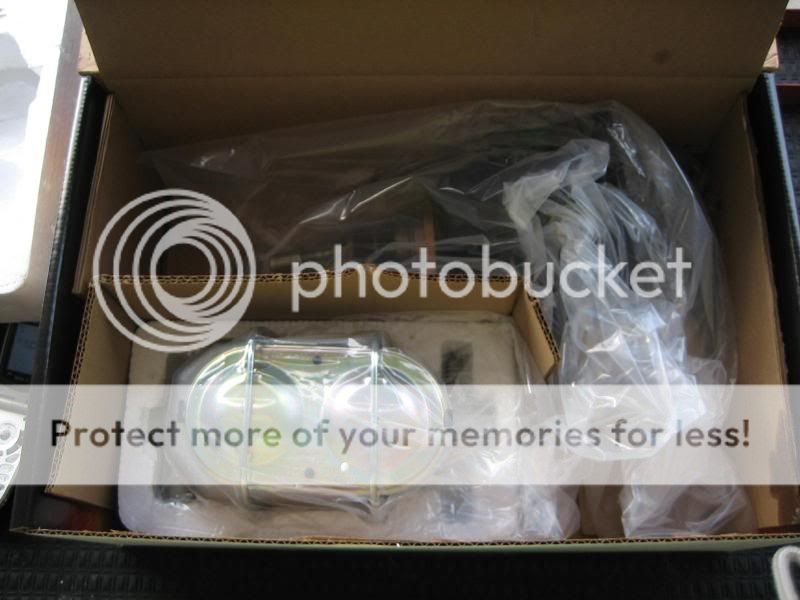
This write up is based on the installation of a hydroboost braking system installed into my 1987 Grand National. I bought the kit through Bob at Power Brake Services.com I ordered the standard cast Hydroboost, standard master cylinder, and upgraded to all stainless steal lines. The hydroboost system in this write up is replacing a stock powermaster system from GM.

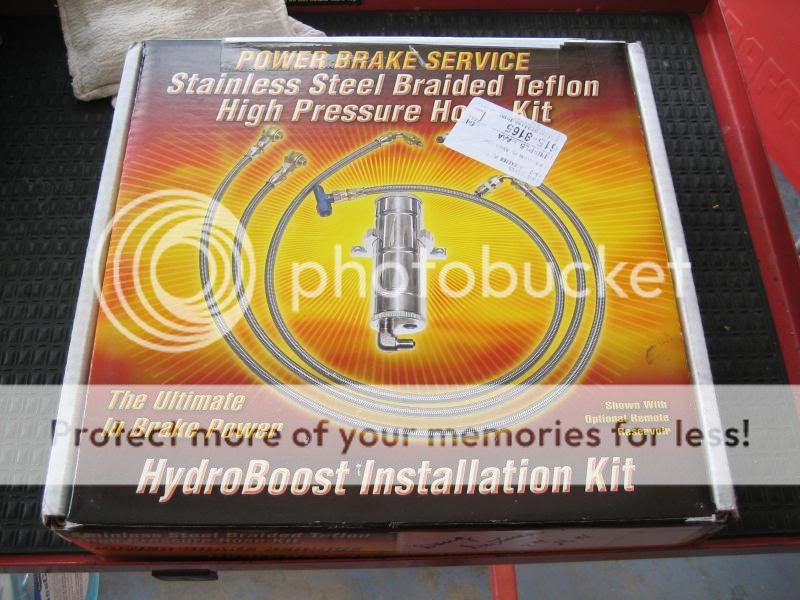
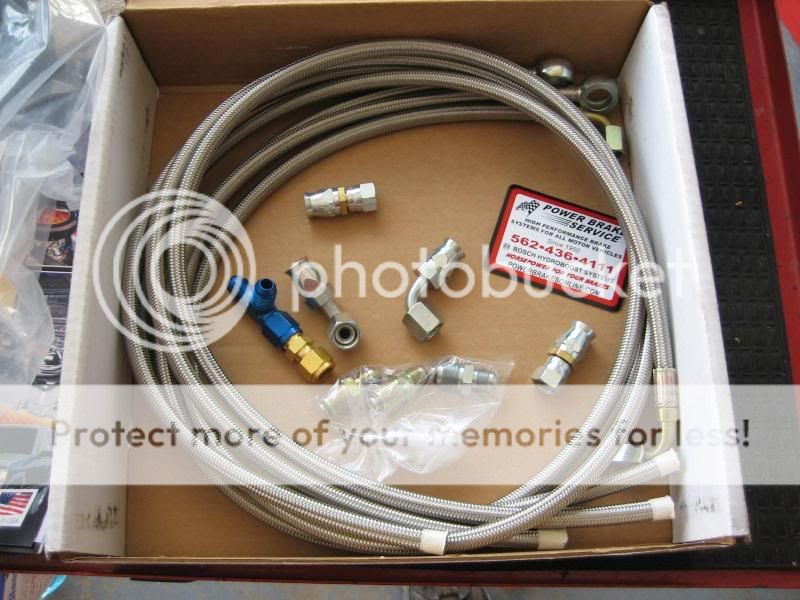
I'll begin by showing how the components were shipped. The system came in two boxes, one for the Hydroboost and master cylinder, the other for the lines and fittings. It took about 2 weeks to recieve the H/B and MC, and 3 weeks to receive the lines after I ordered it. Everything was packaged very well and was not damaged in any fashion.

IMG_3594.jpg


IMG_3597.jpg


IMG_3634.jpg


IMG_3636.jpg


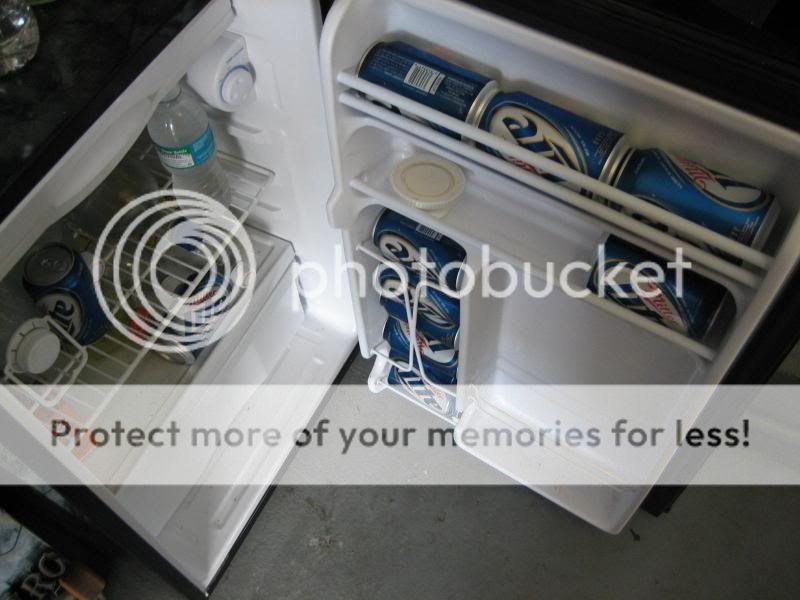
On to the install, the first thing to always remember is have a fully stocked fridge with your favorite beverages! :)

IMG_3637.jpg


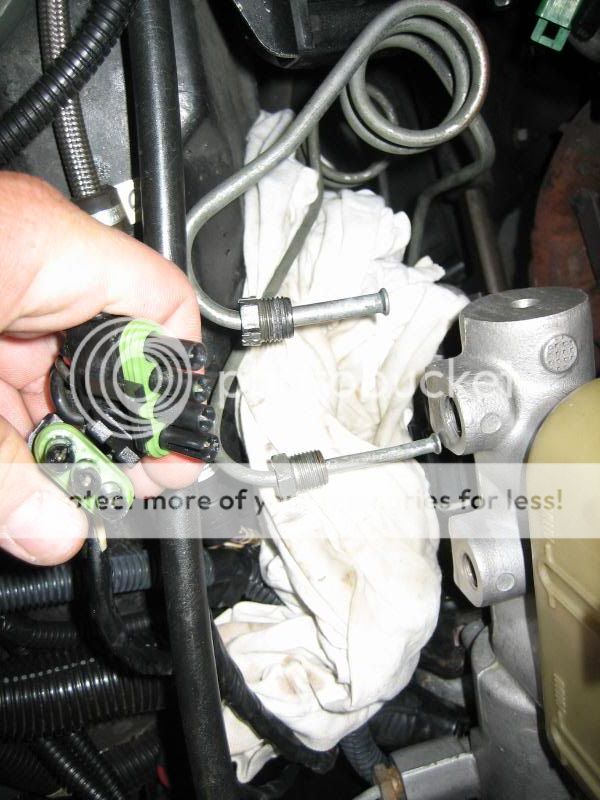
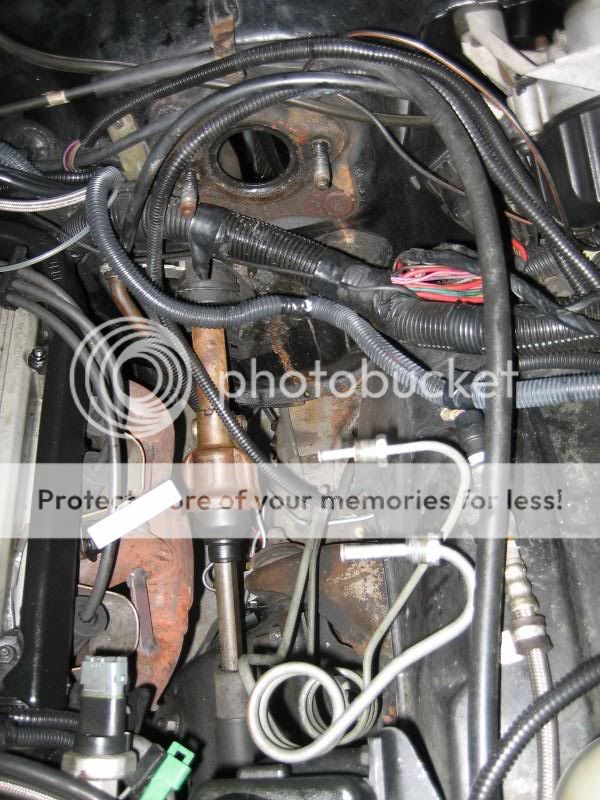
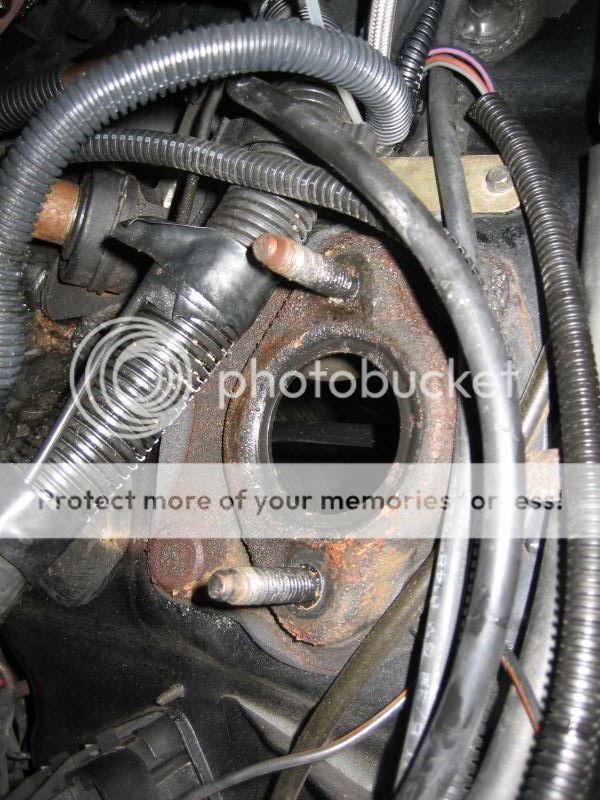
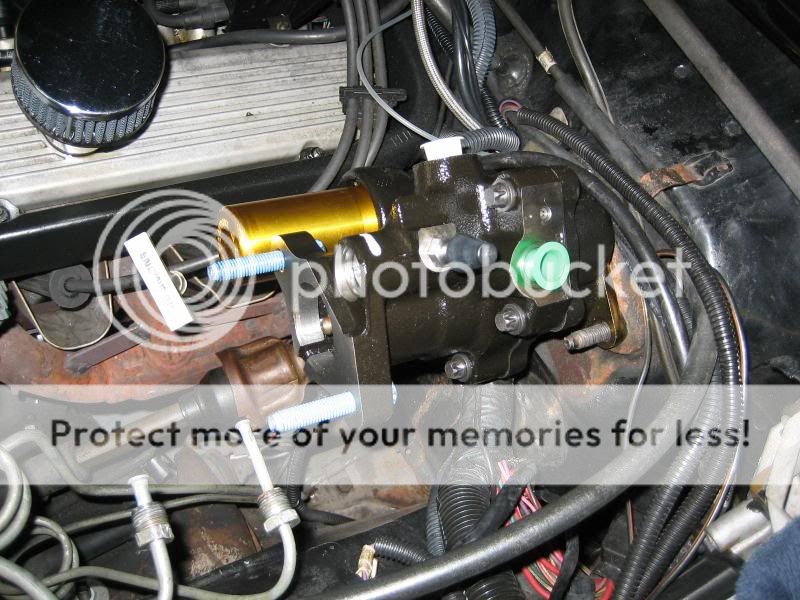
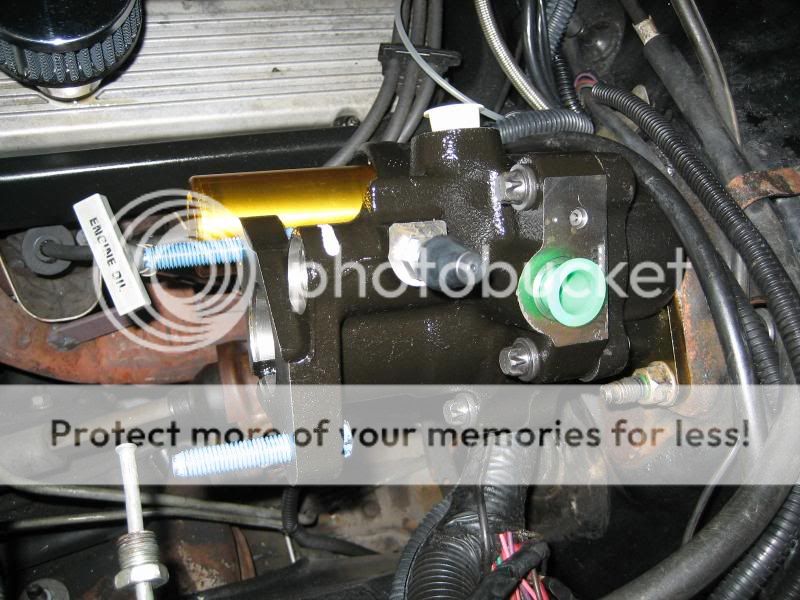
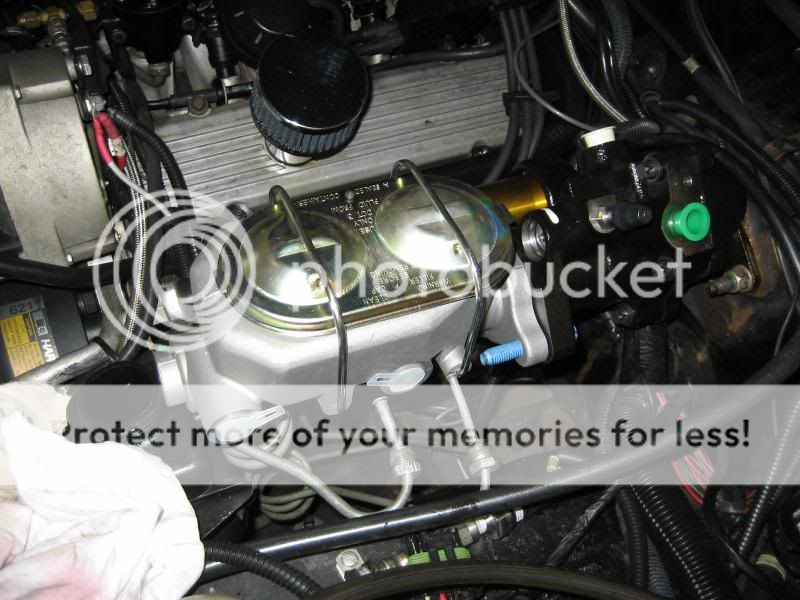
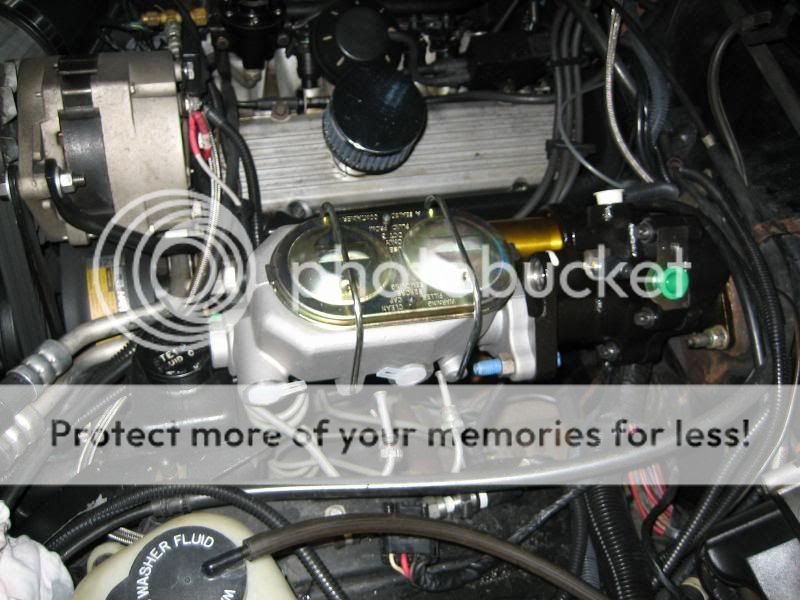
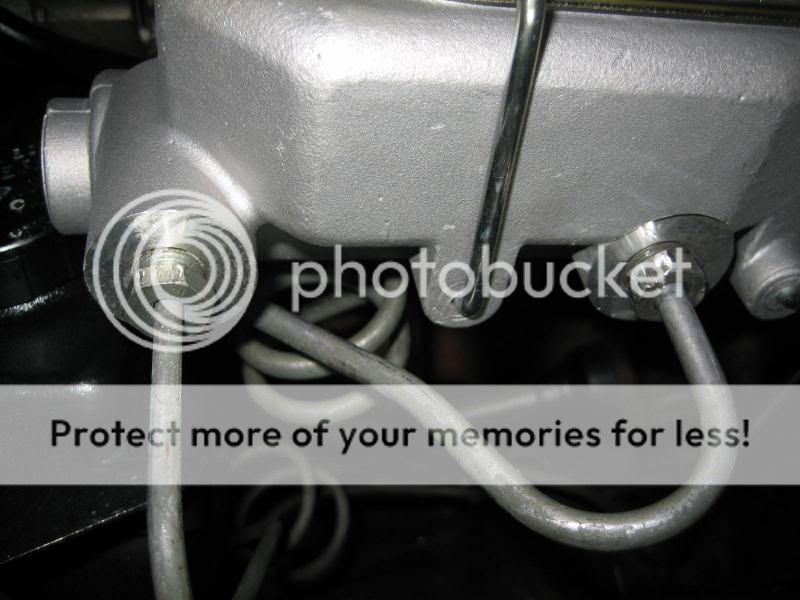
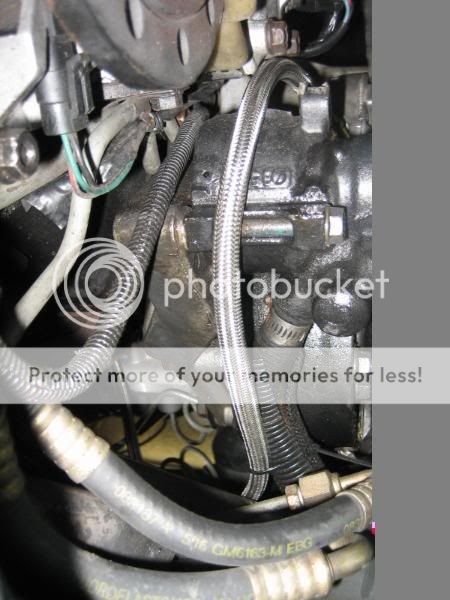
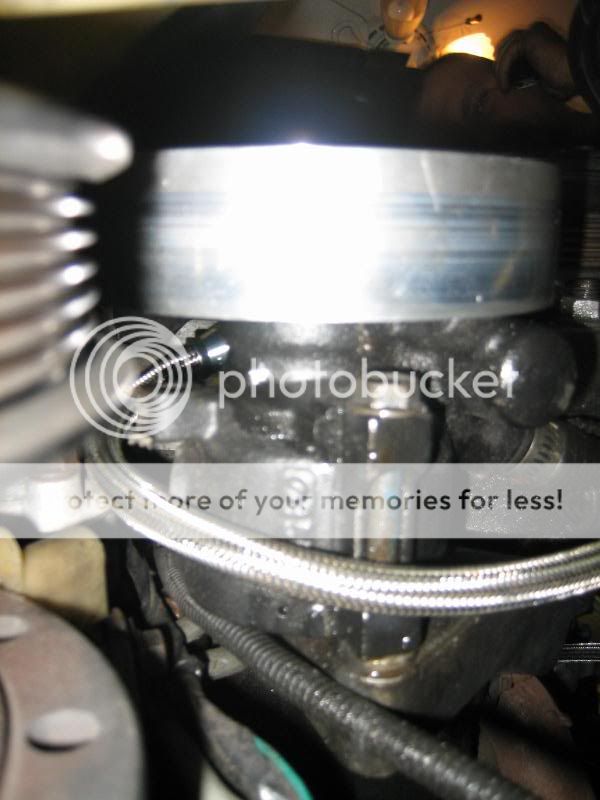
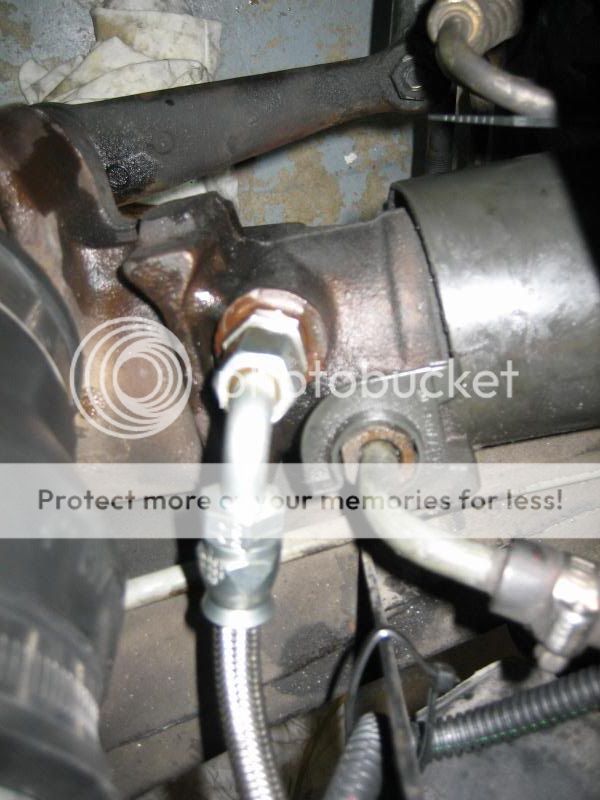
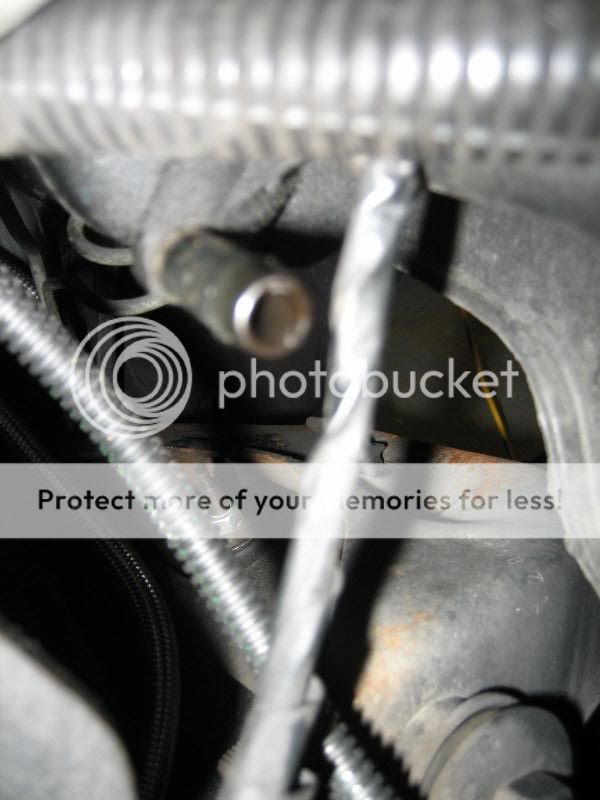
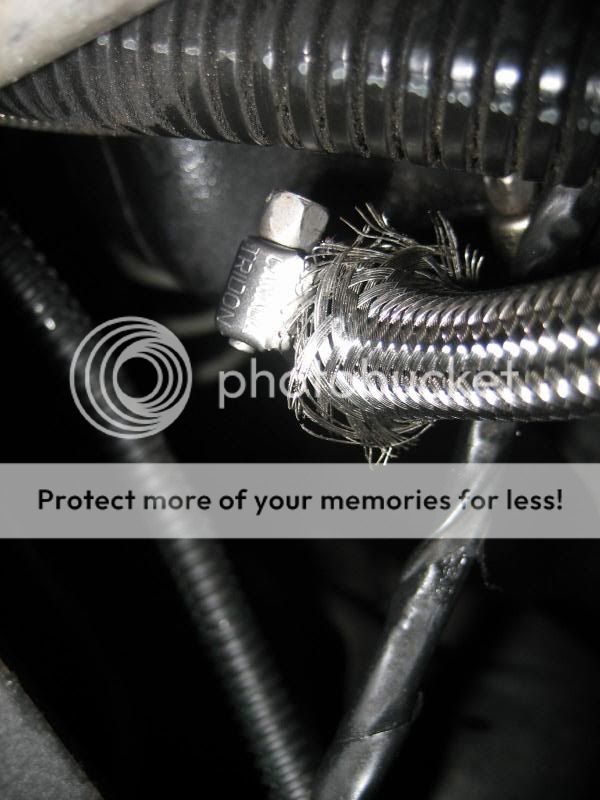
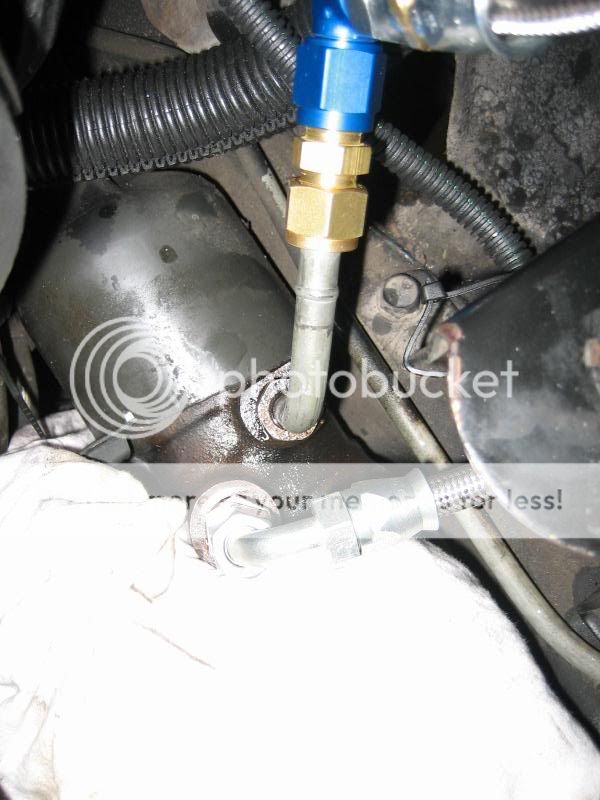
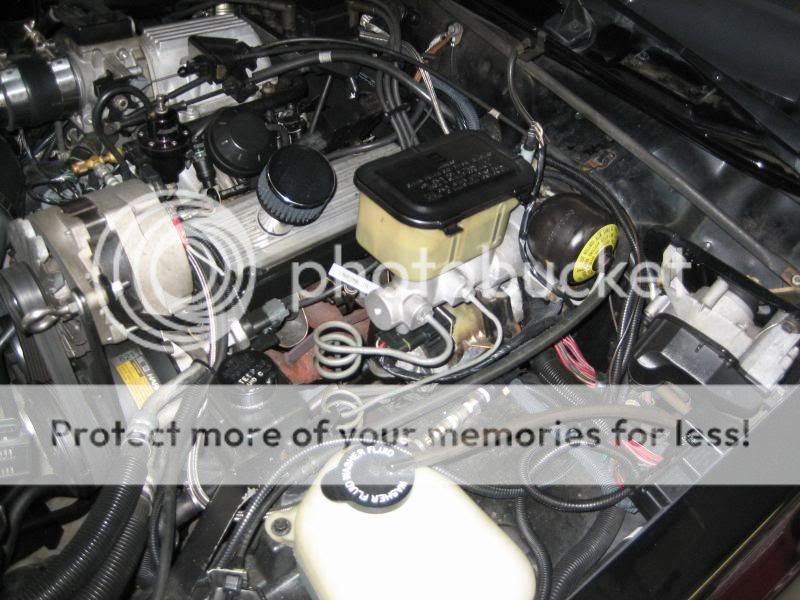
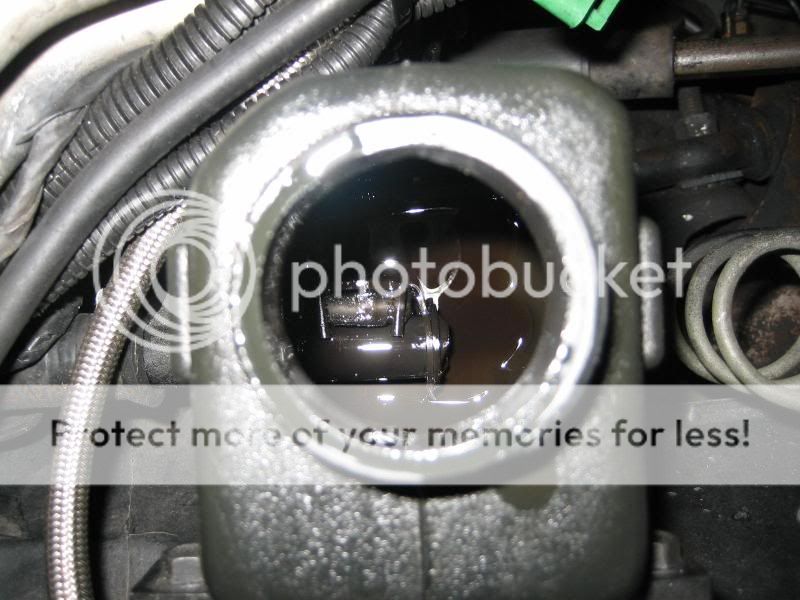
Here is a picture of the powermaster setup that came with the car from the factory.

IMG_3631.jpg


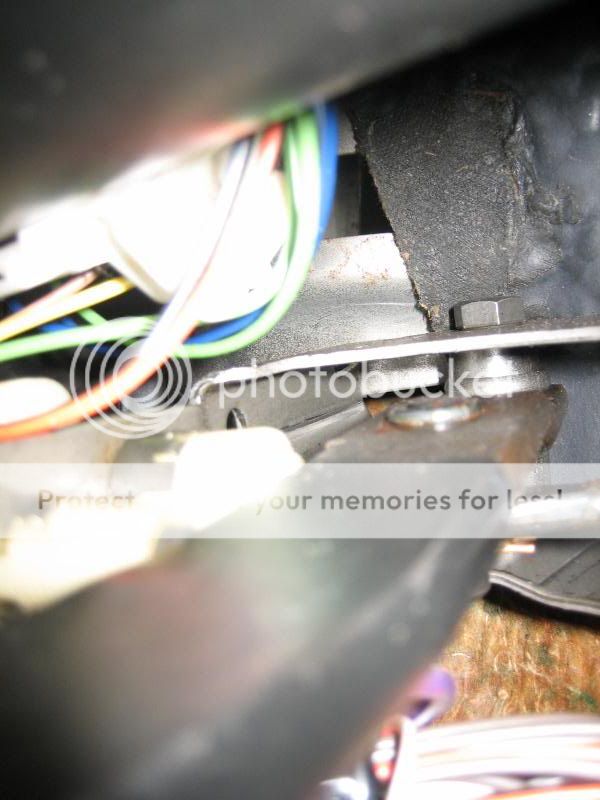
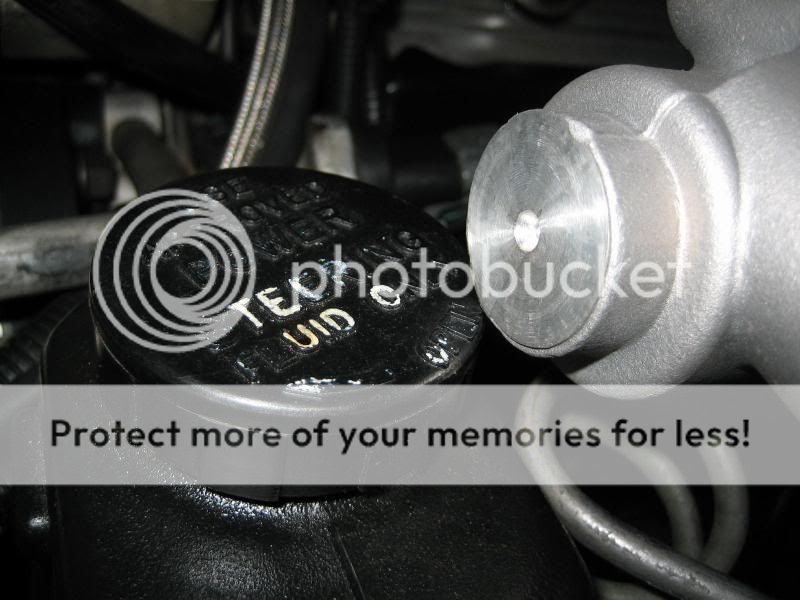
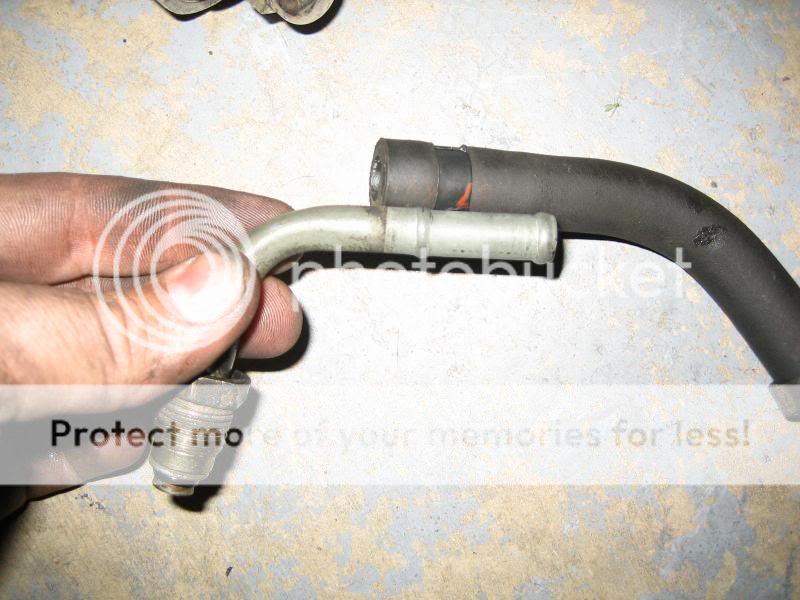
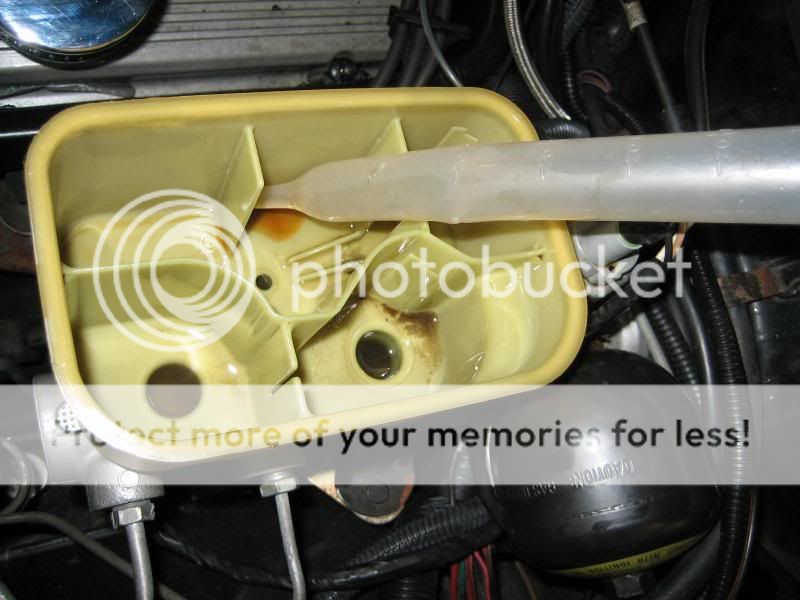
I proceeded to drain all brake and power steering fluid from their prospective reservoirs. I used an old turkey baster, which took some time, but got the job done.

IMG_3639.jpg


IMG_3640.jpg


Continue
 
Next, I removed the cotter pin and washer holding the master cylinder rod to the brake pedal assembly. It's hard to get a picture of what was needed to be removed, but the cotter pin is barely shown below, upper right hand corner of the picture, copper in color. Luckly my cotter pin wasn't too difficult to remove, a small flat blade screwdriver did the trick. It is tricky to work up the dash, be careful not to hurt any wiring under there.

IMG_3643.jpg


Picture of them removed

IMG_3645.jpg


Now, I went back to the powermaster assembly and disconnected the two wire connectors and the

brake lines.

IMG_3646.jpg


The next step is to remove the powermaster assembly. There are two 15mm nuts holding the assembly on studs to the firewall. Remove those nuts and pull the assembly off the firewall and slide it off the studs. Watch for any left over brake fluid and try to keep it off the paint. Now you will be left with a rubber boot in the hole in the firewall and the rod that is attached to the pedal. Go under the dash again and remove the rod from the pedal and push
the it through the firewall to the engine side. All the parts removed will look something like this.

IMG_3647.jpg


Pic of the engine bay with the powermaster removed. Now is the time to do some cleaning, check for exhaust manifold cracks, spark plugs, etc while you have the space.

IMG_3648.jpg


And the factory hole in the firewall.

IMG_3649.jpg


After mocking up the Hydroboost to the firewall, I did see that the hole needed to be enlarged. There are several ways to do this, I ended up using a die grinder and stone bit to enlarge it. I stuffed a rag under the pedals and the firewall to keep the metal shavings to a minimum on the interior and had my wire hold a shop vac near the hole to keep the shavings to a minimum under the hood. After 10 minutes of grinding, it fit. Here is how big the hole got:

IMG_3650.jpg


Tool I used:

IMG_3651.jpg


Hydroboost mockup:

IMG_3653.jpg


At this point I realized that I should seal the hydroboost to the firewall to keep water out of the interior. I ran a bead of RTV silicone (black is what I had laying around) on the face of the Hydroboost where it meets the firewall:

IMG_3654.jpg


Continue
 
Now as you slide the Hydroboost back in, get a helper to hold it in place while you put the rod back onto the brake pedal. The rod is threaded with a jam nut for adjustment which I didn't mess with. Just slide the rod back onto the pedal, install the washer and cotter pin. Then bolt the Hydroboost to the firewall using the factory 15mm bolts. Here it is bolted up:

IMG_3655.jpg


Now I mocked up the master cylinder. First thing I notices was I had to take the factory power steering pump reservoir cap off to get it on.

IMG_3656.jpg


IMG_3658.jpg


Bolt up the the master the hydroboost. For me, in order to get the reservoir cap back on, I had to push the whole reservior down about an 1/2 inch to make room. The cap does touch the master cylinder, but it's not that big of a deal.

IMG_3659.jpg


IMG_3660.jpg


Now it's time for the brake lines. MAKE SURE YOU REVERSE THE BRAKE LINES GOING INTO THE NEW MASTER CYLINDER Make sure the larger line goes to the rear port of the master, and the thin one goes to the front. Here is a picture of the lines installed:

IMG_3661.jpg


This is where you begin to read the directions from Bob about line placement. The directions are decent and fairly straight forward. The first step is to run hose #1 from the pressure side of the power steering pump to the passenger side port of the Hydroboost. Getting the pressure side line off the pump is tricky. Here are two pictures of the fitting:

IMG_3662.jpg


IMG_3663.jpg


In order to get to the line fitting, I ended up having to remove the intercooler, intercooler bracket (driver side), turbo inlet piping, belt, and tensioner pully. I was then able to hold the bottom fitting while unscrewing the line fitting in the pump. This is what it looks like when removed:

IMG_3665.jpg


Here is a mockup of the line going to the hydroboost from the pressure side of the pump (above).

IMG_3664.jpg


Continue
 
Now you can thread the adaptor into the power steering pump that has a male -6an fitting on the top. Thread the 90 degree -6an elbow on to the fitting facing the passenger side. I decided to route the line down the passenger side of the Hydroboost and master, under the A/C compressor, under the power steering pump and up to the fitting. You have to mark, cut, and splice the line into the 90 degree elbow. Bob's instructions explain how to do this well. Here are pictures of the lines routed:

IMG_3666.jpg


IMG_3667.jpg


IMG_3668.jpg


IMG_3669.jpg


IMG_3670.jpg


Now for hose #2. This is a pressure hose that will come off the driver side of the Hydroboost down to the steering rack. Start by removing the pressure hose (larger of the two) off the steering rack. This is the same hose that you just removed from the power steering pump. Thread in the fitting into the rack with the -6an male end into the rack. Now thread on the -6an 90 degree elbow onto the fitting and face it towards the driver side fender. I then routed the line from the hydroboost, under the reservior bracket and down to the rack. Mark, cut, and splice the line. This is how mine turned out:

IMG_3671.jpg


IMG_3672.jpg


IMG_3673.jpg


Onto the low pressure stuff. There is a small port on the driver side of the hydroboost that has a black cap on it. It's a nipple designed for a rubber return hose. Since I ordered the full stainless steal line set, this will have to be removed and swapped out for a fitting that has -6an male end on it. Here are the fittings:

IMG_3674.jpg


And the fitting installed:

IMG_3676.jpg


Continue
 
Now you can remove the return line from the reservoir to the steering rack. Take the fitting off the rack and remove the rubber line as one piece.
Here is a picture of the line removed from the nipple on the reservoir:

IMG_3678.jpg


Next remove the rubber line from the 90 degree elbow from the steering rack

IMG_3679.jpg


Cut off the barb and the end of the line so you can get the fitting that Bob provides with the kit over the line.

IMG_3682.jpg


Now you push the line into the fitting the with the collar and tighten it down (brass fitting on the end of the blue -6an tee). The -6an tee goes from rack to the return of the reservoir and to the hydroboost. The instructions originally call for the hydroboost return to go to the center of the tee, but for me it was easier if it went on the stright end. I routed the return line from the hydroboost to the rack following the same route I did for the pressure side to the rack. For the reservoir, I simply cut a foot of unused line and made the fitting on the tee end and just slipped it over the reservoir nipple. This is explained in the instructions and here is a picture of how I did it:

IMG_3683.jpg


Reservoir nipple connection:

IMG_3685.jpg


Closeup of the fitting hooked up to the factory elbow:

IMG_3686.jpg


That's basically it. You will now have to add some Dextron III to the reservoir and bleed the brakes. Turn over the engine but don't start the car and add fluid to the reservoir as needed so it doesn't run dry. Then start the car, let idle, and check for foam and air in the reservoir. I had very little. Also now check for leaks and tighten any fittings that maybe leaking, I had no leaks. Now cut the wheel back and forth and watch for foam and air, add fluid as needed. My pump is just a hair louder then it was before, but it may go away in time.

I've got about 5 hours into the install (minus the brake bleed). That was taking my time and taking pictures:)

I ran out of time last night and didn't bleed the brakes yet. I'll post on Friday as to my review how how the brakes feel when driving.

Let me know if you would like me to add anything I may have missed.

Doug D
 
Very Nice Job! Thanks for taking the time to document this.
I think we've got a sticky here.
 
Excellent write-up AND it saves me trouble since I was thinking about doing one as well. ;)

This will help me greatly when I do mine shortly. Thanks!
 
Good job, thanks for taking the time to help us out. Now just tell me how I can stumble across $800 to spend on a HB system.

Do you have any tips about bending the brake lines since you have to install them in the opposite ports from how they were on the stock Master cylinder?
 
Update

I just bled the brakes and took it for a ride. The car stops amazing. From idle you can only feel minimal assist, almost like old school manual brakes. When running along, they feel firm, and positive. I did notice my power steering pump was a bit louder, enough to bother me a bit. Hopefully it's just some air in the lines that are working their way out (I used Dextron III).

The best part, I was able to build 12 psi of boost on the street! Granted this is a stock turbo and stock converter car, but I was never able to build more then like 6 psi with the power master. Line lock works like a champ also.

Over I'm very happy. I'll be going to the track next month hoping to do some 15 psi launches, if it holds it.

Turbo6Chicago, I had that same question when I ordered mine. Bob assured me that it's not that big of a deal, and he was right. There is so much brake line coiled up under the master cylinder that it was no issue at all, still looks stock.

Doug D
 
Very Good Job

That was done very well thanks. The one thing for sure is I appreciate being able to stop with Confidence. Bob and Company provide a very good product. Again very good job FastZ
 
Good write up !!!! Thanks for taking the time

I did this a few years ago--made my own connections. I already had hyd. boost --I went to intercooled and the 87 pump and reservior. I continued to have a problem with my front brakes not turning as freely as prior to the change. After mucho troubleshooting I found that you DEFINATELY need to make another port (87 reservoir) for the return off the hyd. boost. Once I made another port and did away with the tee my brakes are now back to turning freely as they always did. Having said all this I wonder if my hyd. boost needs rebuilt. The pedal would not pull back enough. I could use my toe to pull up on the pedal and the wheels would free up. They would only drag with the eng. running. Have you checked with the wheels off the ground? If yours is free, then maybe I need to rebuild my unit. Again thanks for your time.---Lee
 
Just put one of Bobs kits in a 93 Firebird. Very nice stuff. Did it a little differently, but still the same result. Car stops amazing with the H/B and AeroSpace Components brakes all around. Hopefully it should 60' better than 2.0 now. Took the car out and then 3rd gear went in the 700R4. Getting fixed this week.

Good product right there.
 
That was laid out very well. Very nice job of taking pictures along with the write up. That should help others who are making the swap.
 
Great post! That is such a clean look. Gonna have to put that on my wish list. Looks and functions better. Very nice.
 
Doug thanks for your write up and pics.

How much better would you say it stops over the powermaster?

My powermaster sort of feels like stepping on a plum but it stops. Hopefully the hydroboost has more of a firmer feel to it.....?
 
Great write up, dont know what that kit cost, but im going to see if i can score a junk yard setup.
 
Top